Category: handmade (Page 1 of 14)

How did this happen?

Shower gift….

How did this happen so quickly? I can’t believe it’s 2019! I’m sure there’s an explanation but it’s confusing how time can pass so quickly.

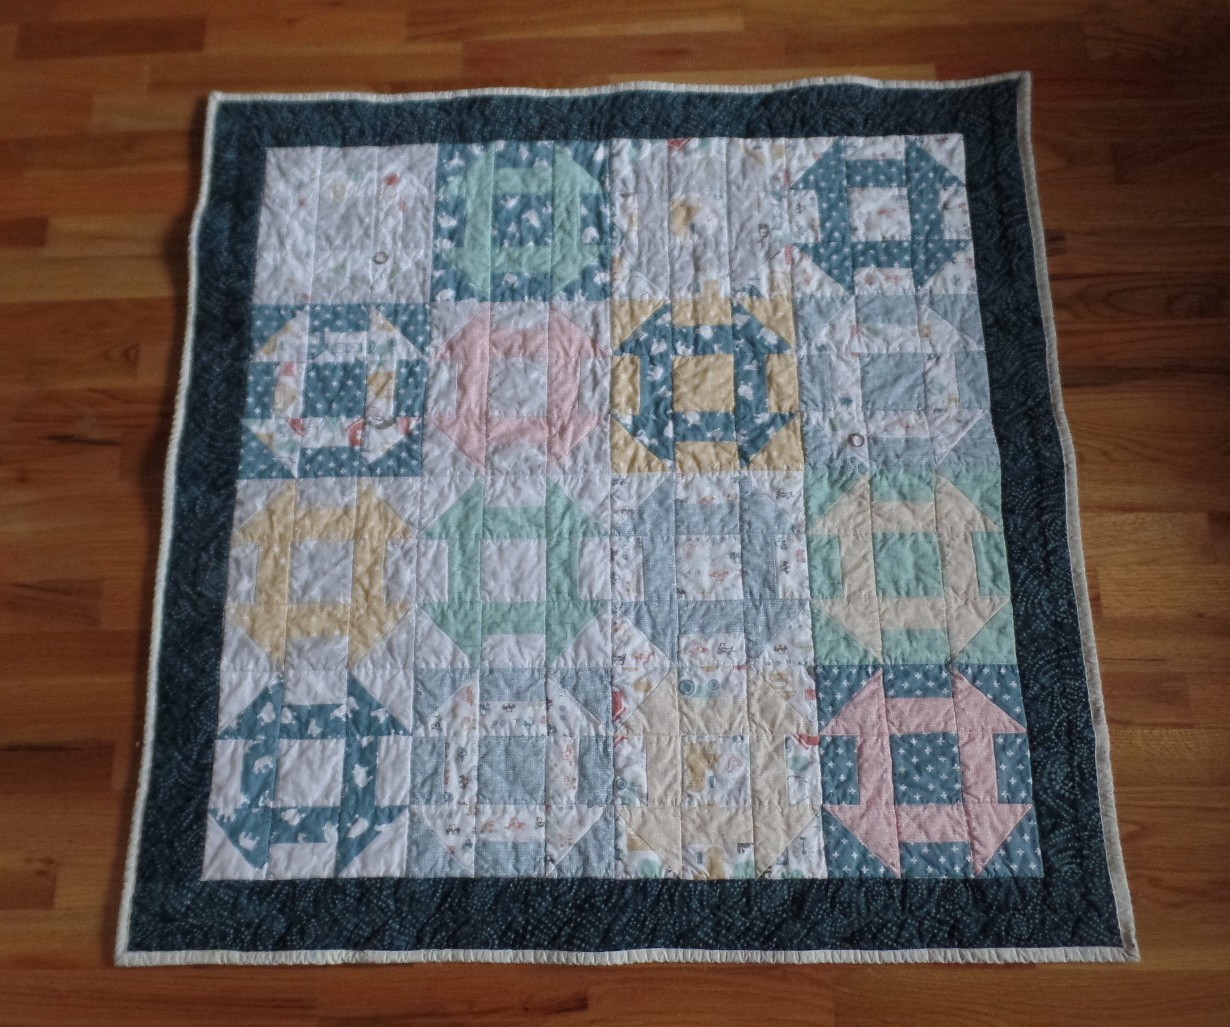
In the spring of 2018 I walked into a sewing machine store to look at longarm machines. I was almost finished with a quilt and was thinking about how I was going to finish it off. I really didn’t want to go to the expense of sending it out but it was difficult on my machine. I’ve been thinking about this for awhile now so one day I decided to investigate. As I was looking around the store one of the clerks asked me what I was looking for and I mentioned a longarm. She asked if I was going interested in a quilting business and when I said no, she suggested that I probably didn’t really want a longarm. In reality, no, I don’t think I really wanted a longarm but really was looking for a better way to quilt. We started talking machines and by the time I left, I had decided to buy a combination sewing/embroidery machine. I’ve had my old machine for 30 years and at that time I don’t think they even made embroidery machines for the home sewer/hobbyist.

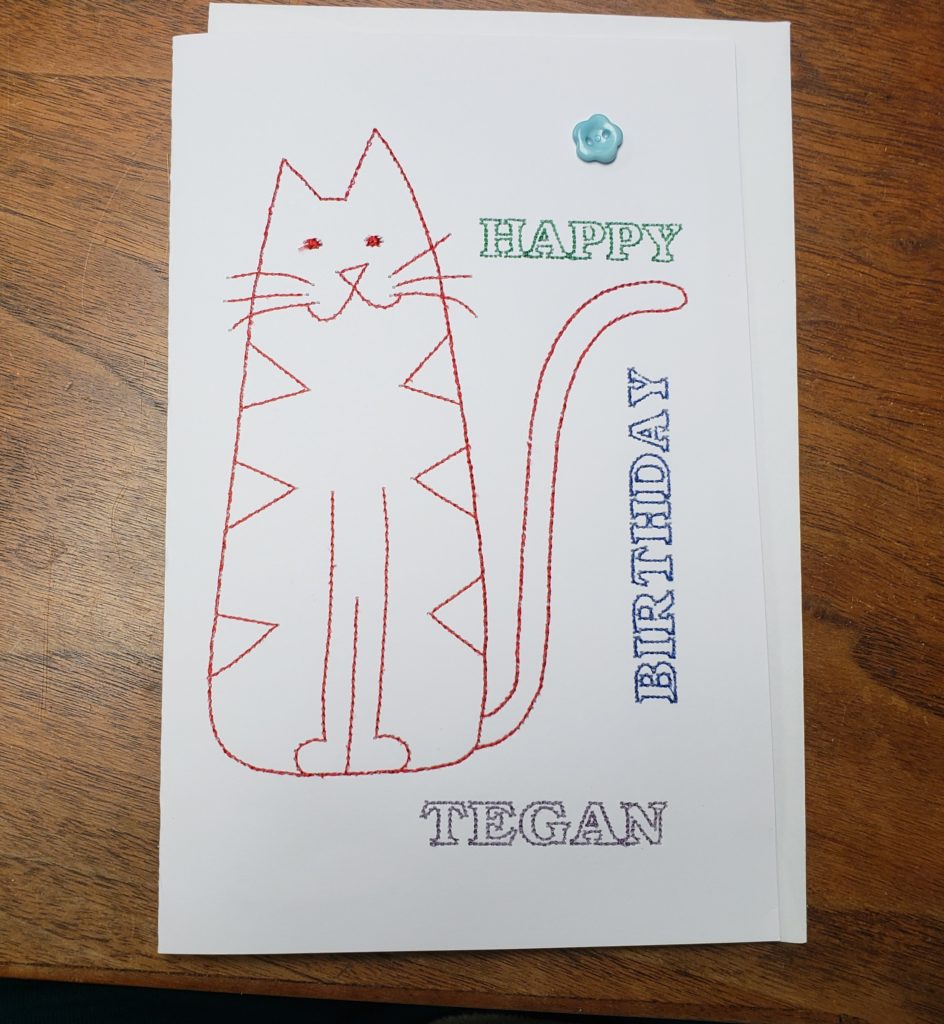
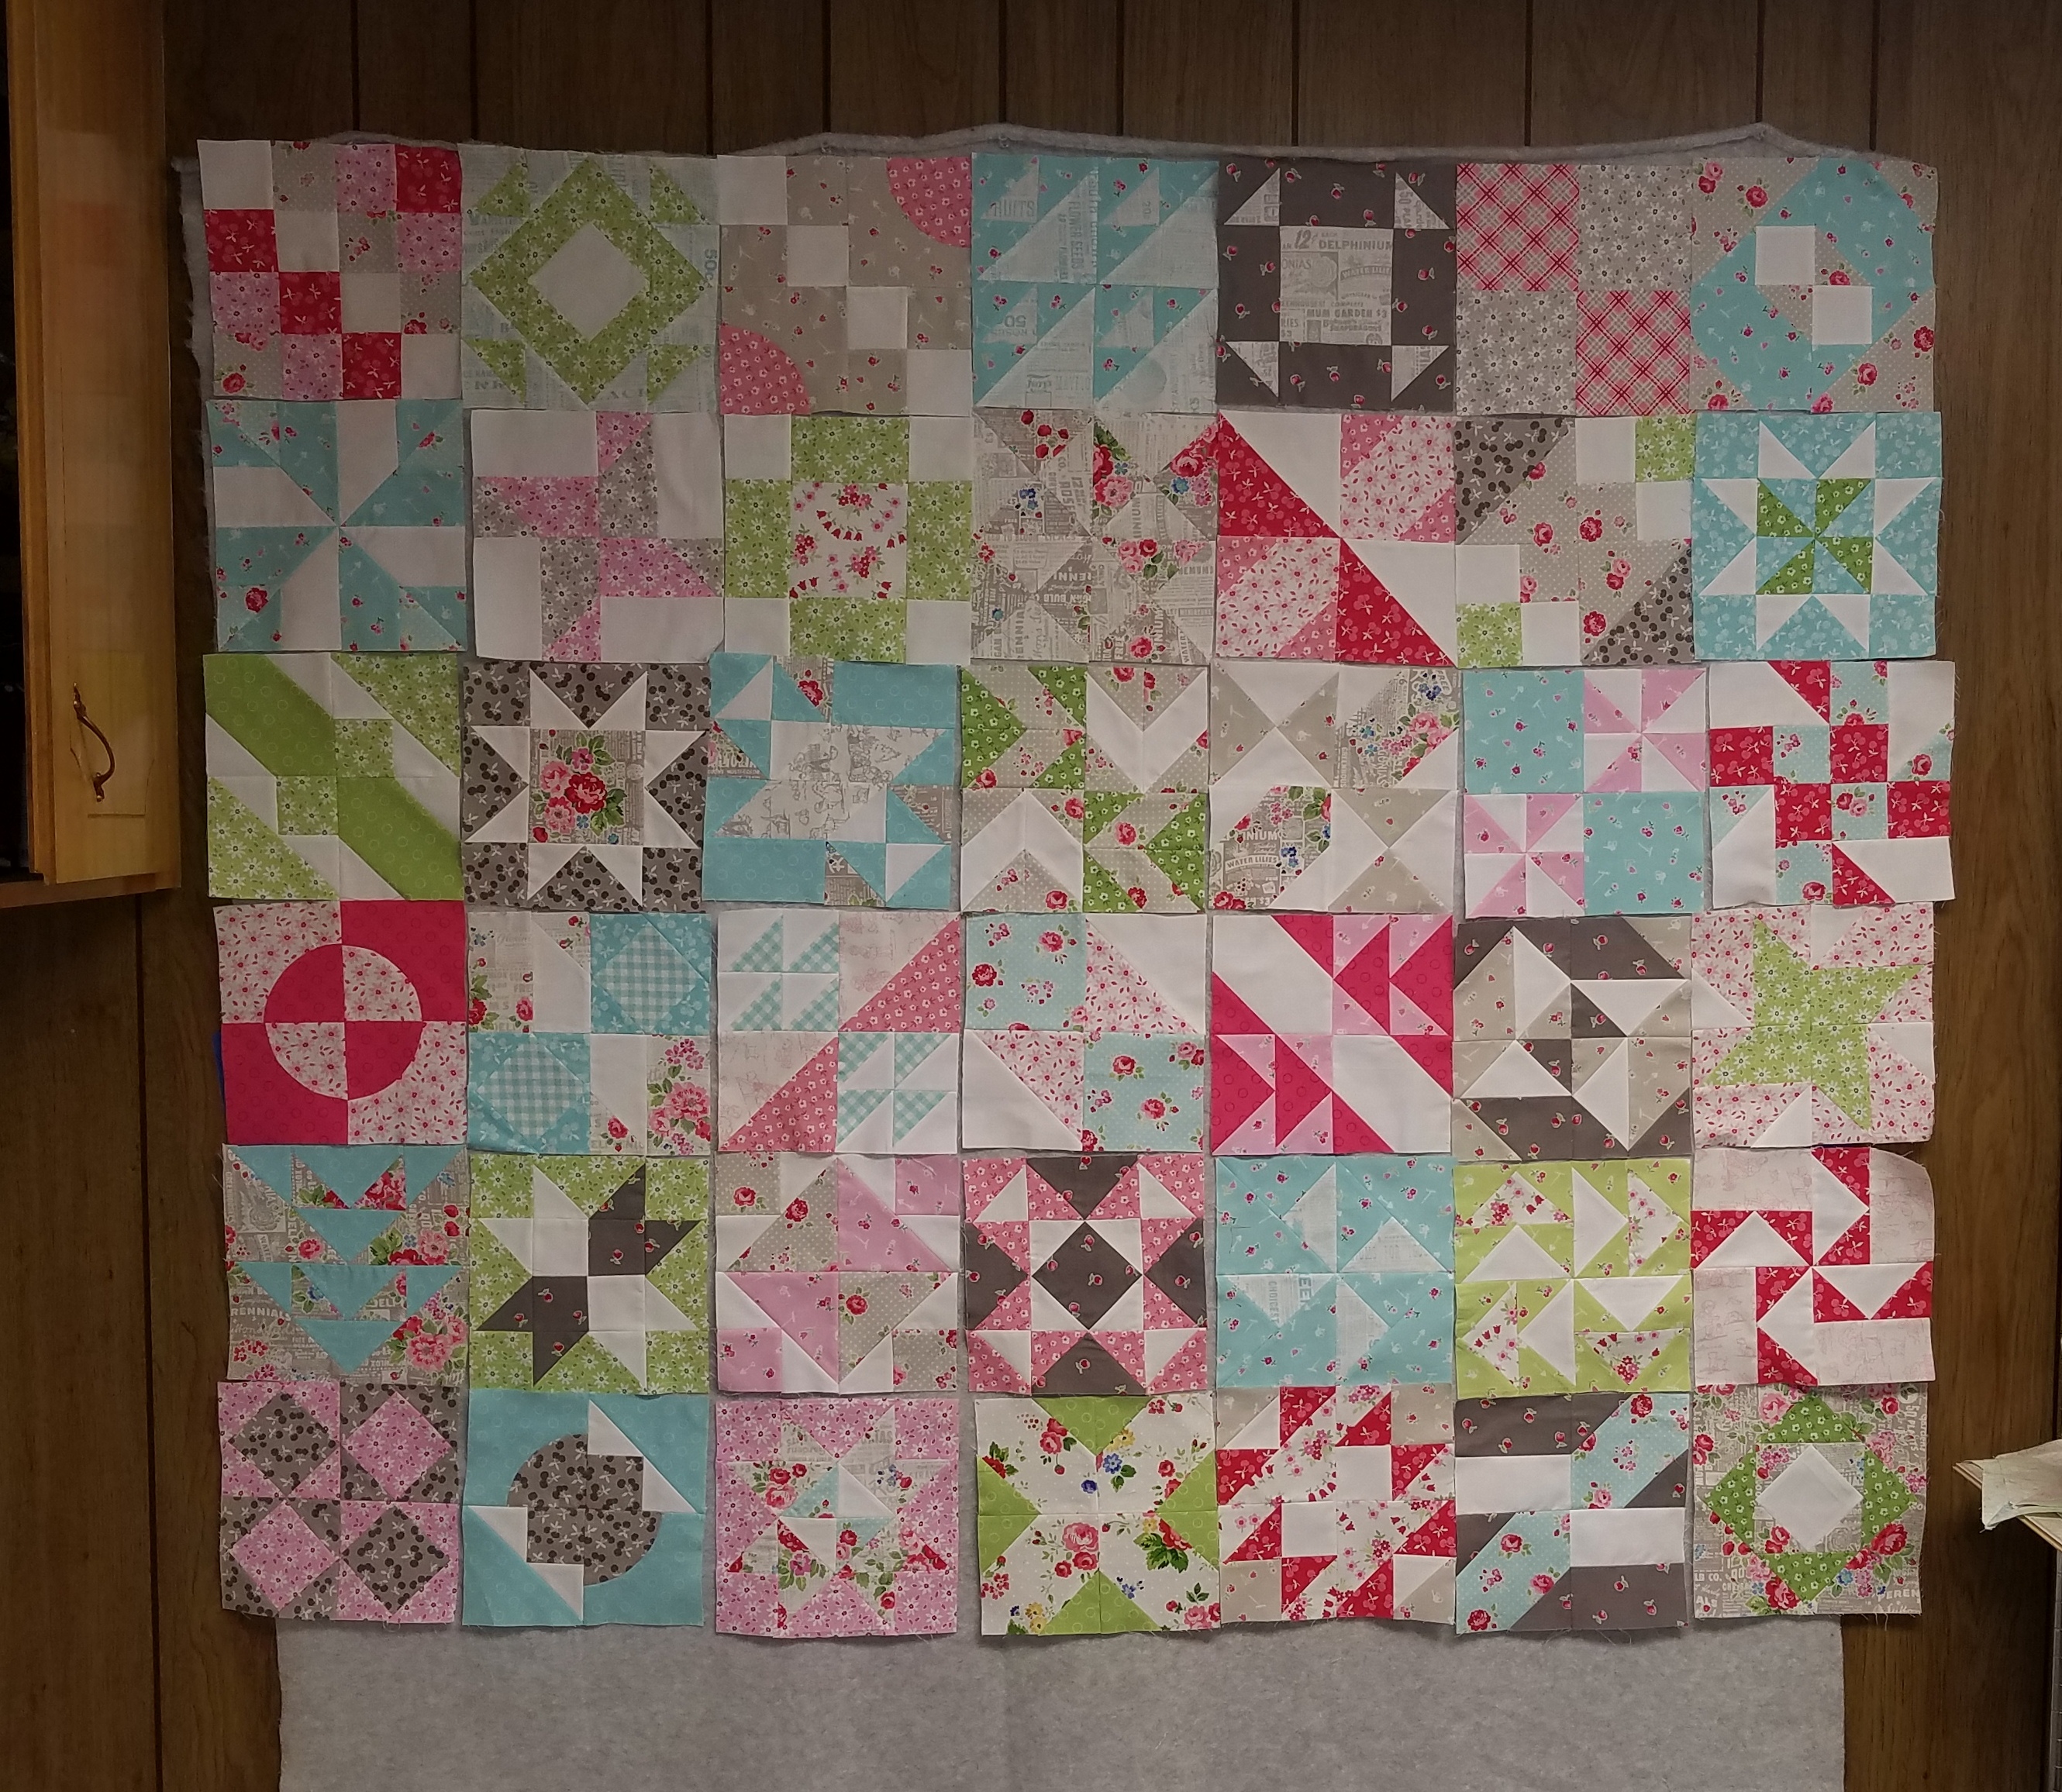
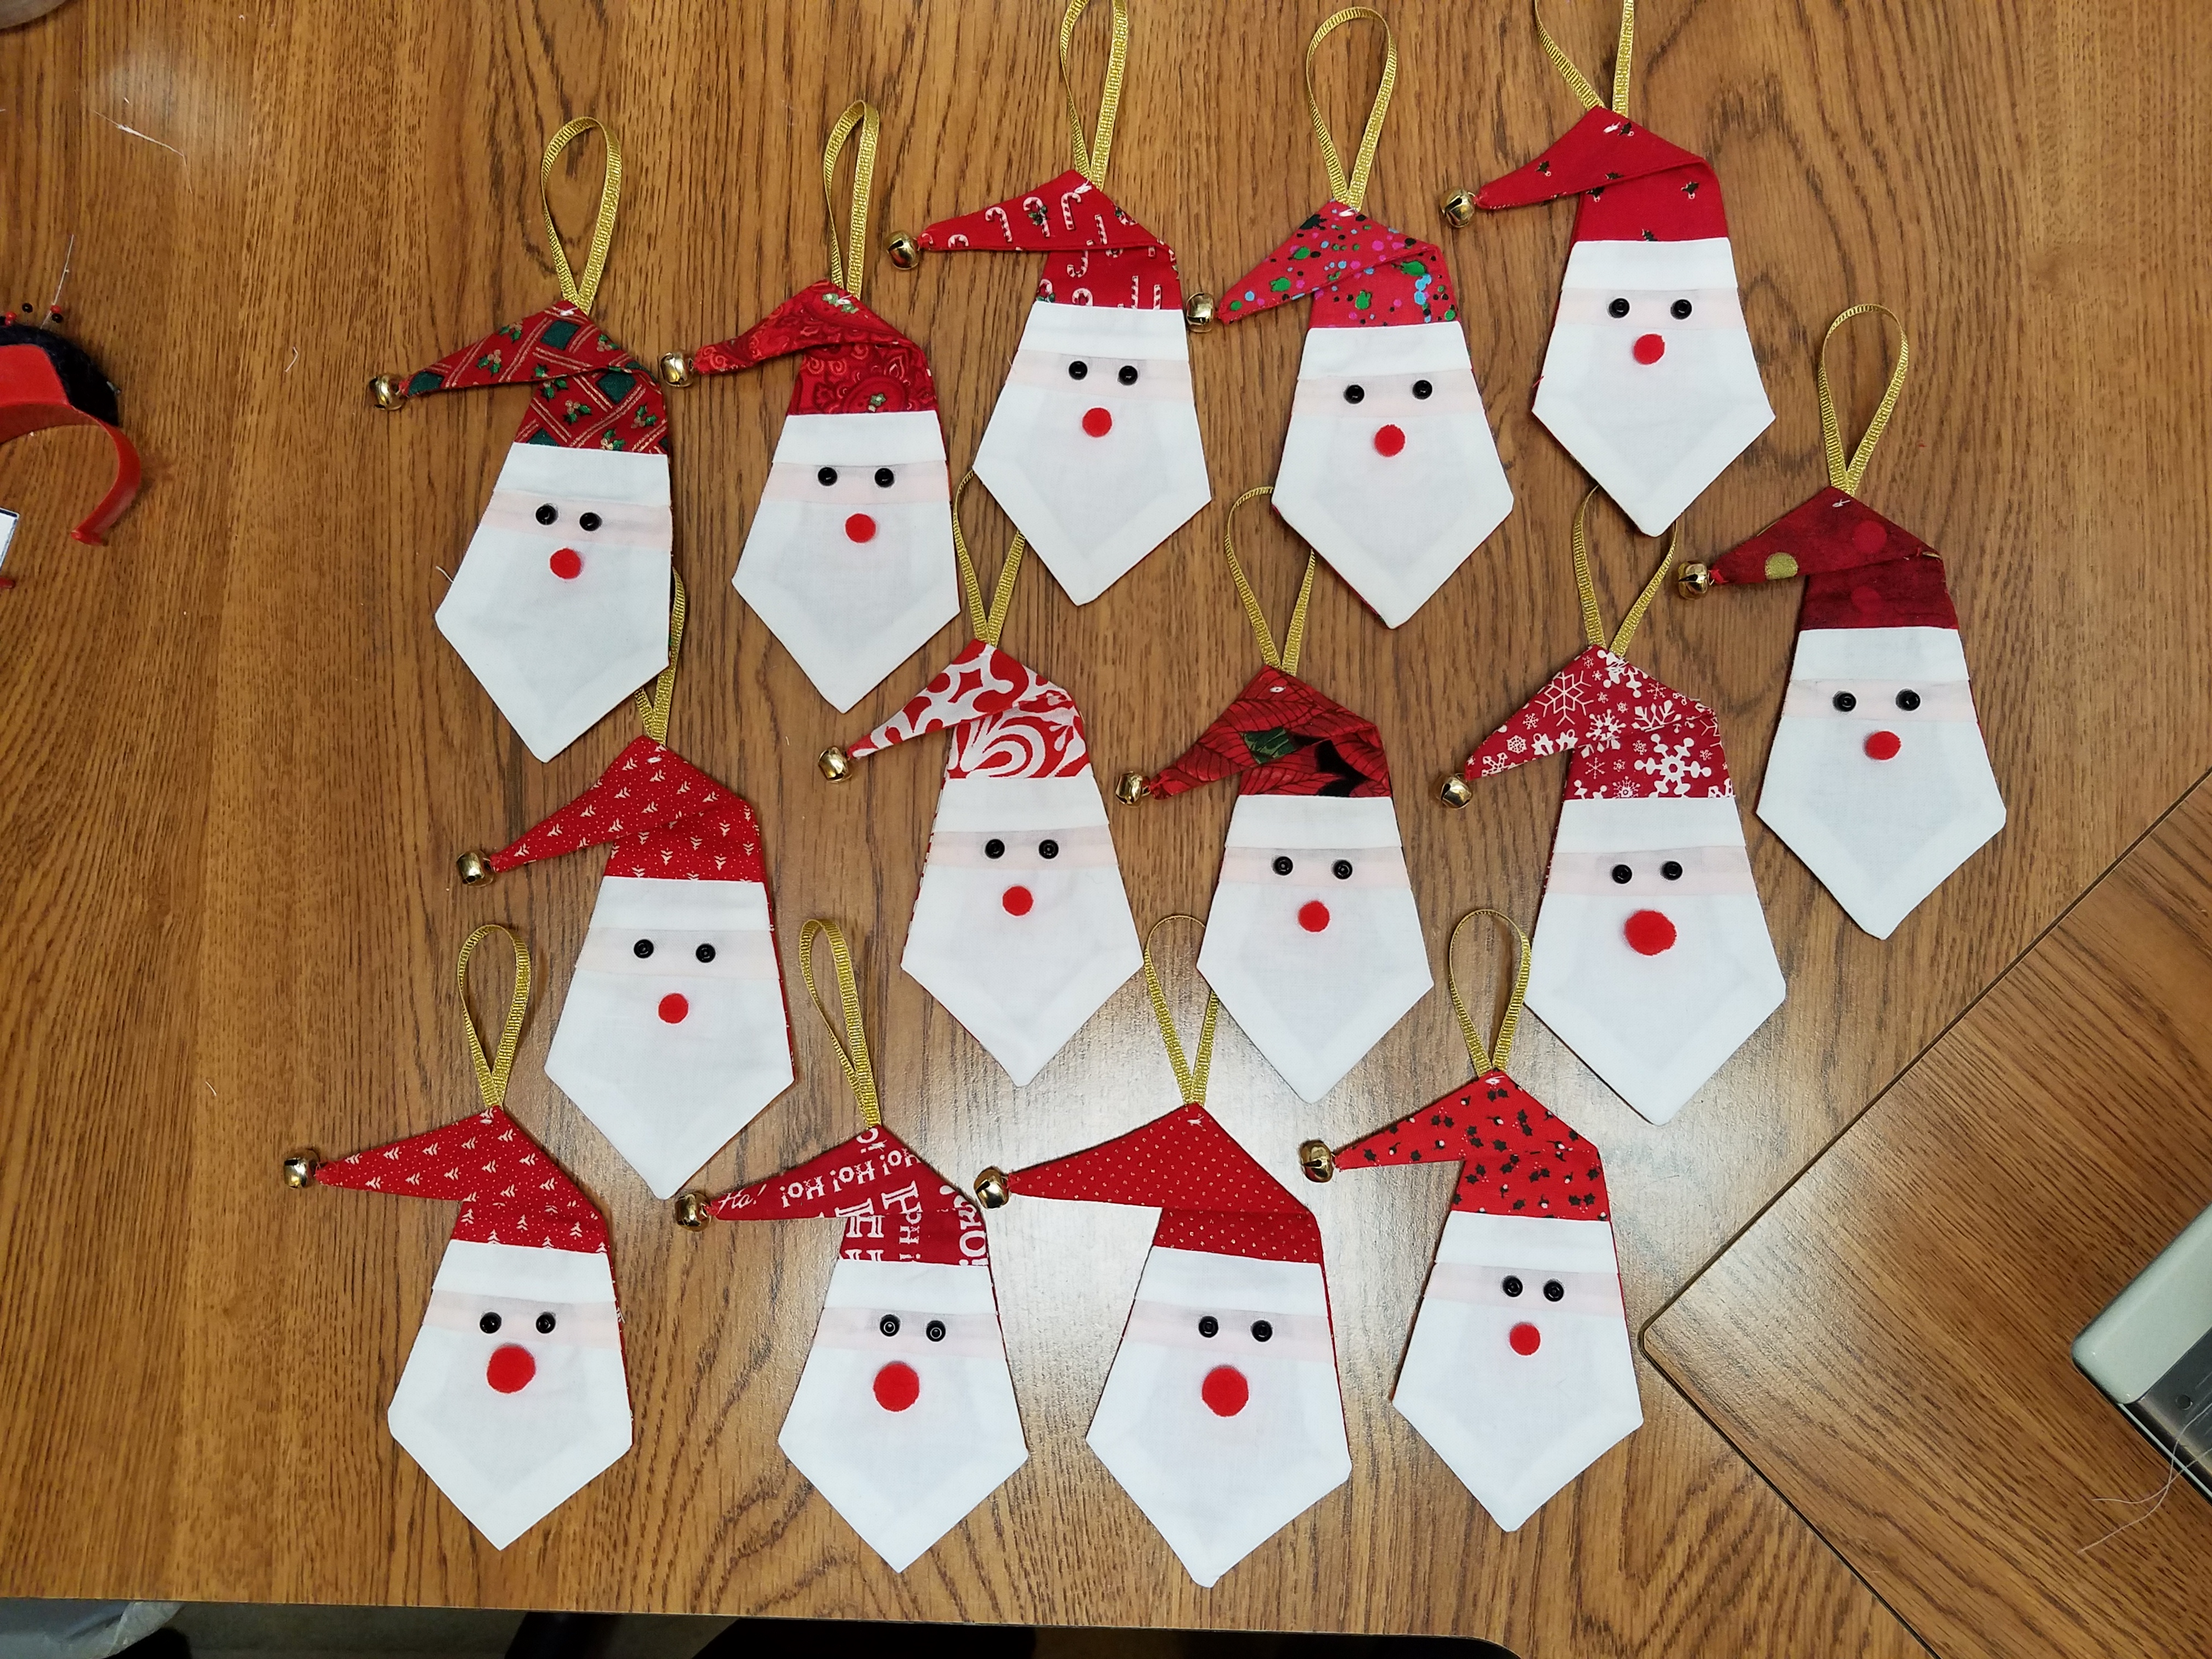
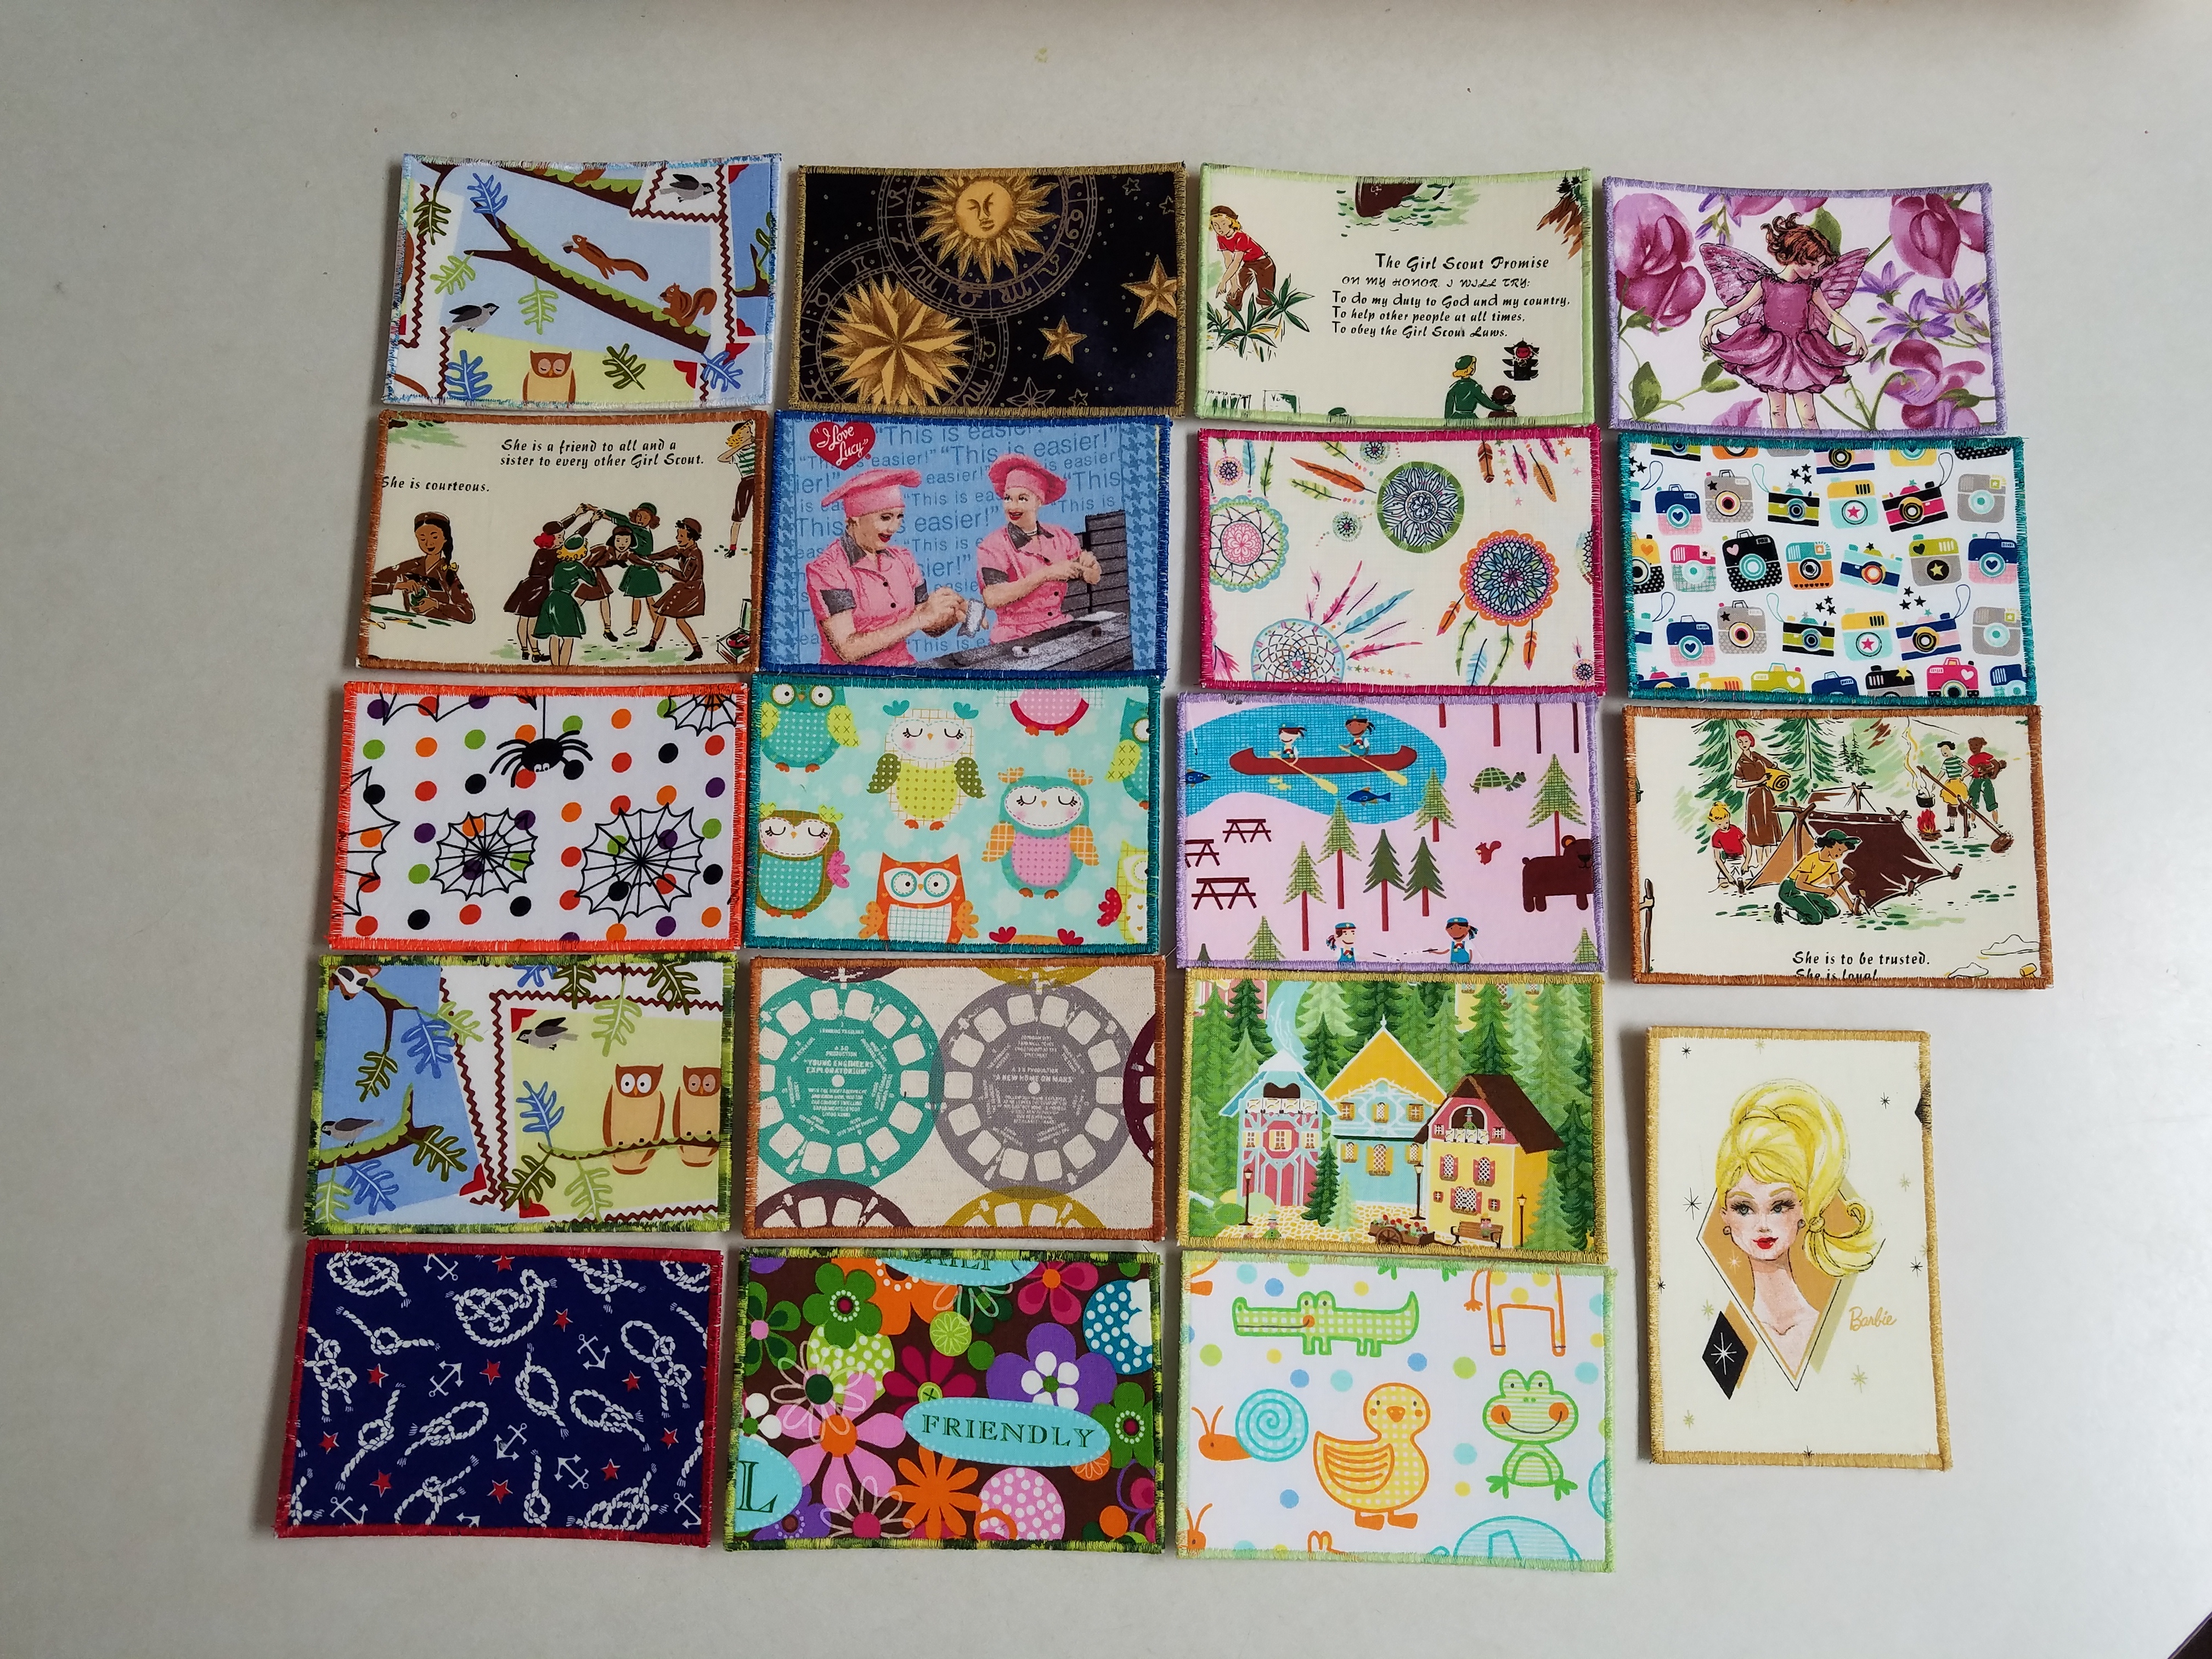
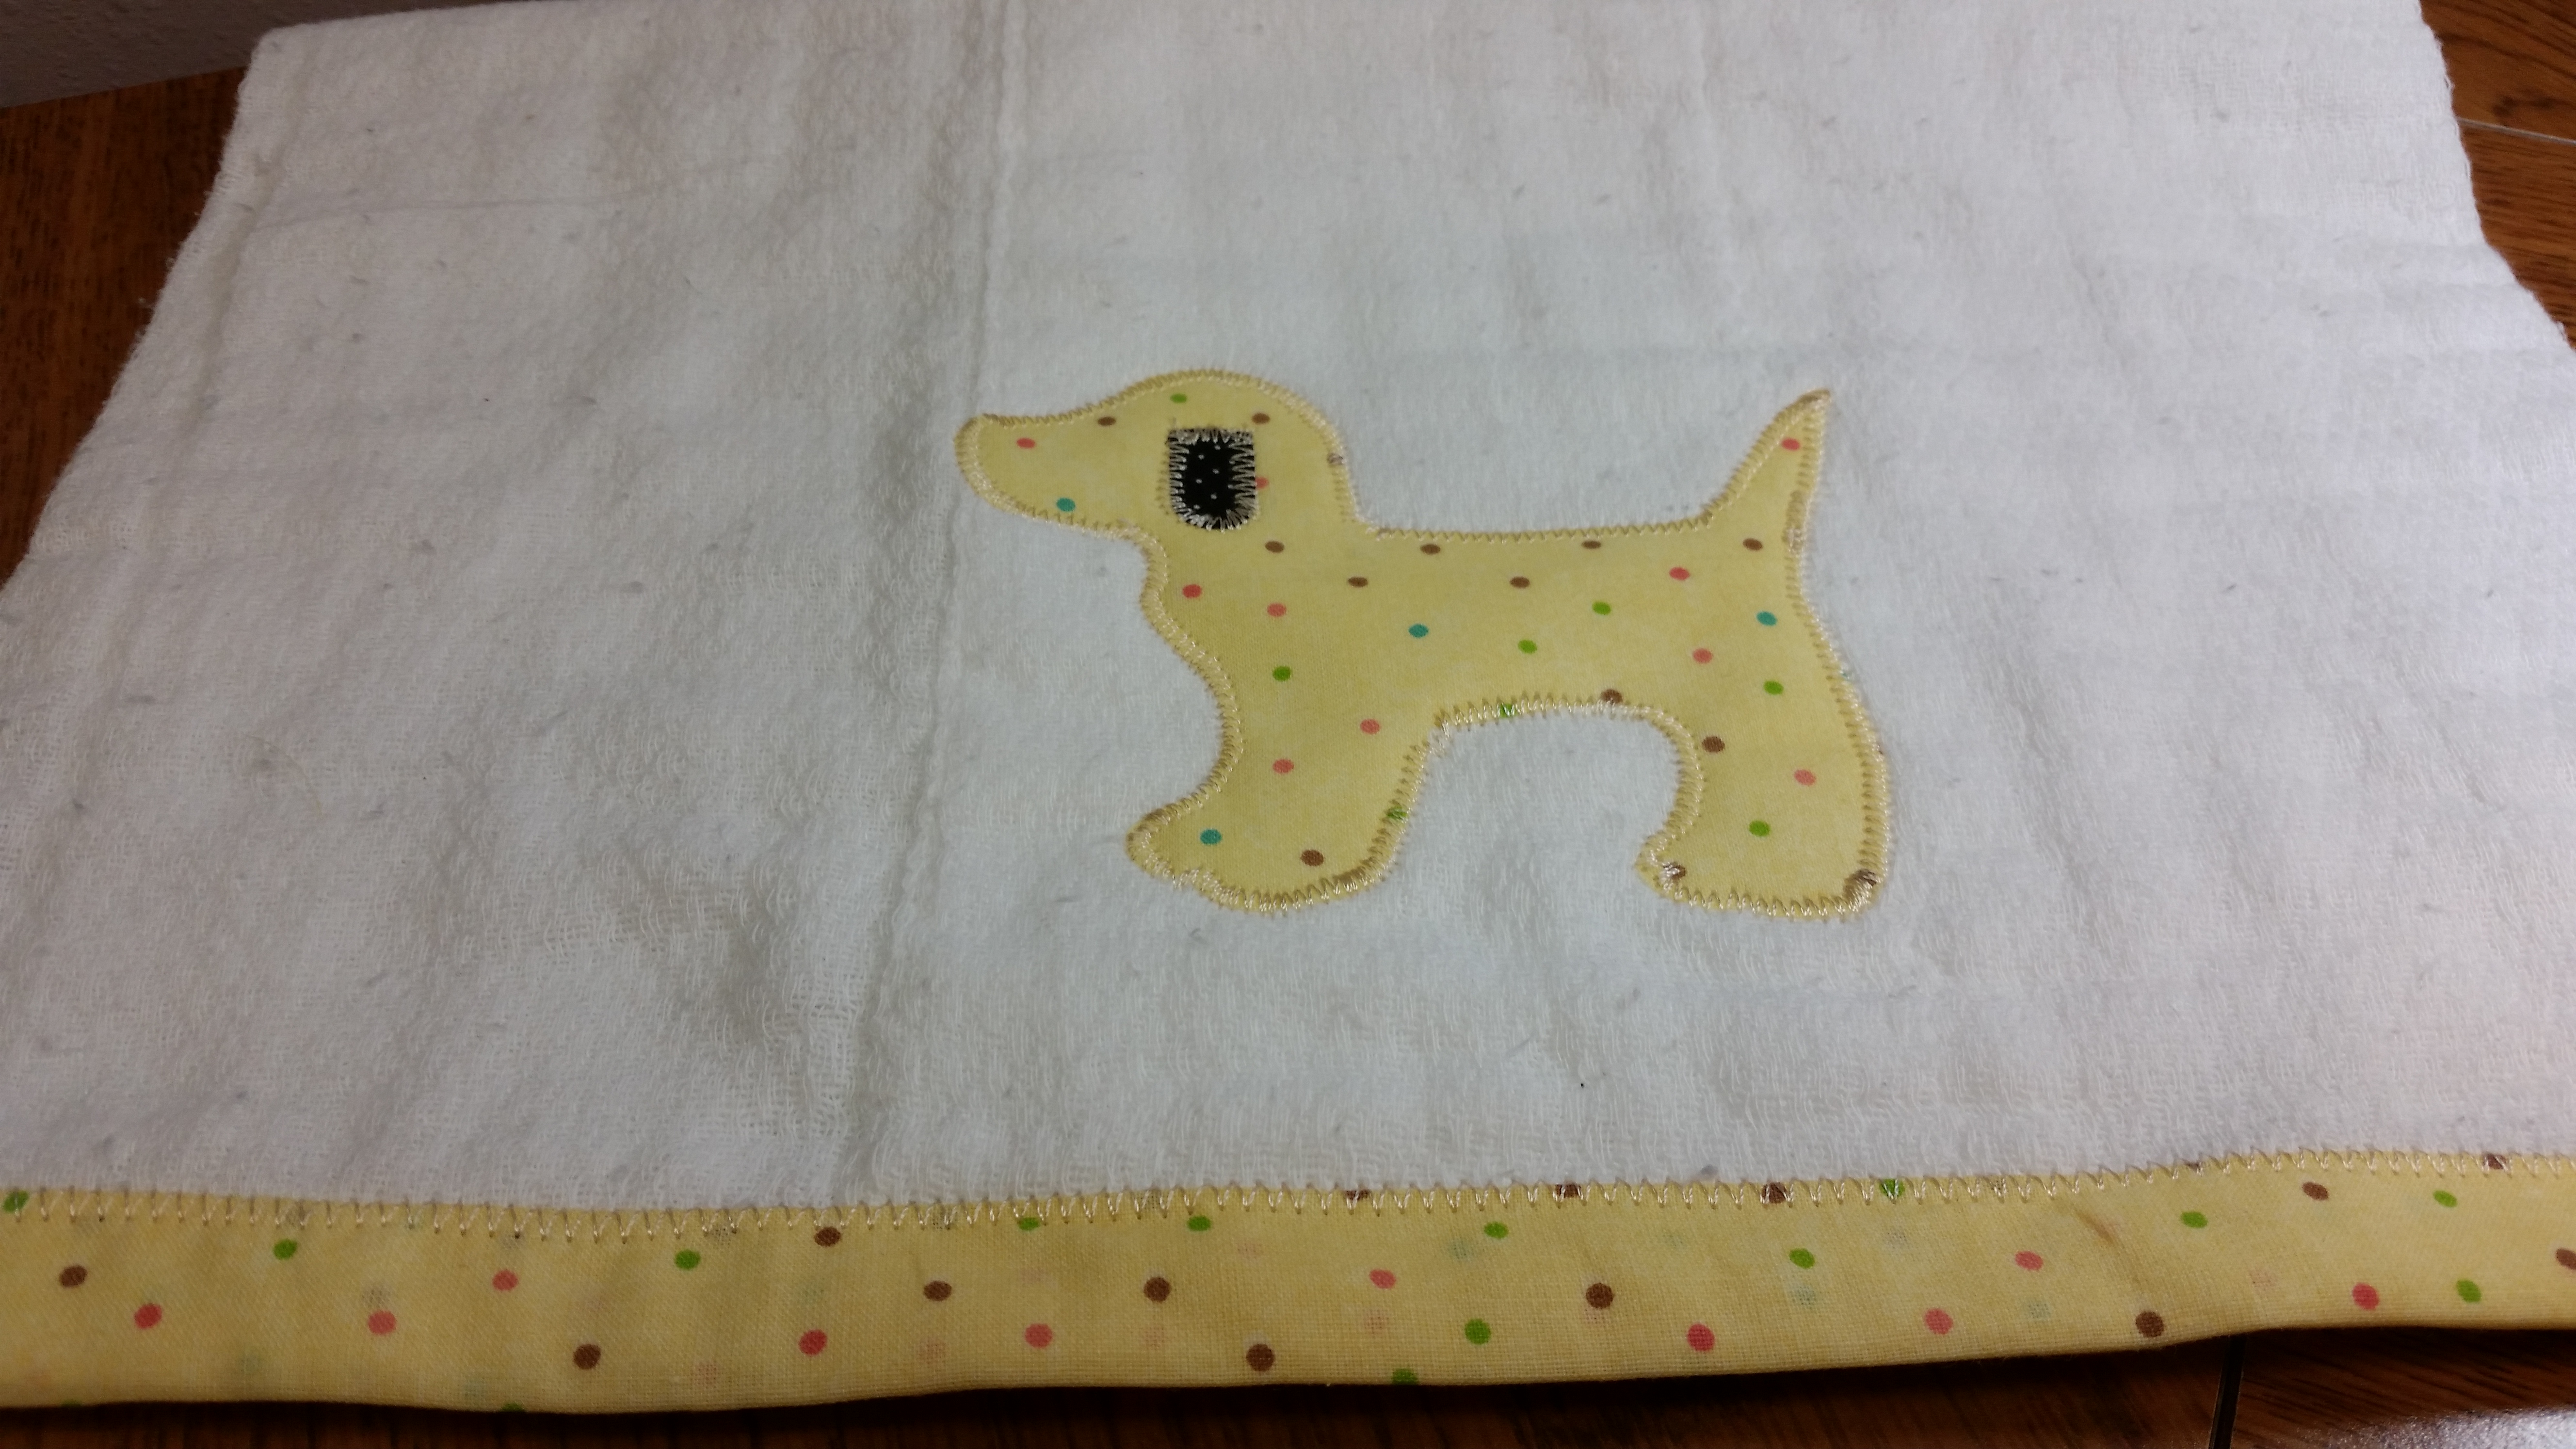
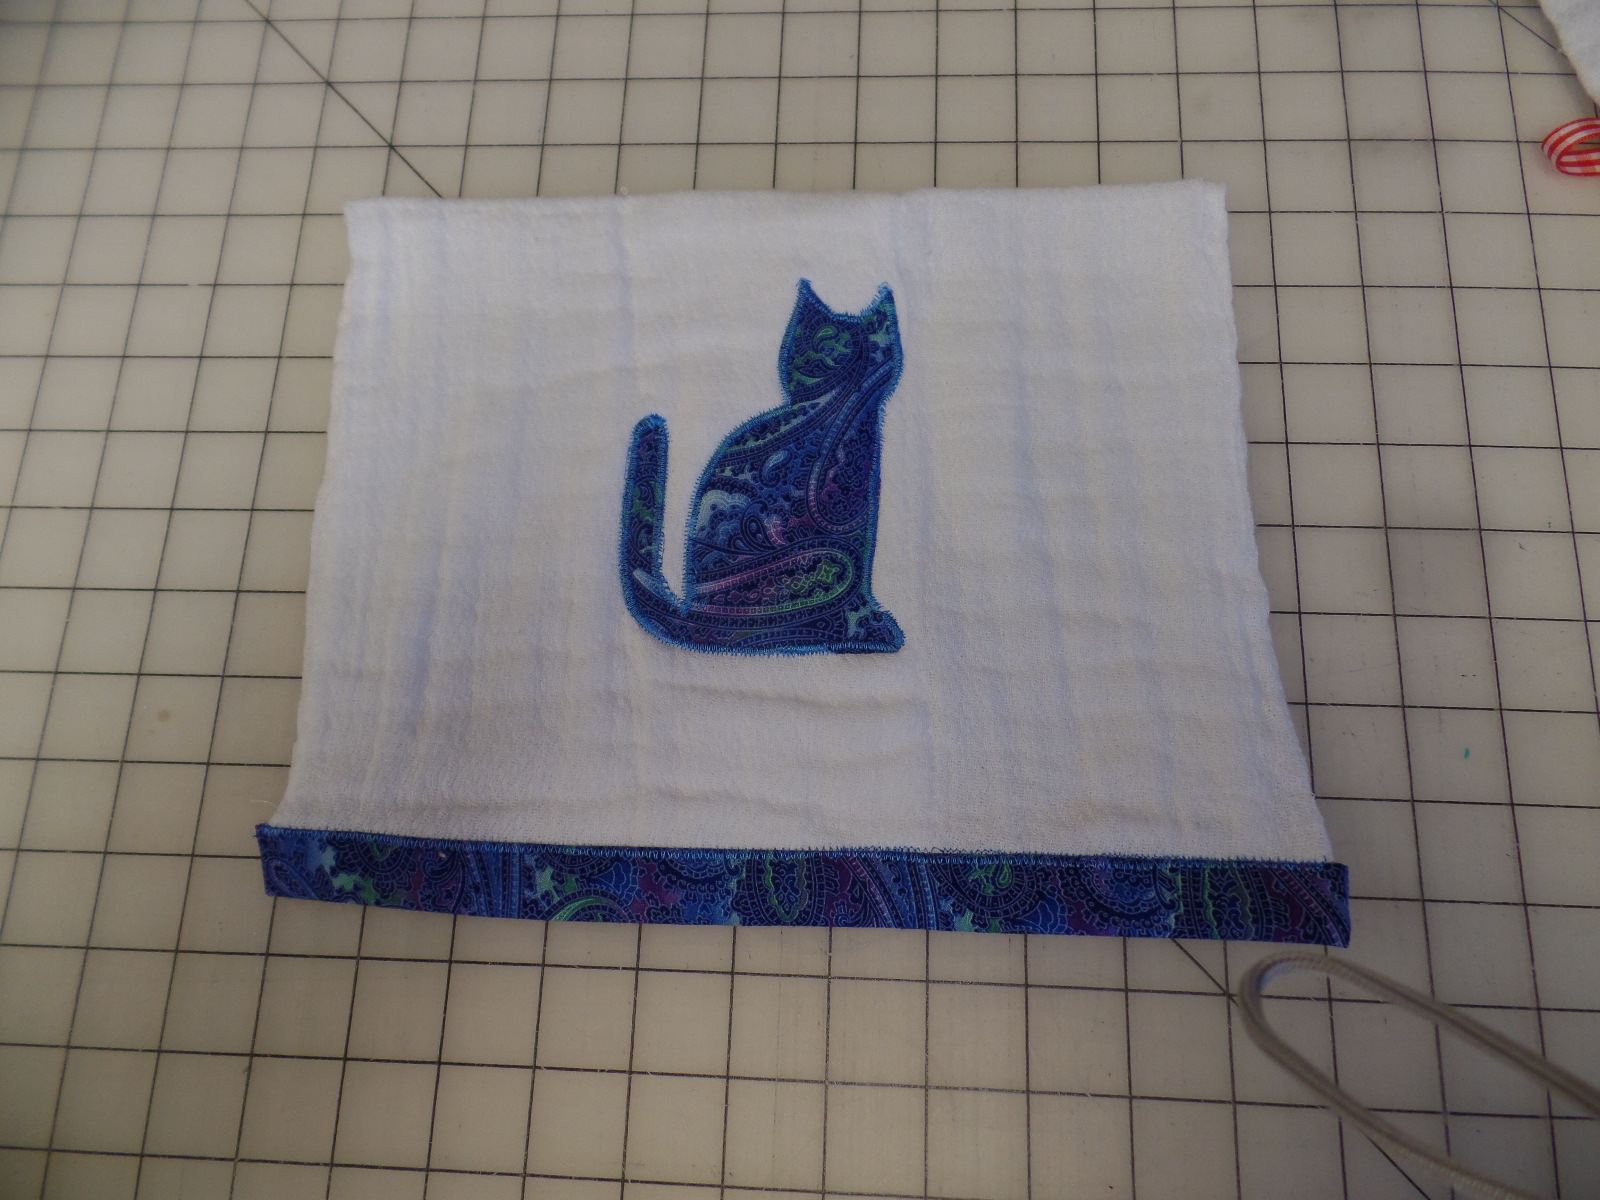
I’ve always like to embroider and when first got my old machine I had taken all kinds of classes including machine embroidery. Although the outcome is the same, the method is entirely different now when it’s controlled by machine and not by hand. I have been smitten by the embroidery bug! Now I’m conflicted even more but it’s because I don’t have enough time for quilting nor do I have enough time for machine embroidery so how do I choose. I’ll admit, the quilt top that was almost completed, is still almost completed. One of my goals for this year is to finish that quilt because it’s actually for me! In the meantime, I’ve been experimenting and learning about machine embroidery. I think I’ll start adding to this blog for a bit and document some of that learning. For now, my latest interest is cards. So many choices and certainly not enough time!

birthday card

A Quilted Banner

I had fun making this quilted banner for a friend who owns a property management company. Several years ago she had a new logo designed for her rapidly growing company. Ever since I saw it I kept thinking how much fun it would be to make a banner that combined the maple leaf theme with the new logo. This year she celebrated a significant birthday and I knew this would be the perfect occasion.

I had the logo printed at Spoonflower which is a company that will do custom printing. It did take longer than I thought to get it back. Nearly three weeks so if I do this again I’ll plan better for that. I had some Accuquilt dies in different sizes to cut the maple leaves. Again, I’ve planned this for a couple of years so had already purchased the dies.

I really didn’t know until I started what I was going to do. I was not certain what  size the logo would end up and knew that I needed to see it before I could plan the rest. I ended up starting and then letting it sit for a few days until I knew how and I was going to proceed. I used a big 161/2 inch ruler to cut the logo, added the borders and then had an assortment of leaves cut and kept moving things around until I got what I liked. I’m glad that I didn’t rush and took pictures along the way because I did change my mind about what I was going to do.  The biggest change was in the colored border. Originally I had planned to use a rust/orange but when I took a picture and put in on my computer I realized I didn’t like it and the yellow looked much better.

In the end, I was pleased with the result and even put a pocket hanging corners on the back as well as a label with birthday wishes and my name. I rarely label my quilts so this was a first.

Cube Quilt Along

One of the fun projects that I did last year was a Cube Quilt Along. I own an AccuQuilt cutting system and one of the products that they sell is a Cube. This is actually how the dies are packaged, in a cube. Each cube set has dies that create a specific size finished quilting block. The block size that I chose to use last year was the 8″ cube and the classic companion set which is an extra set of dies that coordinates to make a lager variety of blocks in each size. Although I’ve owned the AccuQuilt cutter for several years, and I’ve sewed for many many years, I’ve never done much quilting. This cube quilt along was a wonderful way for me to learn and practice more quilting. I worked on a consistent seam allowance and learned how the shapes worked together to form blocks. The other thing that I got to practice was learning more about color placement and color values.

42 blocks

?

Each week for 48 weeks Bea of Beaquilter  provided instructions for a new block. It was fun to look forward to and nice to only have one block to do. Here is a picture of the entire set of 48 blocks. I guess I only have a picture of 42 of the blocks. I’ve got the rest pinned together and this weekend hope to get the rest done and sandwiched for quilting. I may decide to send it out however because it will be difficult for me to quilt on my machine and makes my shoulder hurt. I’m looking forward to the finish and am now working on the 2018 Cube quilt along. This year I’m using two entirely different color schemes and doing one with 9″ blocks and one with 12″ blocks. So far, I’ve enjoyed this as well.

New Year and New Projects

paper piece SantaWell, it’s a new year and I’m on to new projects.  I know it’s been a long time since I’ve posted updates and although the intention is good, somehow I don’t seem to update as often as I would like. I’m just going to start small with one of the fun projects that I did for the holidays. These paper pieced Santa’s were my holiday ornaments this year. I had so much fun doing them that I was sad to think I can’t do them and give them again next year. So I’m on the hunt. I still have a couple of months to think about it.

Project Not So Good

Well, in the life of sewing and crafts there’s always a project that doesn’t turn out quite the way you would expect. That’s what happened with this potholder. Now potholders are pretty forgiving which is good. I always can use another potholder and this one is destined to live in my kitchen rather than be given away. I loved the fabric. It was cute with a vintage feel. And I love the text fabric as well. Putting them together in this block was not so good. The print was too busy for this block pattern and the text print was too busy to go with this fabric as well. Both prints are the same scale so there is not enough contrast. The colors were fine but ugh..

The positives however were that I can always use another potholder and I got to practice making a new to me block. I also got to practice finishing the potholder. I struggle with the hand sewing to close the side where I turned it so every time I practice it gets better. There will be better choices next time and I did use up some more fabric.

busy fabrics

Babies and oops

Well the last post I did about babies and the latest baby gift was hacked. Apparently I didn’t get the update applied in time and the post was deleted except for one picture. I do want a record of the things I’ve made on this blog so I can have a reference so I’m going to repost some of the pictures and text.

This is the quilt I’ve made for this new little boy. He’s arrived last week and his name is Parker. Such a sweet looking little boy and I’m looking forward to holding him and smell that sweet little baby smell.

Starfish AlleyI also made some drool bibs and a tag blanket as well as some pacifier clips.

Starfish Alley

I didn’t want to forget little sister. I suspect this might be a challenge for her. She is only 20 months and her place in the family is going to feel threatened. She’s now the middle child. So here is a baby doll and a blanket just for her.

Starfish Alley

Fun times for all. Big sister got a book. I don’t want to forget anyone.

Flex Frame Christmas

This was a flex frame Christmas. Or what I mean to say is I made lots of flex frame pouches this year for Christmas gifts. It’s really kind of addicting. Once I figured out a pattern it was hard for me to leave them alone.

When I was trying to decide what to make that would be fast, easy and fun I always start with zip pouches. The friends who have known me for a long time however have zip pouches. I do like to make them. I find them useful and it helps me feel organized.

This year I remembered seeing some flex frame tutorials and thought this might be fast and easy. I read a few tutorials that I found on the internet and then searched for flex frames. My friend Amazon of course had many sources for flex frames. My confusion was that they were all given in metric measurements. I used a converter tool to see what size they really were in inches and bought a package of 30.  I knew that I would make several for Christmas and I had an event in January that I could use them for and then would still have a few left for future projects.

When I got the frames the first step was to create a pattern. The first one I decided was too deep. By the time I opened the pouch,  it was hard to reach the bottom. The second time the channels for the frame were a little bit too long and wide. Once I had a pattern I cut and sewed several at one time. They were so cute it was hard to stop. I have about 6 more to make this week and then I think I’m done for a bit and ready to get back to finishing several more baby quilts that I’ve started and put aside.

Babies Again

Offshore Baby quiltsail boat tag blanketcar burp rag

dog burp rag


cat bup rag


Babies seem to be the theme here and this was a quilt for my niece. She had the first little boy in my brother’s family. Exciting times for sure!.

The daddy is involved in crew and repairing boats etc. so I really wanted to use some water themed fabric and I loved this Offshore line of fabric by Deena Rutter for Riley Blake The colors and the variety of prints really appealed. Of course there were a few other things I included for the new baby. I made some burp rags with appliques and also a tag blanket.


More Zipper Pouches

I’ve probably made at least 100 zipper pouches in the past few years and they are fun to make. There are many zipper pouches in my life because I really like to have all the parts and pieces of things together. These two pouches were made specifically for a little power bank for recharging tech items like phones or tablets. It has a tiny cord for charging the device. If you have an iPhone then you may need an additional cord as well.

In my life, if they’re not both in one place I have trouble finding them and I hate to waste my time looking for those things. These were both gifts and the recipients were both pleased. Score another one for me.

zipper pouchpurple zipper pouch

« Older posts

© 2024 Starfish Alley

Theme by Anders NorenUp ↑