Category: Projects and Dreams (Page 1 of 3)


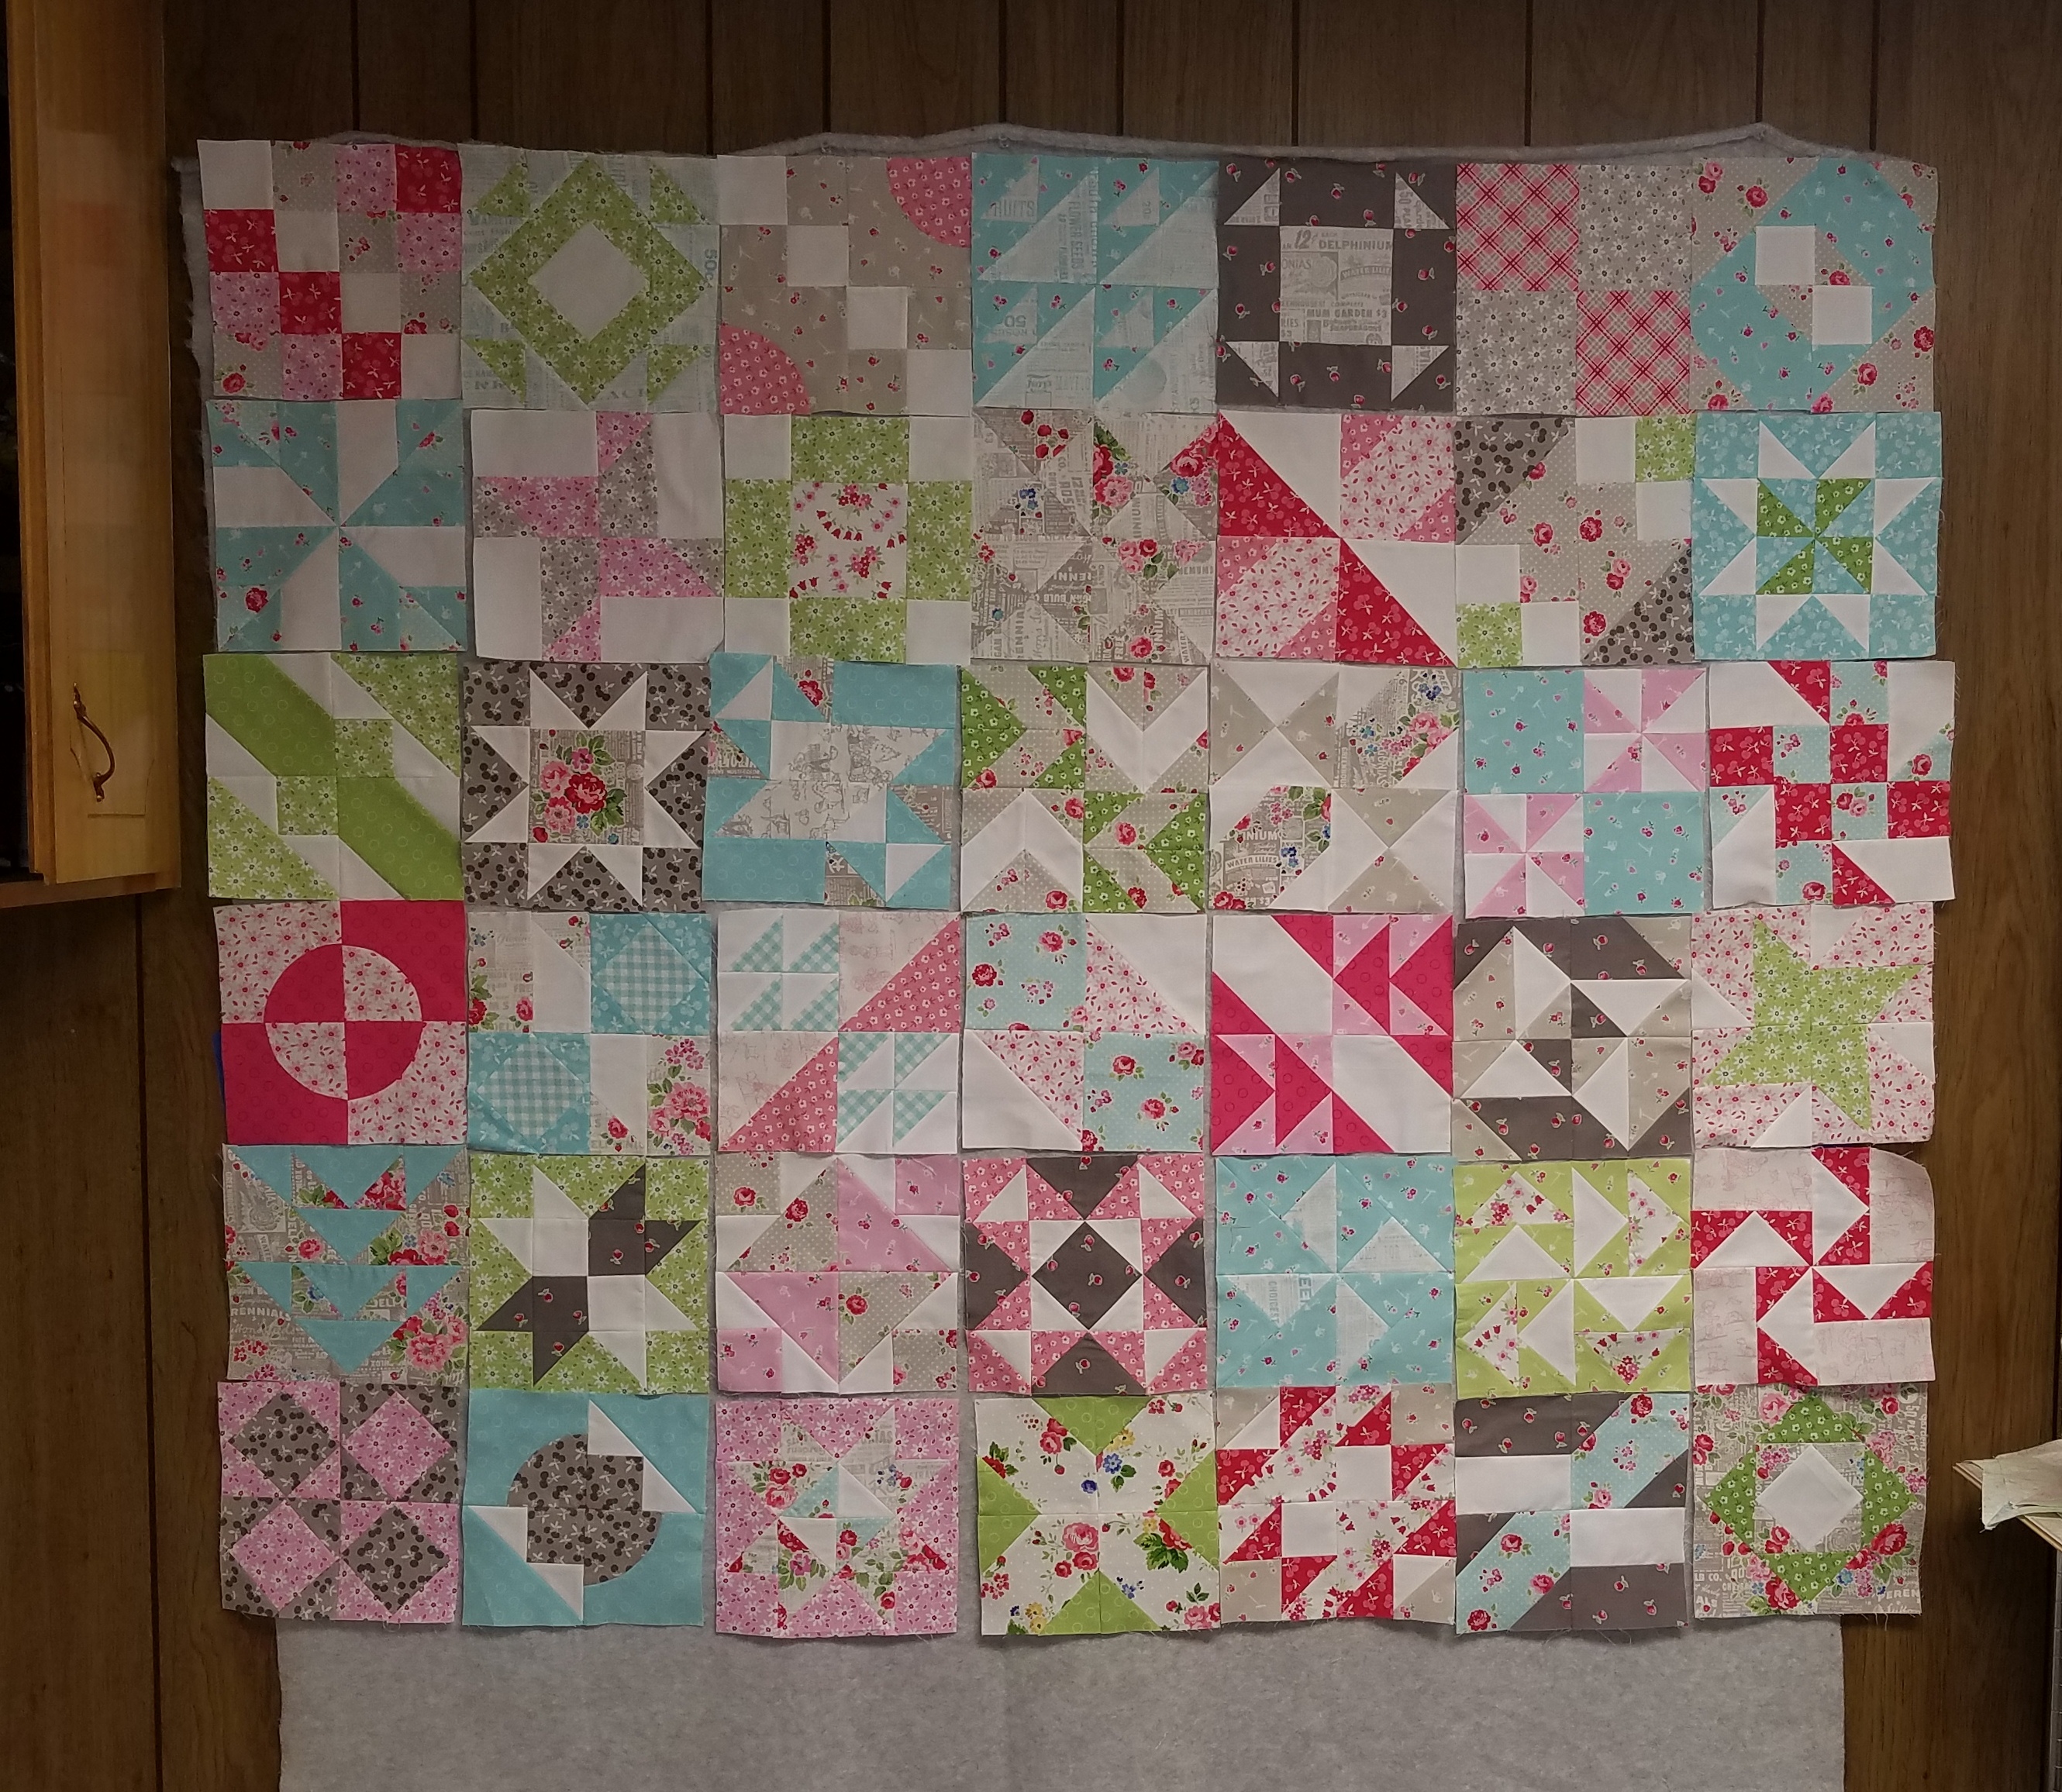
One of the fun projects that I did last year was a Cube Quilt Along. I own an AccuQuilt cutting system and one of the products that they sell is a Cube. This is actually how the dies are packaged, in a cube. Each cube set has dies that create a specific size finished quilting block. The block size that I chose to use last year was the 8″ cube and the classic companion set which is an extra set of dies that coordinates to make a lager variety of blocks in each size. Although I’ve owned the AccuQuilt cutter for several years, and I’ve sewed for many many years, I’ve never done much quilting. This cube quilt along was a wonderful way for me to learn and practice more quilting. I worked on a consistent seam allowance and learned how the shapes worked together to form blocks. The other thing that I got to practice was learning more about color placement and color values.
?
Each week for 48 weeks Bea of Beaquilter provided instructions for a new block. It was fun to look forward to and nice to only have one block to do. Here is a picture of the entire set of 48 blocks. I guess I only have a picture of 42 of the blocks. I’ve got the rest pinned together and this weekend hope to get the rest done and sandwiched for quilting. I may decide to send it out however because it will be difficult for me to quilt on my machine and makes my shoulder hurt. I’m looking forward to the finish and am now working on the 2018 Cube quilt along. This year I’m using two entirely different color schemes and doing one with 9″ blocks and one with 12″ blocks. So far, I’ve enjoyed this as well.
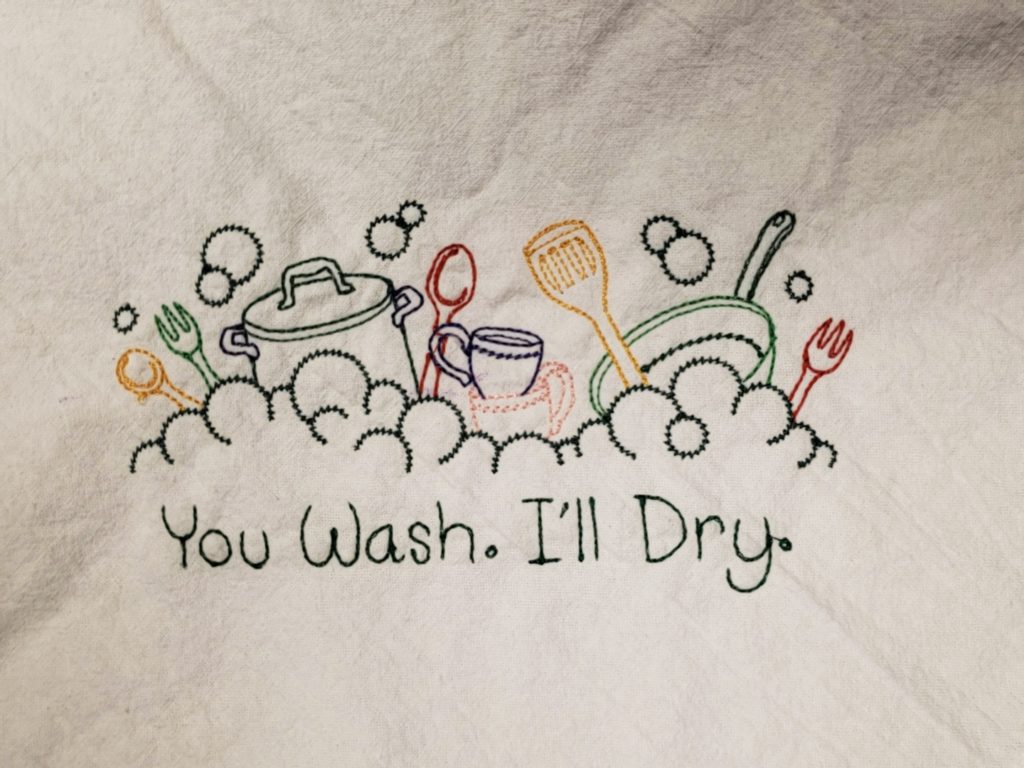
In my dreams I update this blog frequently with new projects and fun sewing activities. In reality, I just dream about it because there really has not been a lot of sewing. I did make a couple of skirts for a daughter’s birthday. I’ve also done a few zippered pouches and a bit of mending. I’ve also made a few dish towels with some applique. I would love to do more and maybe that will happen and maybe only a dream for a while. Part of the reason is just far more hours spent working. You know those adult kind of work things. I’ve also done some reading and tending to family issues.
This week is camp week however. After 21 years of attending Girl Scout camp as an adult and many more years as a girl, camp seems to be a part of my summer. I “retired” from camp a couple of years ago but still have lots of friends who attend and carry on this fabulous tradition. It looks like they will have a great week this week too. I try to send some mail but it needs to be sent at the beginning of the week or it will not arrive in time.
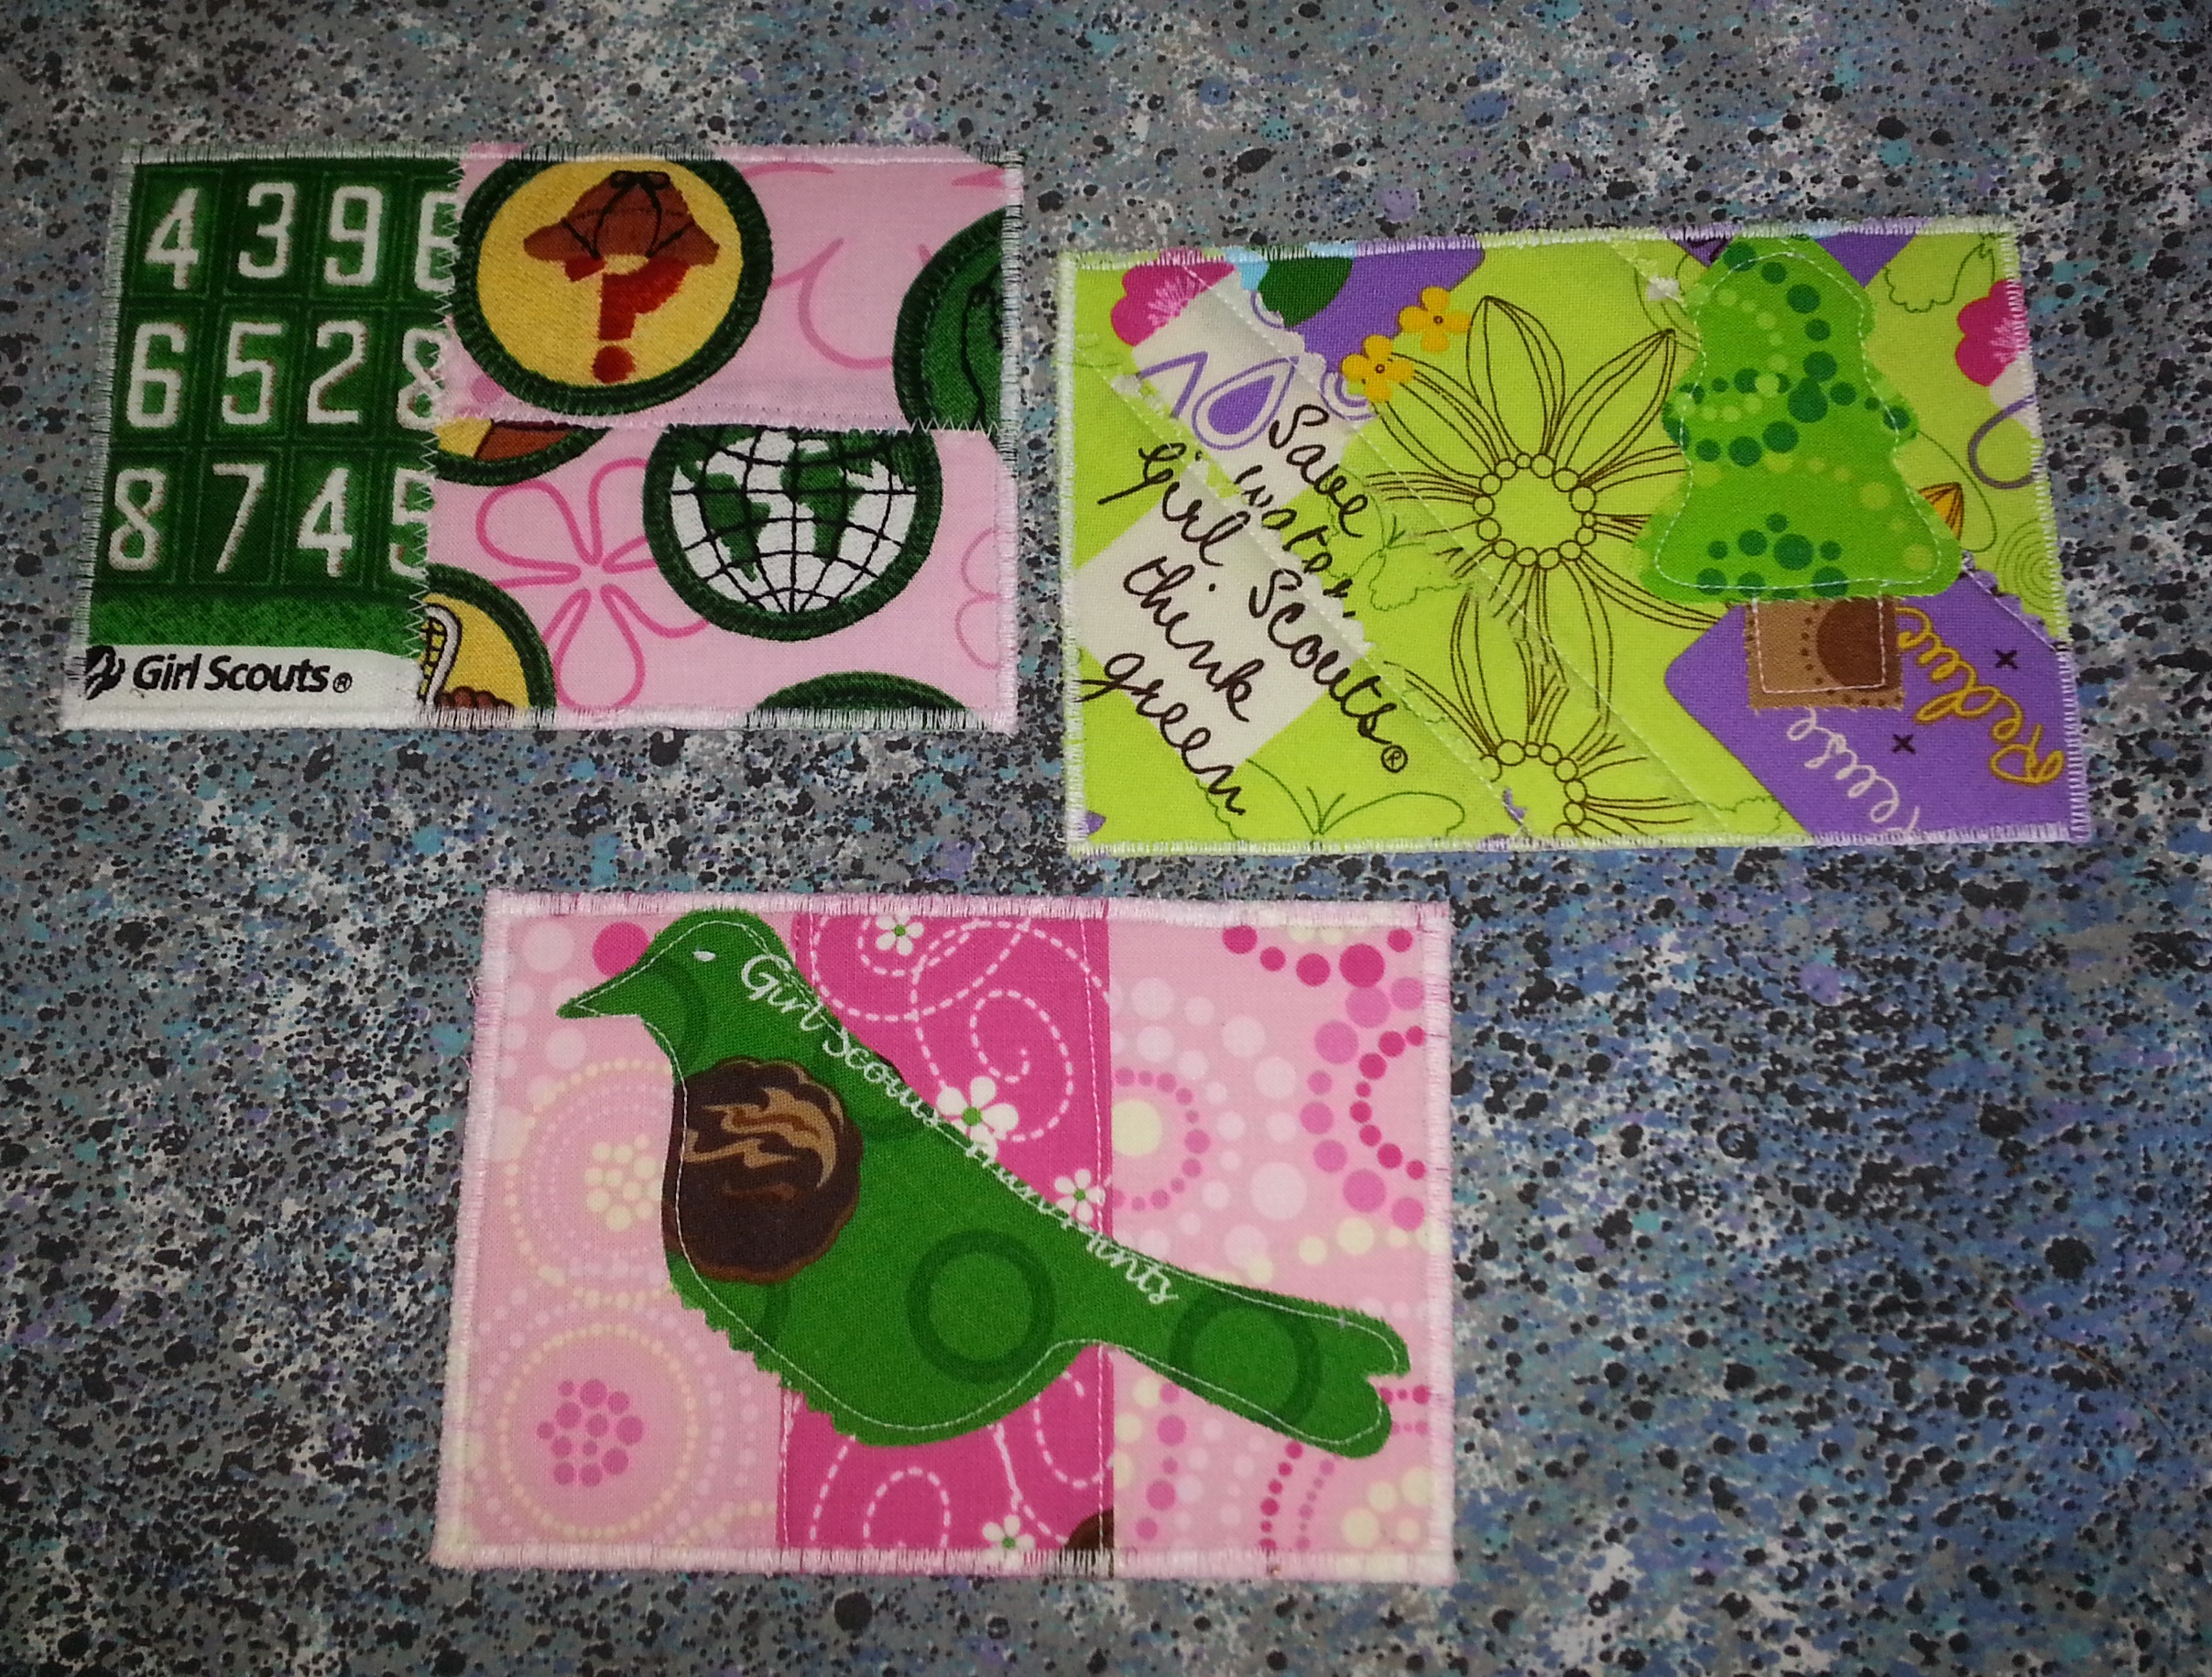
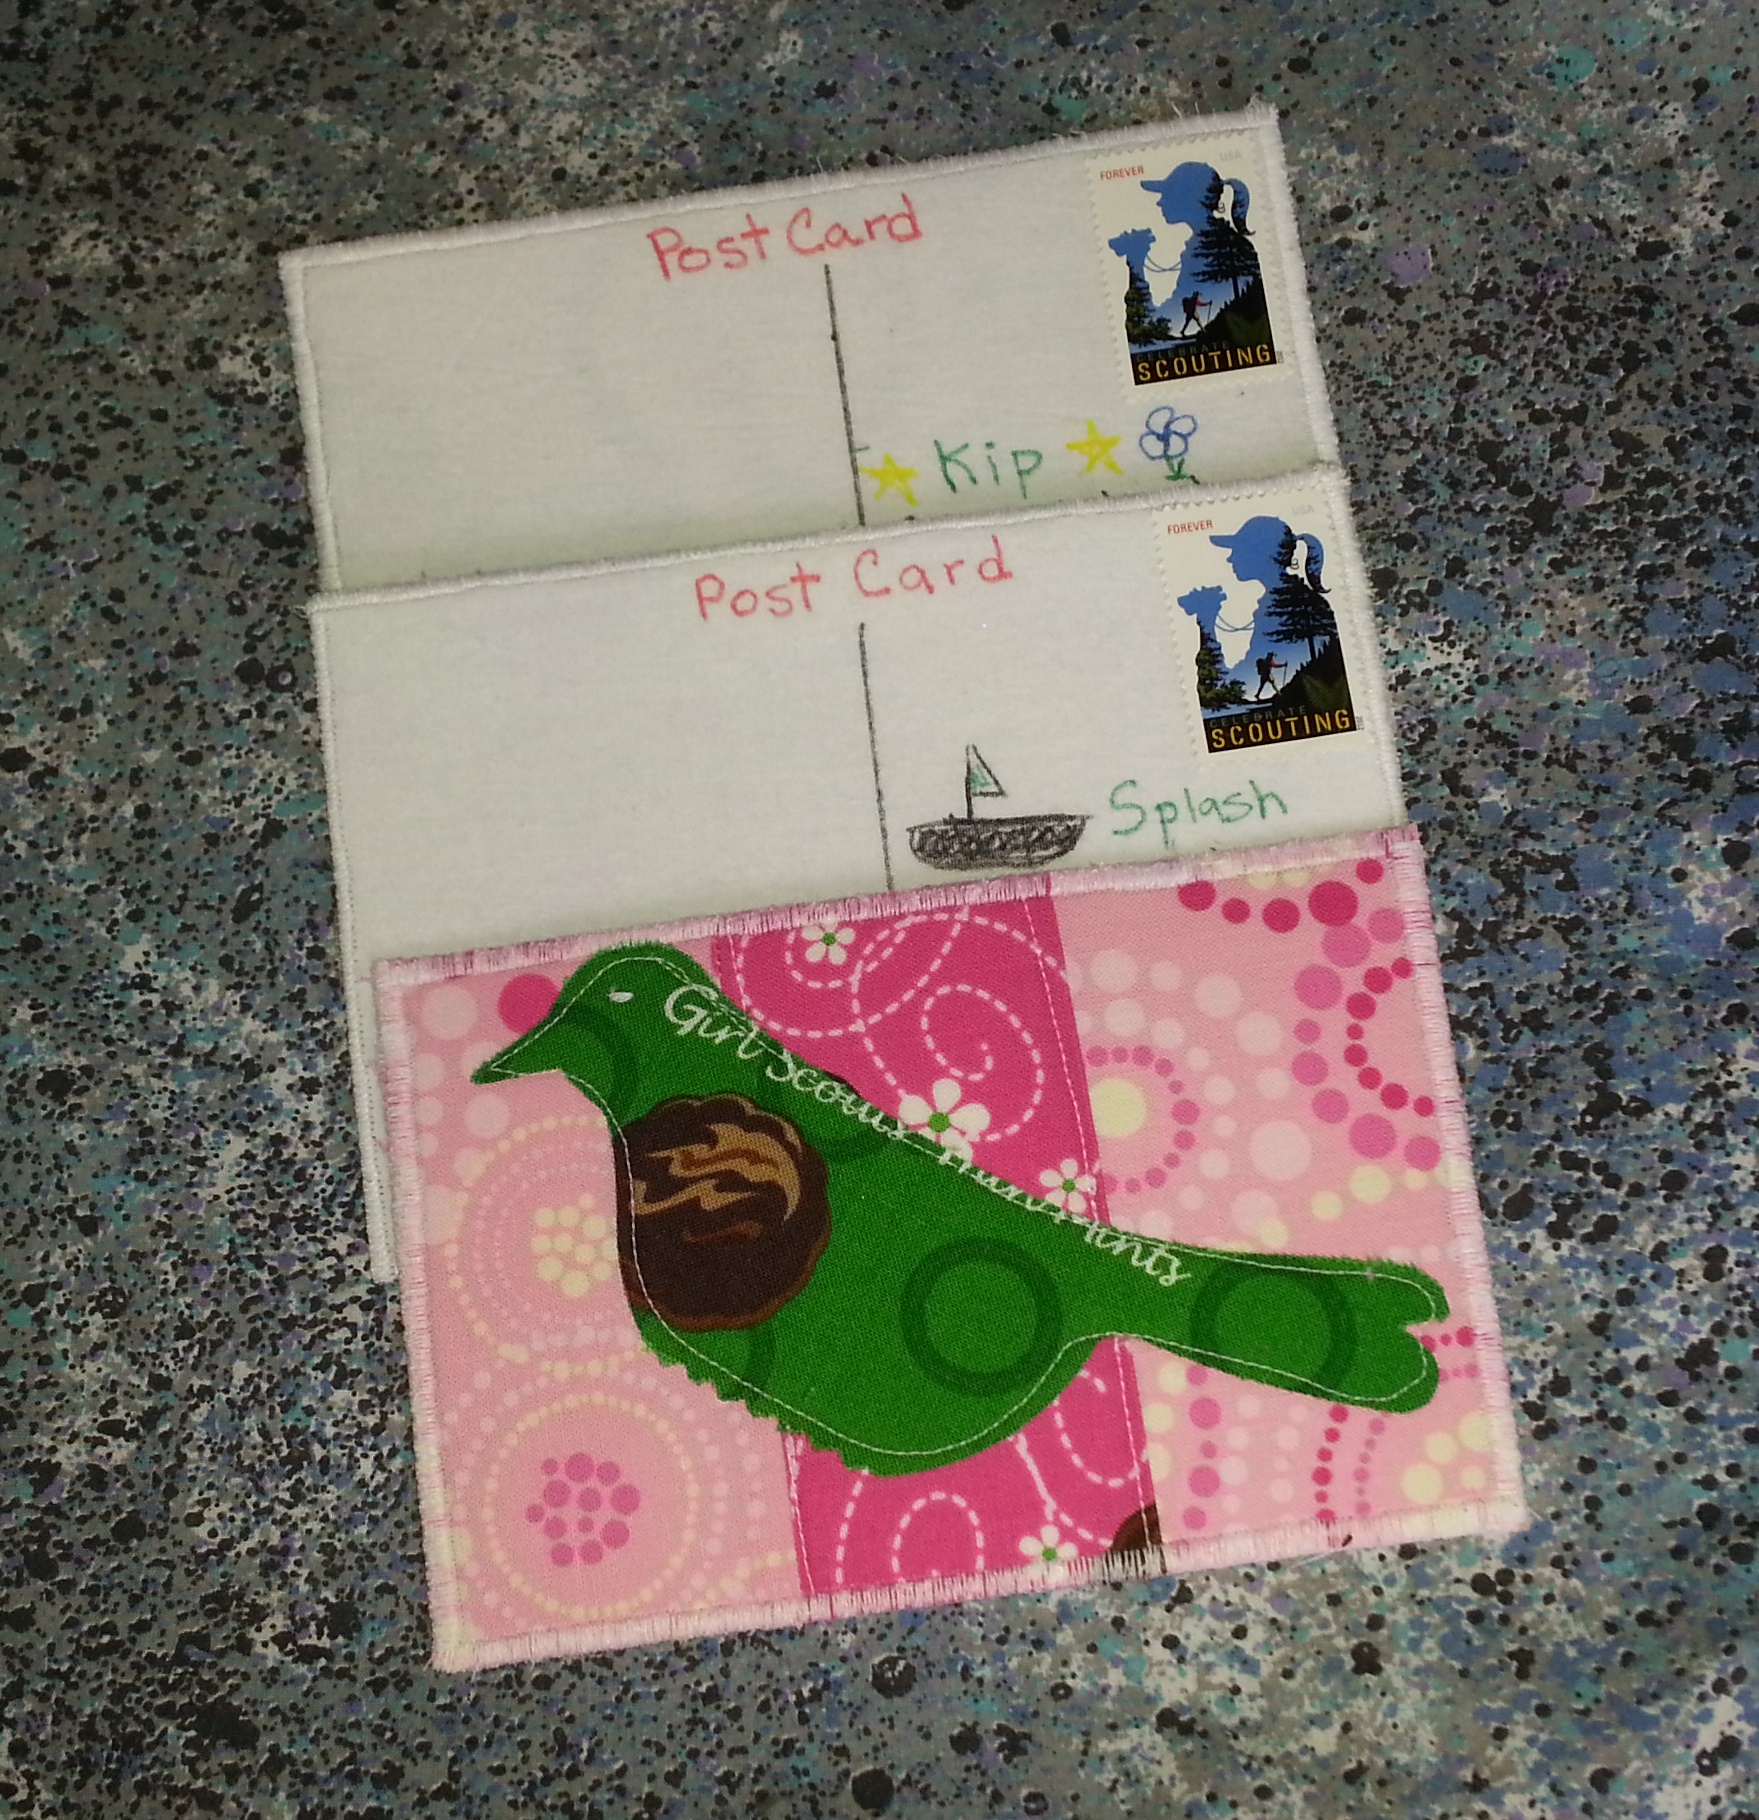
Although I didn’t think of this very far in advance I wanted to send mail and thought it should be a bit different. I’ve read about fabric post cards and have some leftover Girl Scout fabric so thought I would give it a try. Although these are not very elegant or elaborate it was a fun diversion and I’m going to make some more. Because it was a last minute thought I decided that I would use what I had on hand. I had some Peltex and Wonder Under so I created my own double stick post card base and then experimented with ironing on the fabric and doing some simple applique. I got some permanent fabric markers and sent them through the postal mail. I do hope they receive them and if not I do have a picture.
Off to make a couple more. I have several friends that were not able to go due to health reasons. I thought they might like camping@home mail.
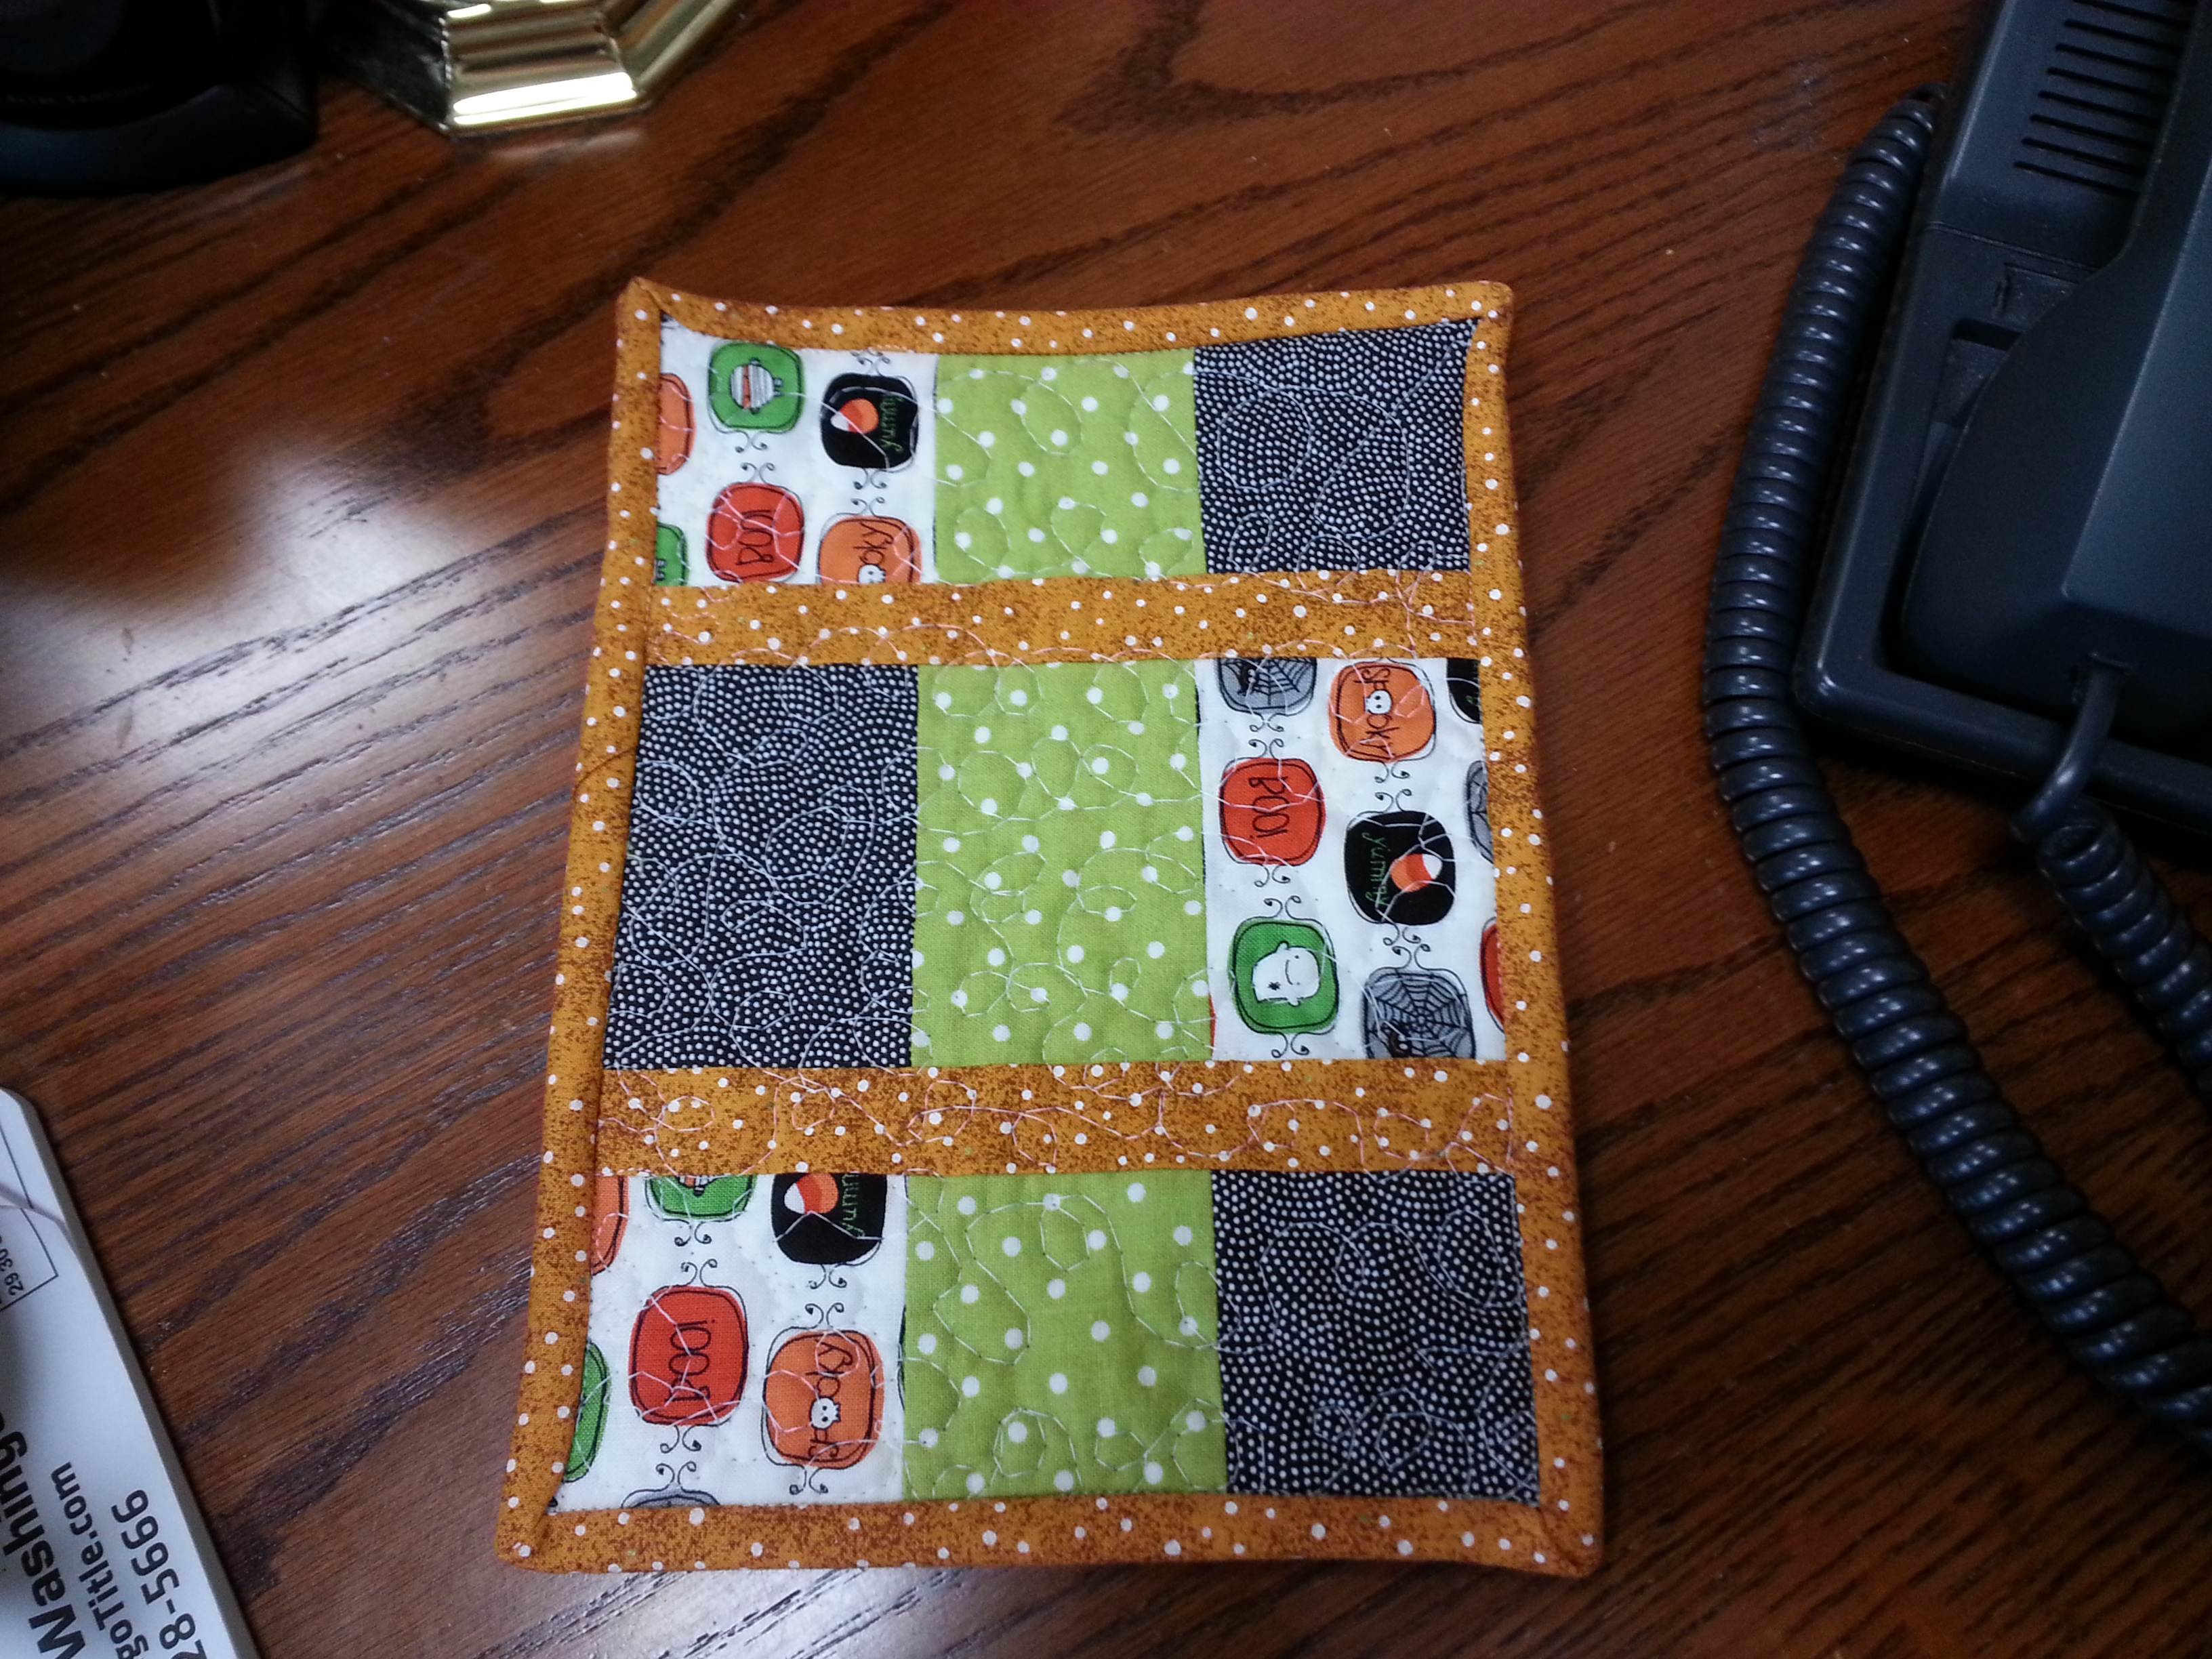
A Halloween mat is now on my desk at work. I have this wonderful wooden desk and I hate to put water glasses and coffee cups on the desk. I also don’t like to put food directly on the desk top because let’s face it, it’s really not very clean! This is a desk that has been used by many people over the years and is cleaned by a cleaning team at night and I really don’t know what has been on it . My solution has been a little mat, coaster etc. that will serve several purposes. Protecting the lovely wood and also protecting my lunch. I’ve wanted a new little mat for some time. I’ve used the last one every day for about a year and a half and although I still like it, it was time for a change. I made this little Halloween one in a hurry. I had an idea in mind when I started that didn’t turn out at all like I planned so this was the second choice. It’s fine with me. I like the way it turned out. Kind of sloppy binding job but I’m really the only one that sees it so that’s fine with me. This is about it for my Halloween decorations this year. How about you. Any decorating at your house?
Tomorrow will be a big day at our house! It’s daughter’s birthday and also the last two drug chemo day. Although she will still have two more treatments after tomorrow, the end is in sight and those two are not as nasty as the one tomorrow. So we will celebrate! Tomorrow she will still feel ok. Starting Wednesday afternoon, Thursday and Friday will not be very pleasant but she knows that. So tomorrow we will celebrate. The birthday seems to be a significant day to have the last double treatment.
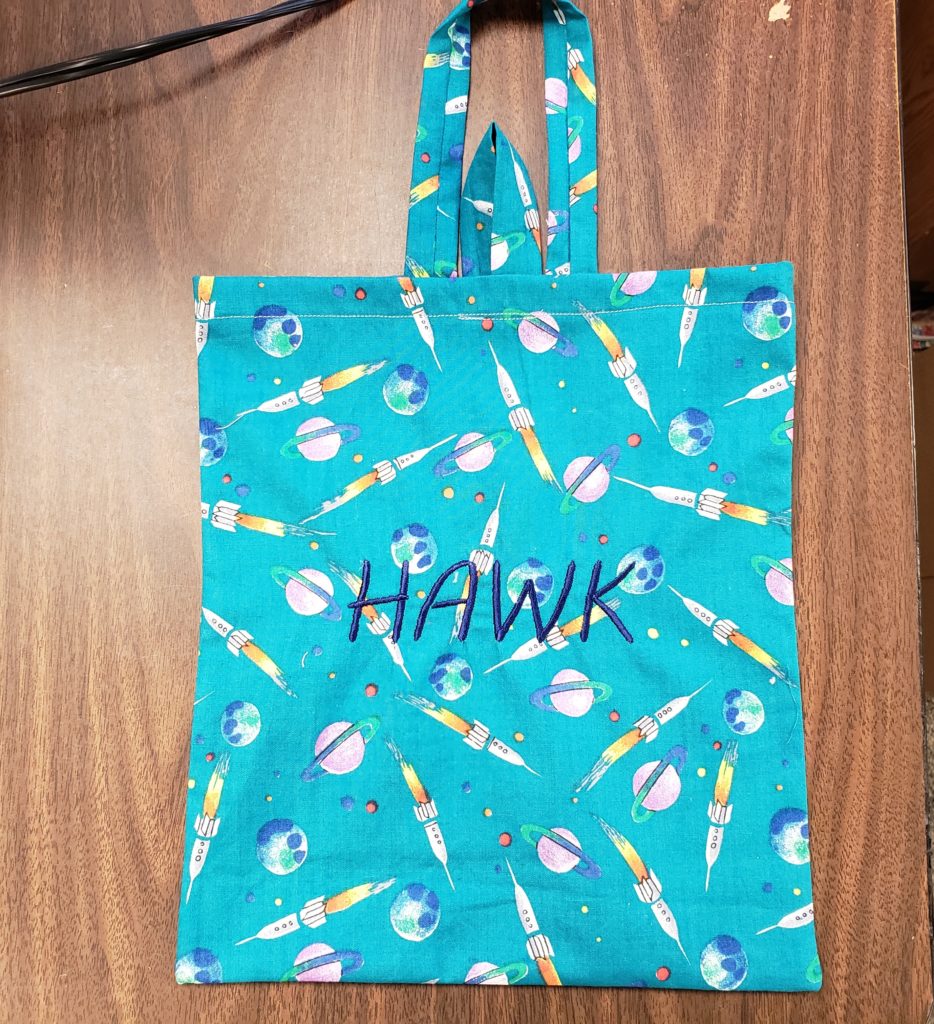
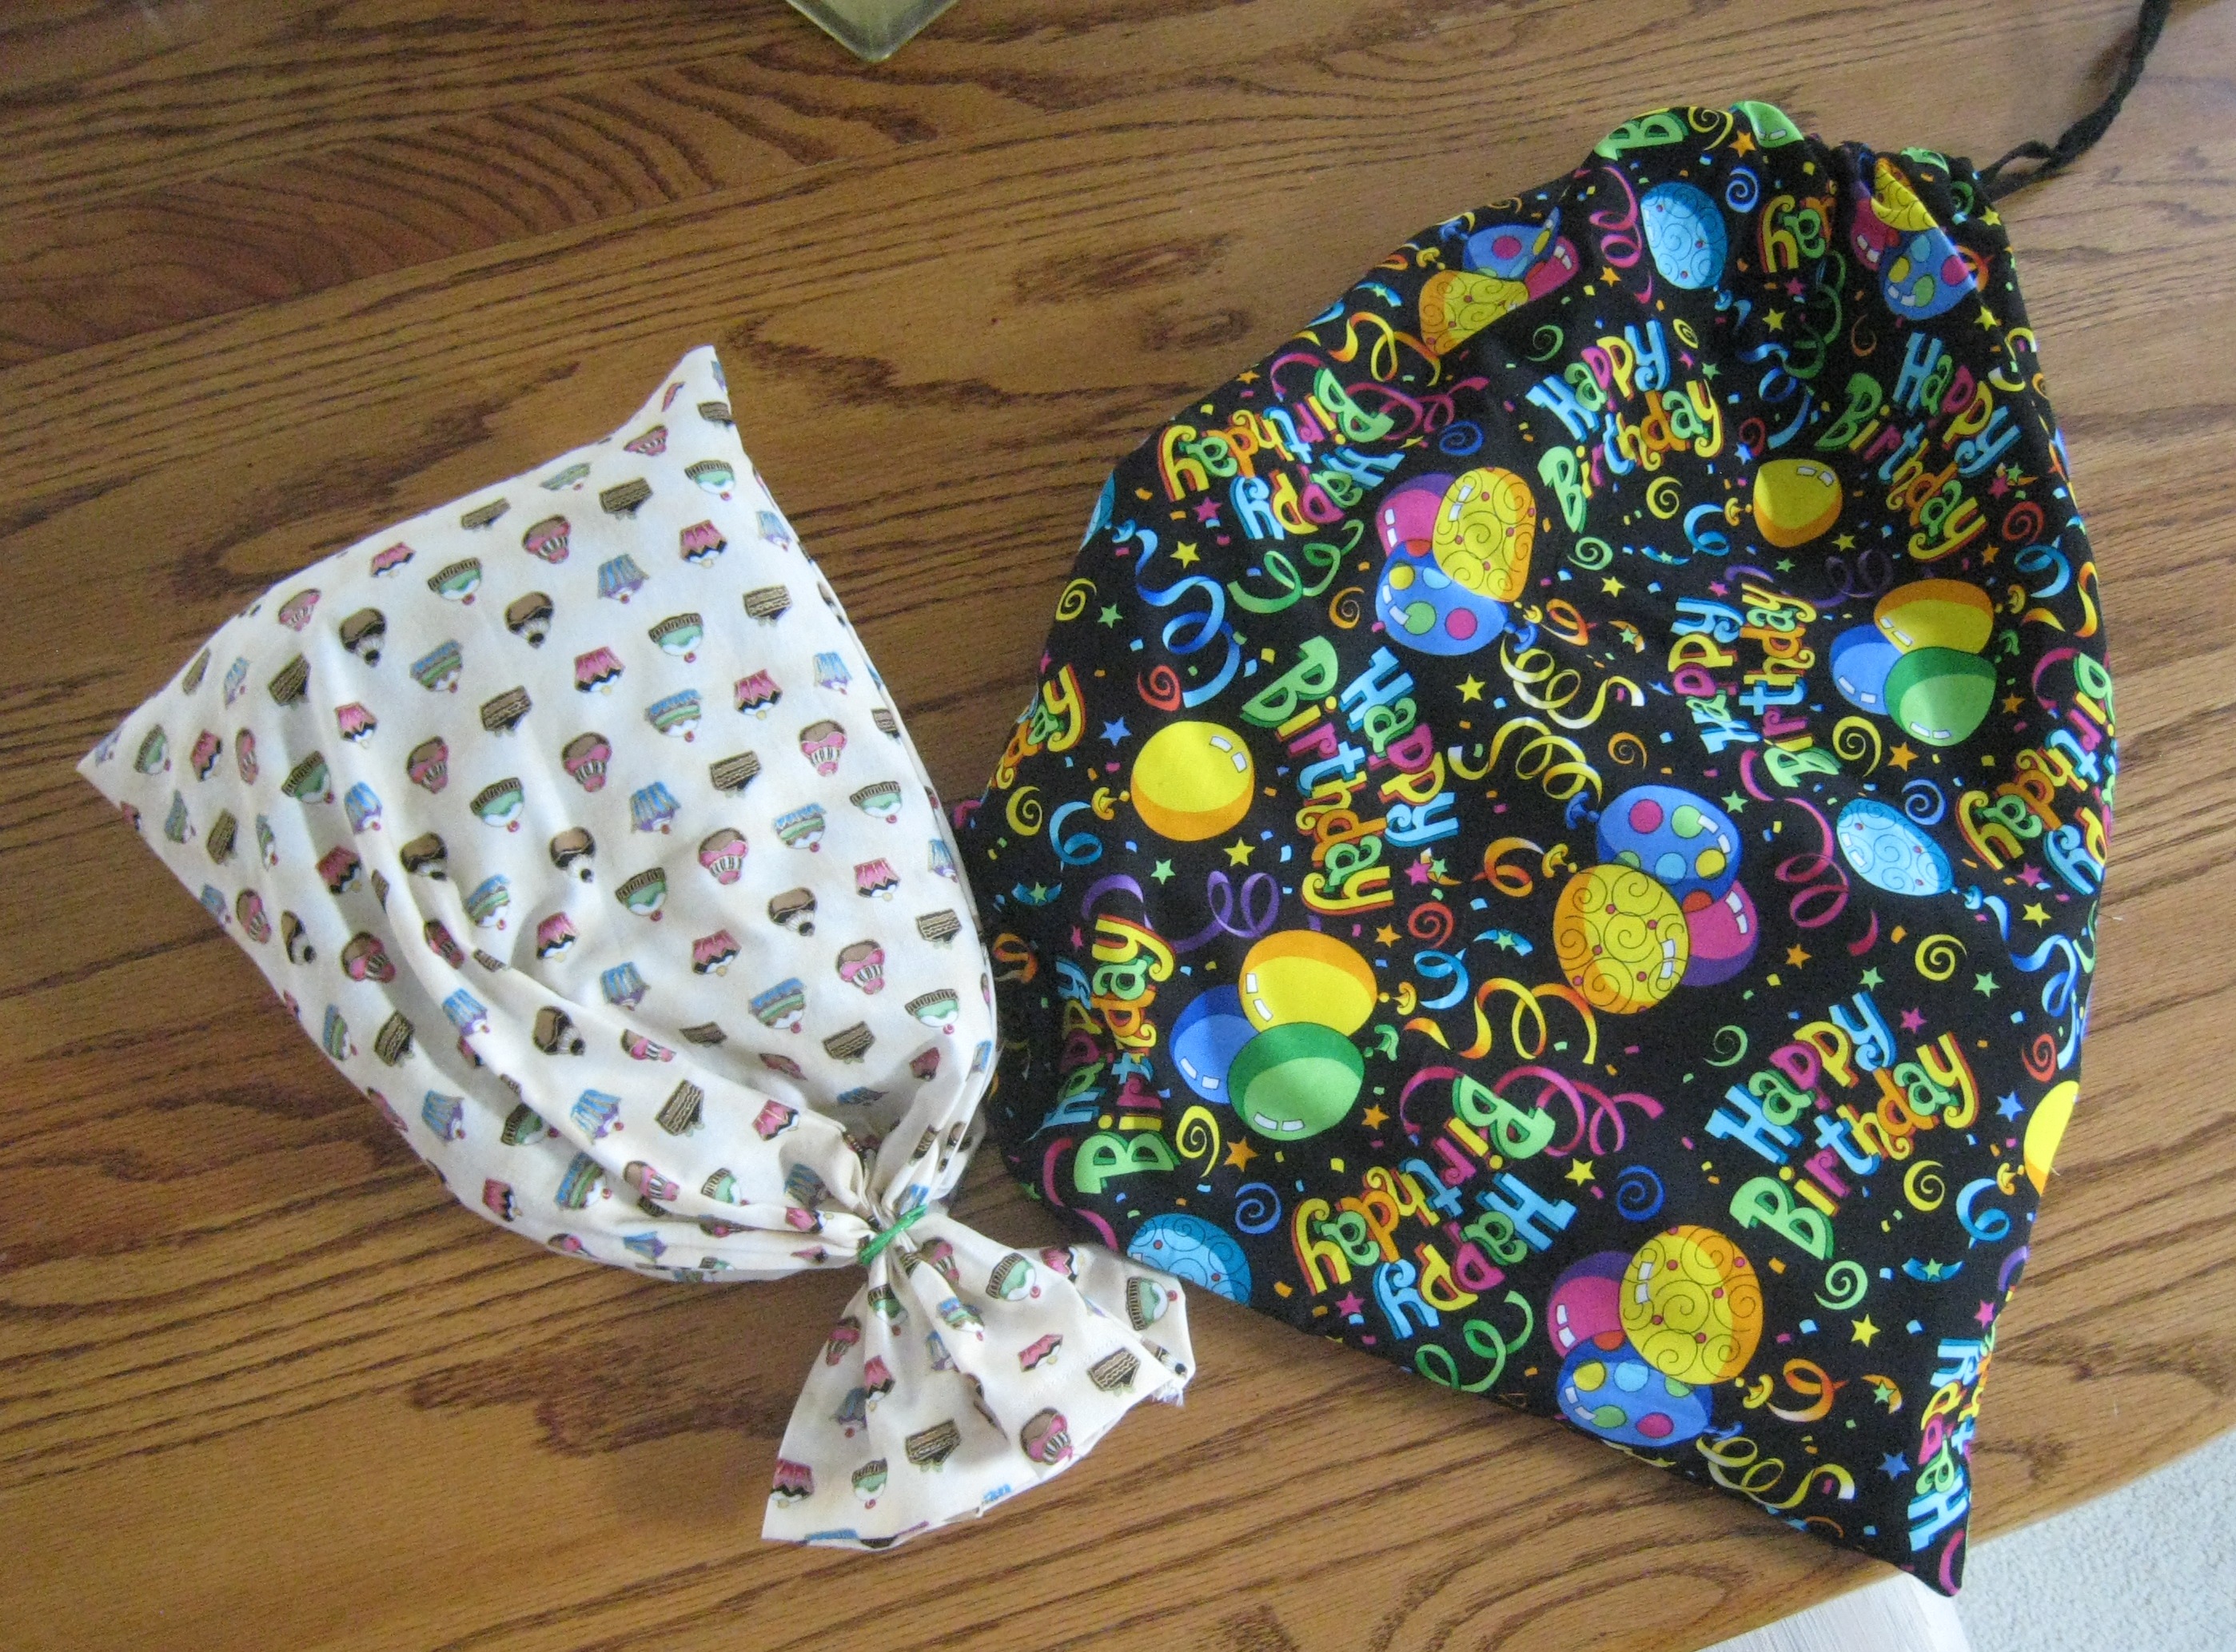
This of course requires a celebration. We will have some family and a couple of friends to have dinner and celebrate. This also requires a few gifts. My kids are very “green” oriented and dislike paper waste including cards. I really can’t just give up the cards because I like them but I can do something about the wrapping so I decided it was time to create re-usable gift bags.
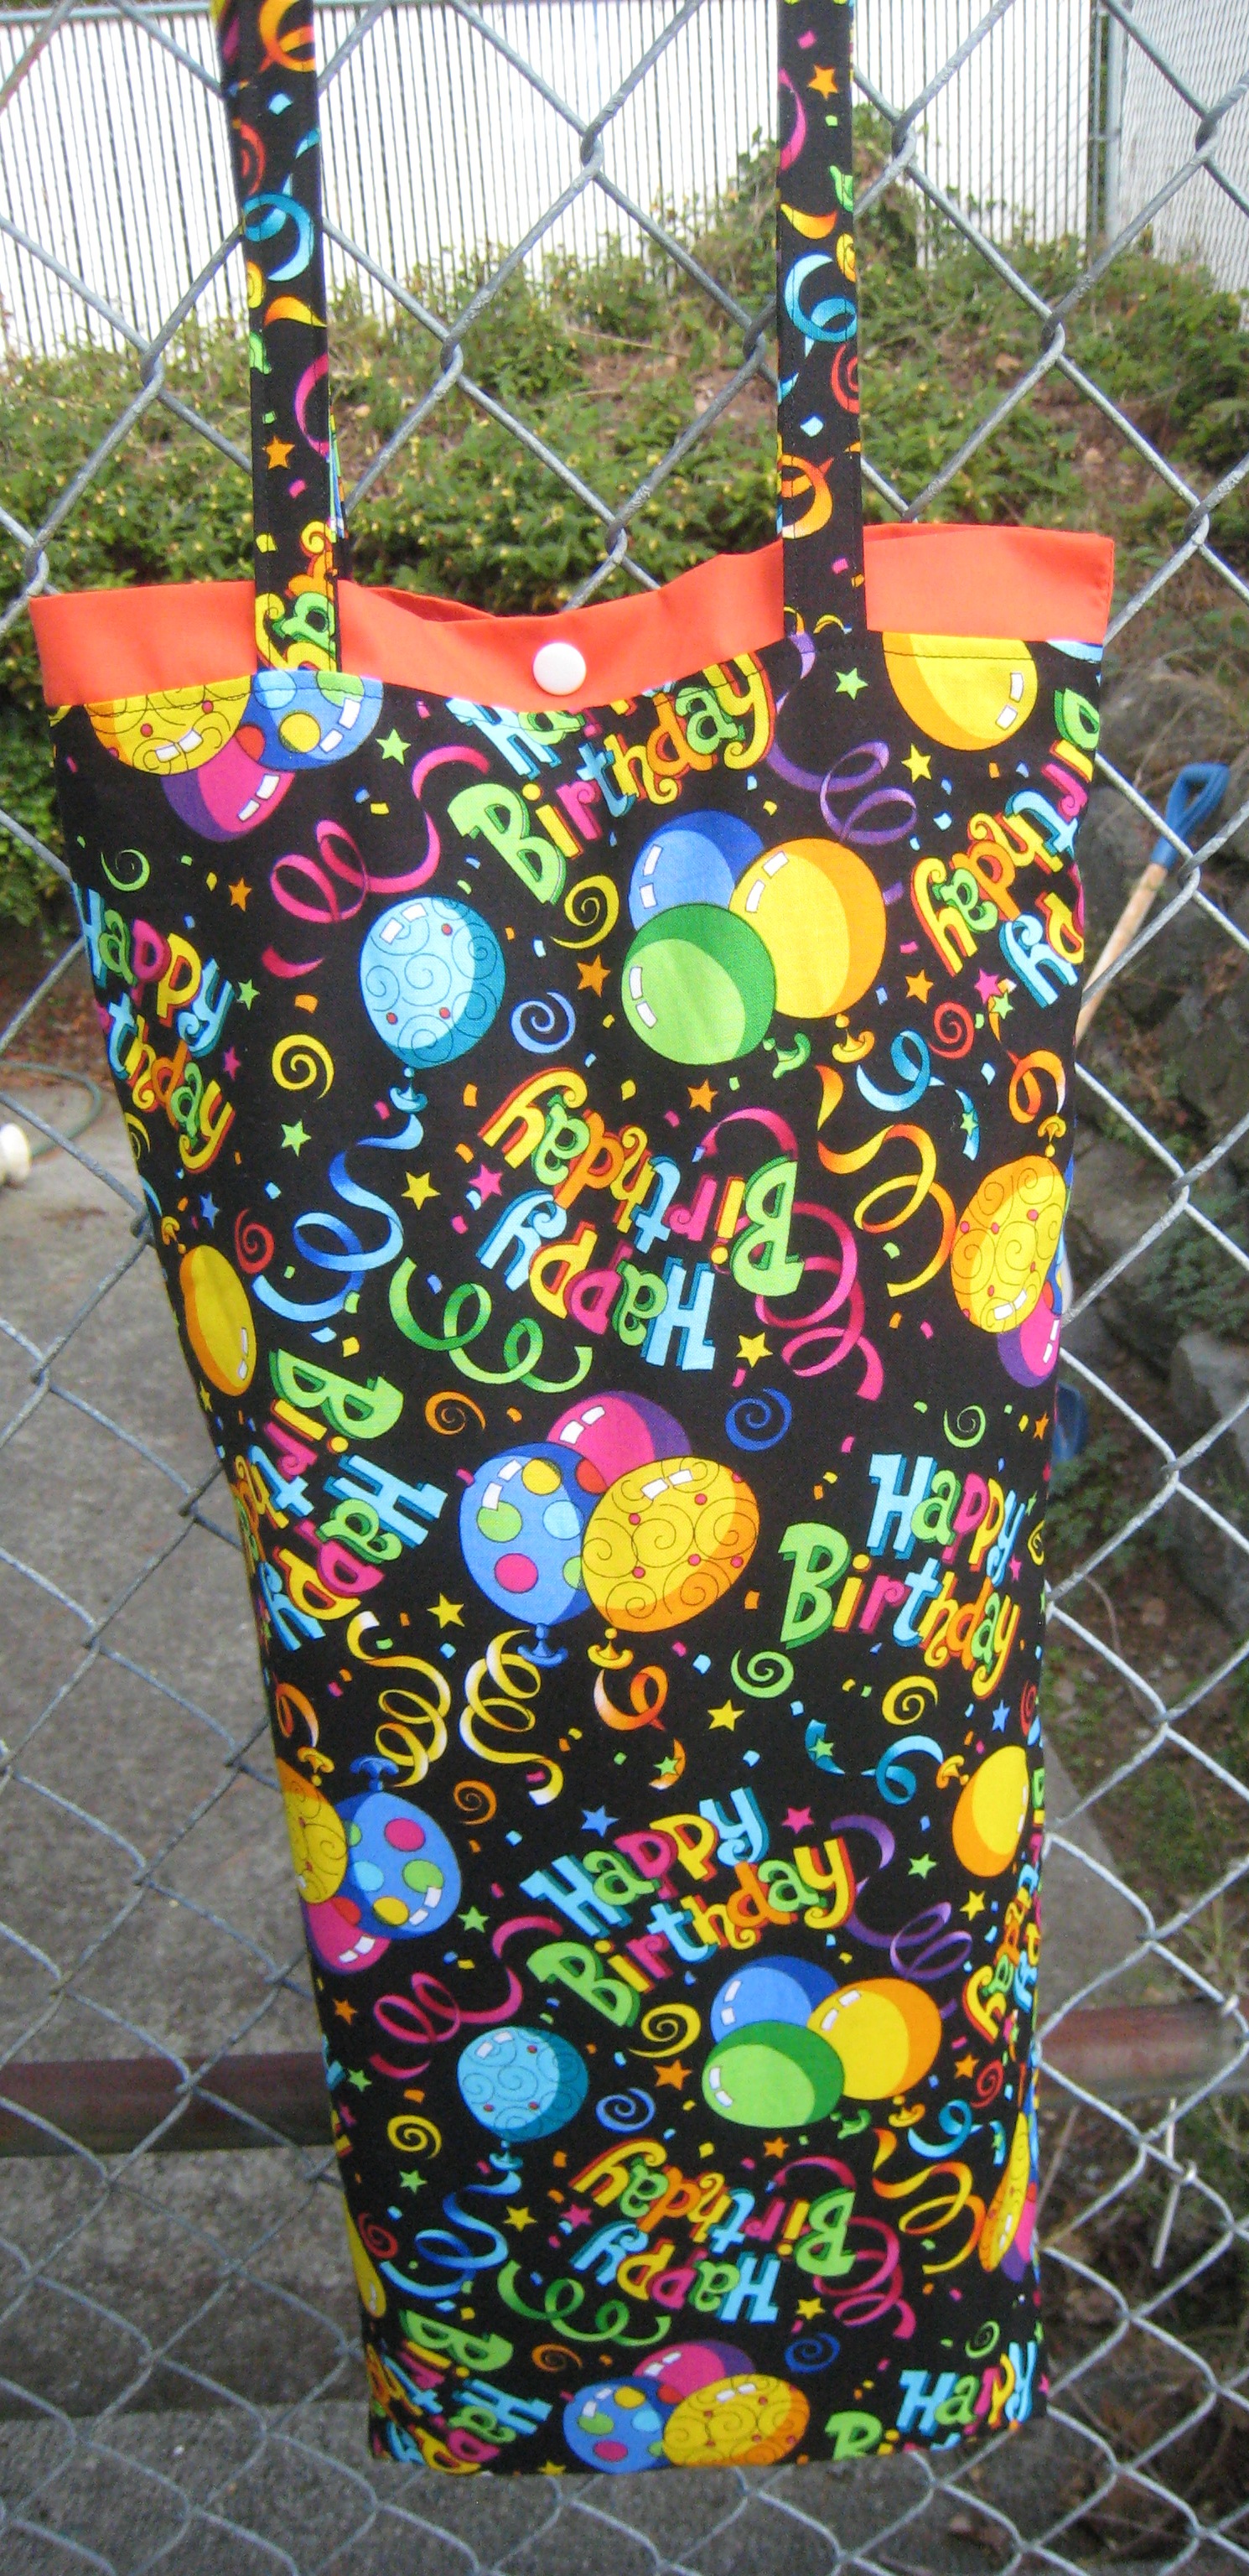
I have to admit that until I found a remnant of birthday fabric at the store the thought had not crossed my mind. So I created three different kinds of bags. The first bag that I did is somewhat narrow and tall. I lined it with orange fabric, put some handles on it and a snap at the top so it could be closed and the contents will stay secret. I think every good birthday gift should be a surprise and hate it when the packaging fails! The second bag is just a drawstring beg. Sort of a medium size that will accommodate many sizes and shapes of gifts. The third bag was an experiment. I wanted a bag that was easy to close but also a little bit fun and different. This is the bag from the cupcake fabric. Although it’s hard to tell from this photo I hemmed the top of the bag, and then sewed colored elastic into the side seam so you can just stretch the band around the top of the bag and it’s securely closed and adds a cute little top to the bag. All in all the gifts are ready for tomorrow, we’ll get the chemo done, dinner will be started in the crock pot before we leave in the morning (pulled pork) and we’ll all be glad when tomorrow is over and the day has been celebrated to the best of our ability!
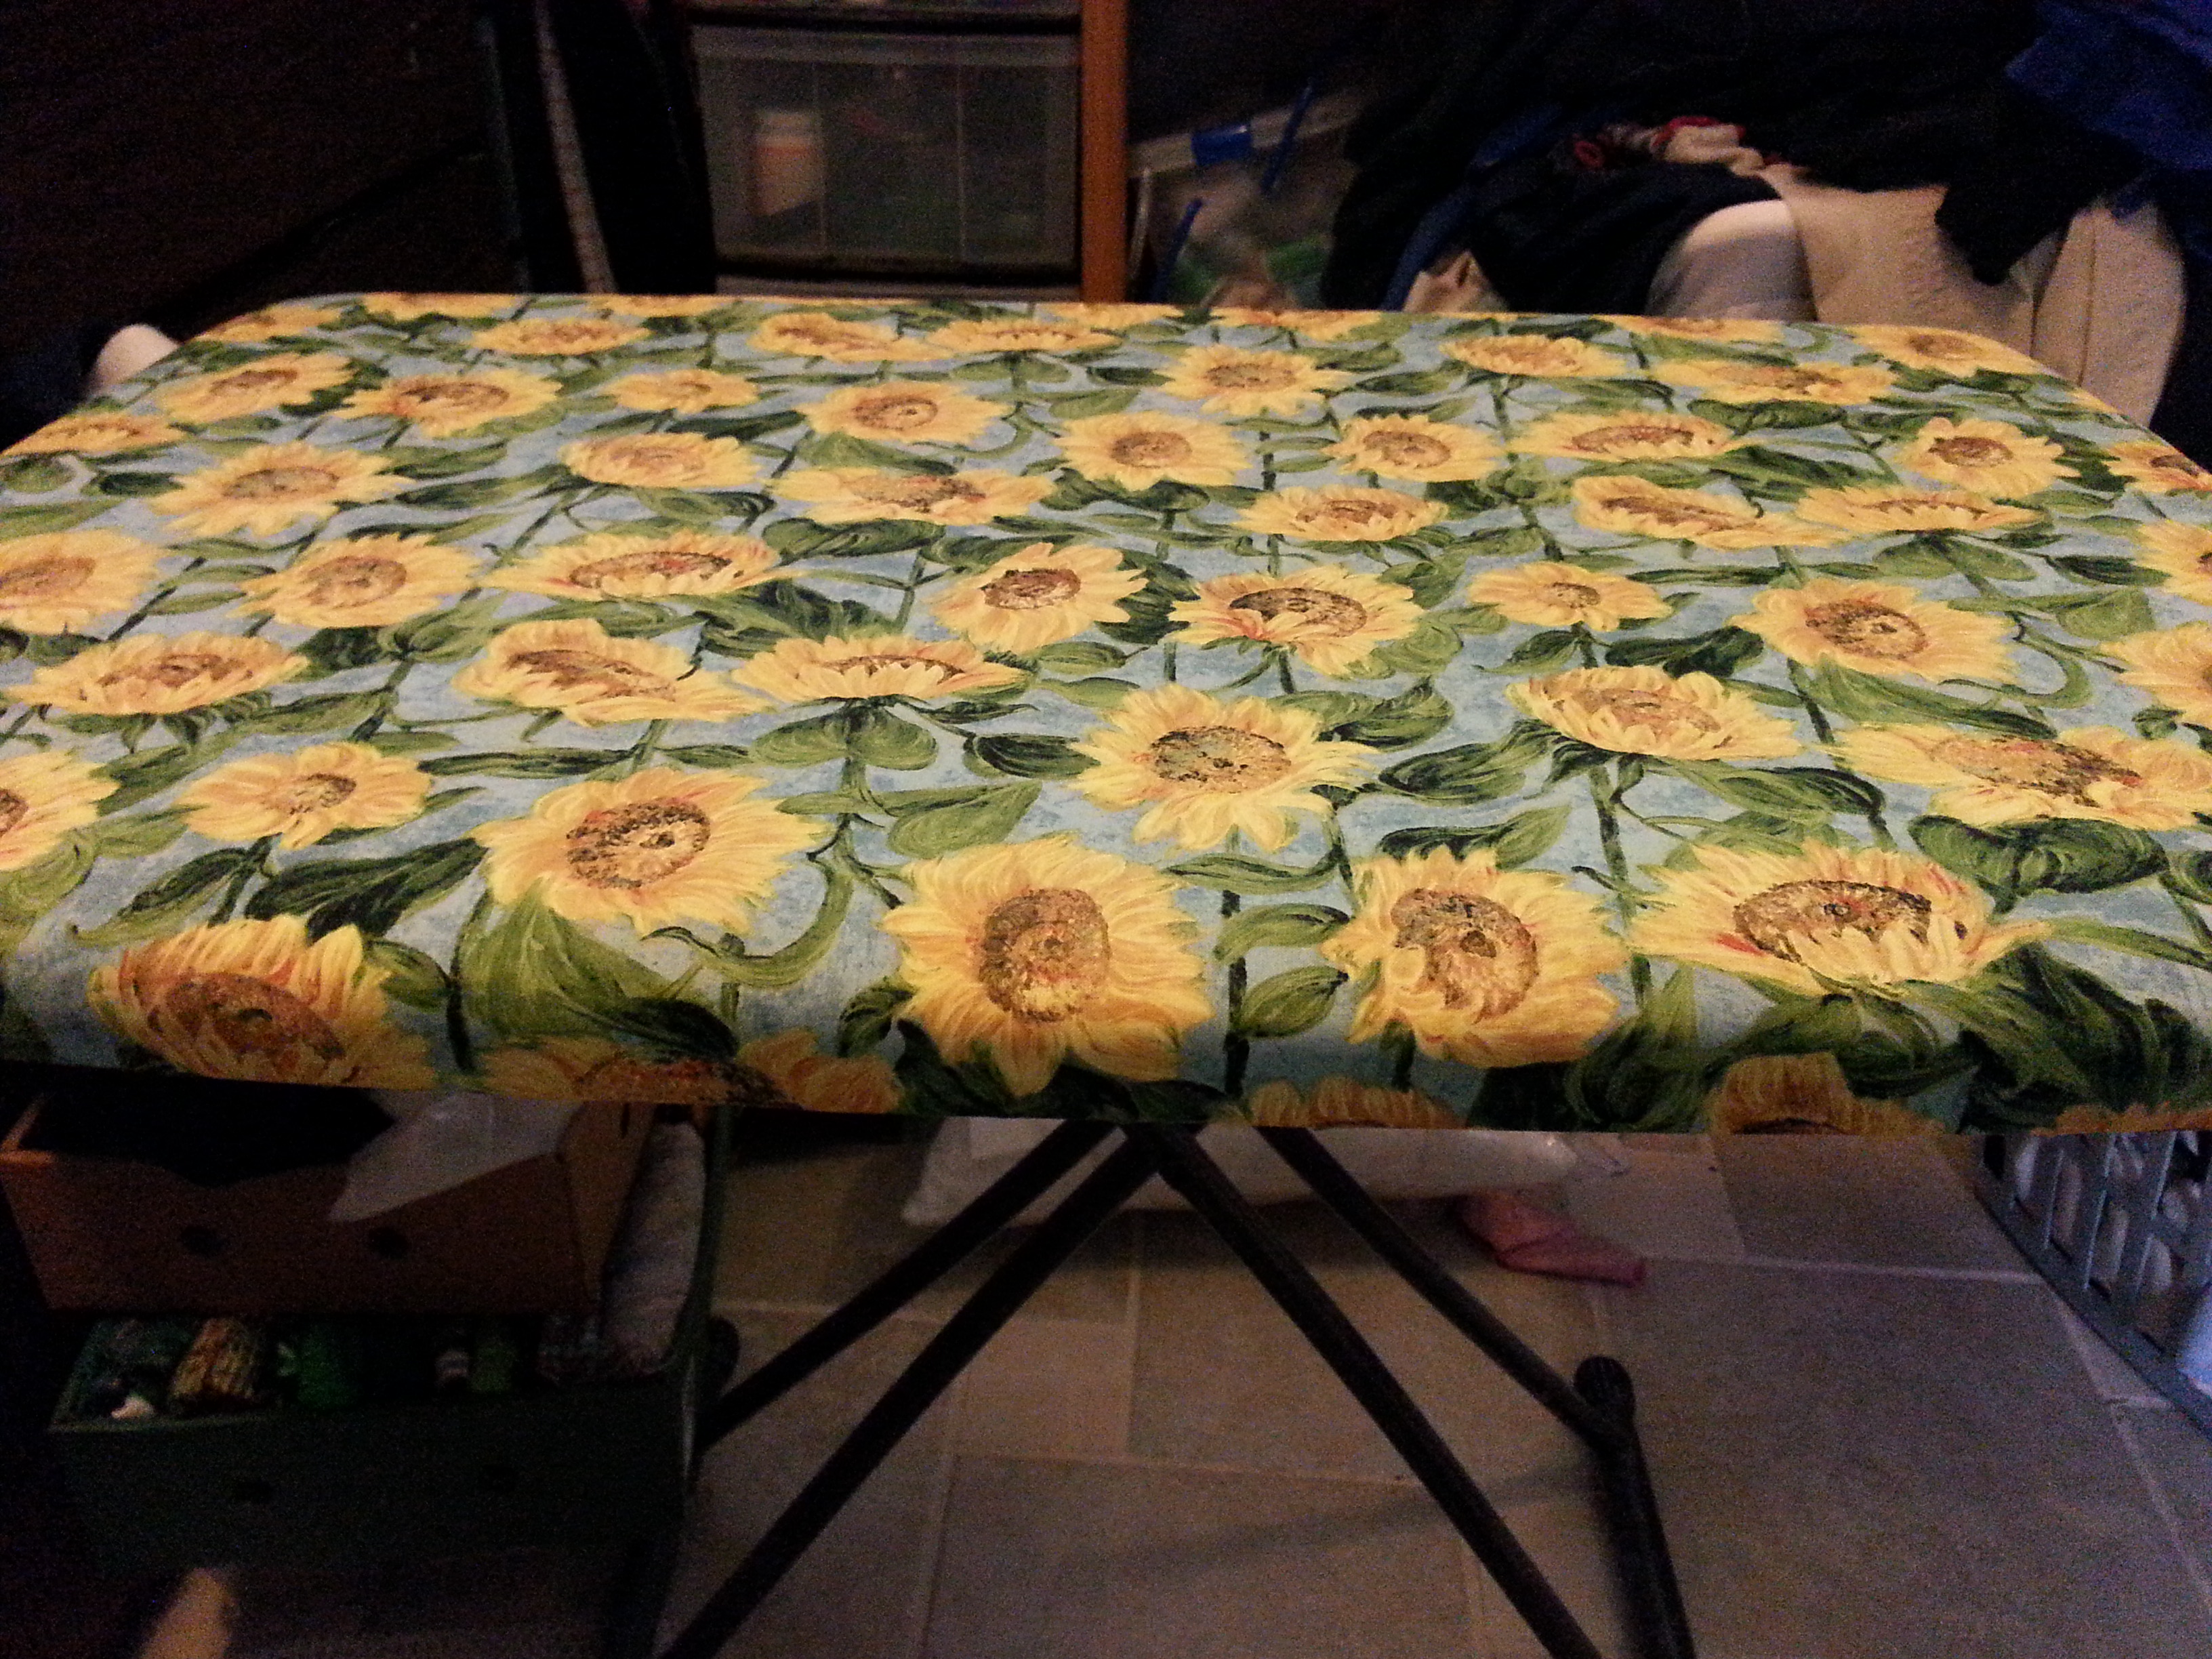
I have a new ironing table. Make that I’ve created a new ironing table. It works very well and I’m pleased. My sewing space is very small and compact and my big ironing board will not also fit in the space where I sew. I usually have it set up in my office in the room down the hall. For many things that’s just fine but when I’m in a hurry I just don’t like to get up and walk down the hall. I have used a small ironing board that sits between my sewing machine and my serger. This is ok for small pieces but hard even for longer or larger pieces.
As I’ve read blogs I’ve seen many folks using old wooden tv tables and transforming them into portable ironing tables. They have just purchased these at the local Goodwill store. We have a new Goodwill in my neighborhood and that was my plan. Soon however the lightbulb went off! I had several small plastic folding tables that I had used in my office to hold scanning equipment. These are adjustable height and have been very useful. My office needs have changed however and I had a table I wasn’t using so I decided that I could transform this table to an ironing table.
I started with the table and covered it with quilted ironing board fabric I taped it down on the sides with duct tape.
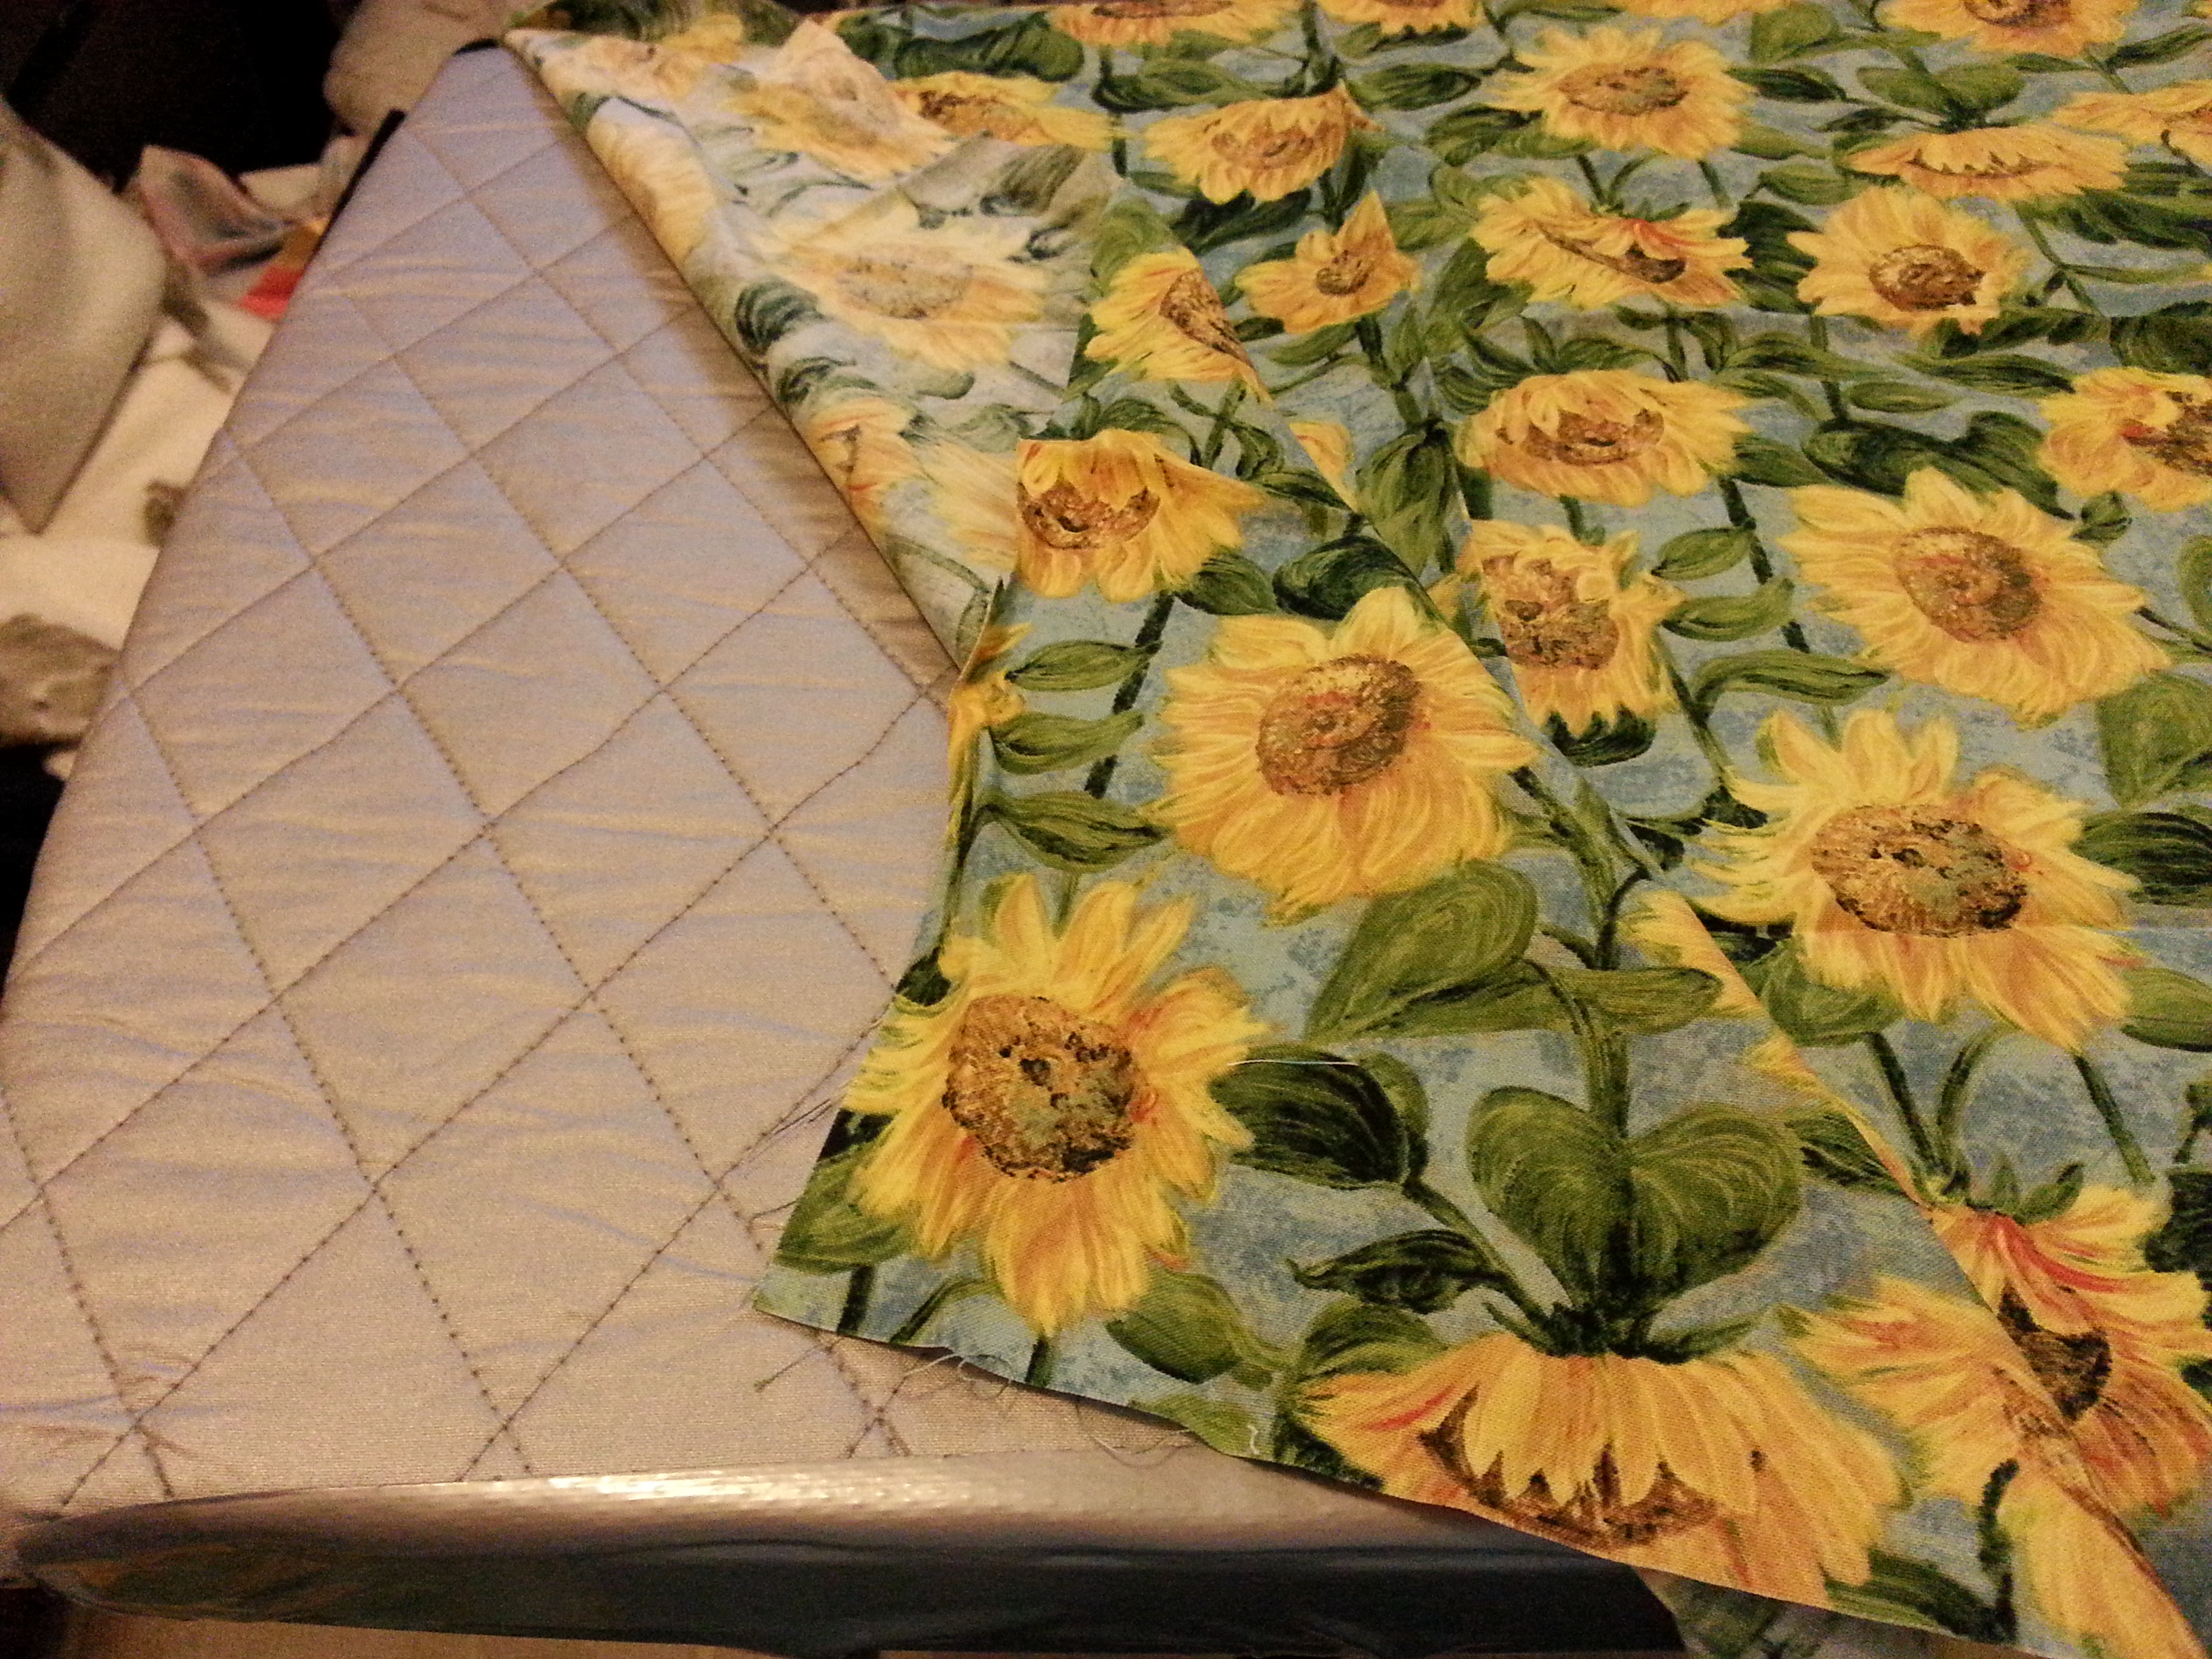
The next layer was a piece of colorful fabric. I’m very pleased. It works well and is the perfect size.
It’s nice to be at a point where I am starting on new projects. It’s always fun and exciting to plan a new project, think about the fabric, the details and who will be receiving the end product. Sometimes I make something just to make it but I do find that I’m more productive and apt to stick with it and finish it if there is a time line or a reason. I’m not good at just sitting and playing. I need a purpose. I recently got a die for my AccuQuilt Go cutter. This cuts simple 5″ squares. I love to cut the fabric with this die. It’s fast and easy and accurate. The package insert always has a pattern idea. When I saw the pattern I knew I had the perfect fabric. Last year when I first started to sew and quilt again one of the first fabrics that I fell in love with was the green fabric with the Swiss houses on it. The pattern was big enough that I knew I needed a bigger block and I really didn’t have too much of the yardage. I had enough other fabrics in my stash to make the rest of the blocks and I spent an hour or so happily cutting and placing this on my design wall. It has been sitting in a box waiting for the day to sew it up and now the day is here. I’m going to make this for a young friend who is having a baby girl and doesn’t like pink. This quilt has flowers and butterflies and these darling little houses and I think it will be perfect. Now I’m off to sew and already planning another new project in my head.

Camp and a Girl Scout 100th birthday celebration. What do they have in common? Well of course, this is a Girl Scout camp so we have to celebrate the birthday. As a co-director my thoughts deal with staffing as much as girl activities. The adults spend many hours planning and preparing for camp and then volunteer to spend a week of their summer as camp counselors so 160 girls can spend a week out doors cooking, canoeing, swimming doing crafts, archery and nature activities. Of course there is singing and learing to work in a team environment as well. We are an all volunteer run camp so money that is collected from the camp fee is used for the camp rental, food and camp program. At the end of the week we like to celebrate with an all camp campfire and thank the adults who helped with a small token of our appreciation. It’s always a challenge to think of something that might be fun, meaningful, useful and not just a trinket. Last year I realized that the Robert Kaufman company had produced a wonderful line of Girl Scout fabric. I knew it would be fun to make something for the staff and for the high school girls who worked as program aids. The dilemma was as we are a non-profit organization and volunteer run camp we did not have much money for thank you gifts and buying fabric to make gifts for 80 people was in our budget. I also was concerned about sewing 80 items in enough time for camp. My original thought was pillow cases. I knew from experience that I could make pillow cases in an assembly line fashion and with several months lead time I could probably make 80. The Robert Kaufman company agreed to donate Girl Scout roll ups. If you are not a quilter you may not have figured out that pillow cases were not happening with roll ups. Roll ups consist of 40 2 .5″ strips of fabric. I was thrilled with the donation but knew I would have to come up with a different plan.


The thinking cap went on and now I was to plan #2. After a bit of experimentation and discussion with my co-director we decided that zip pouches for the adults and lanyards for the girls would be perfect for the fabric available. The adults would love the Girl Scout fabric in the zip pouches and the girls would find the lanyards useful for their schedules and their whistles.
The next project was to order supplies and make a few trial versions.

All was ready for step number two.
Remember the old hangers that used to be in everyone’s closet? You know the kind I mean. The wire ones your mom got from the cleaners. Sometimes they were colored and I loved those. I remember one turquoise one that I used to have. Sometimes they were white but mostly they were gold or gray or just metal colored. The other hangers that were special were the ones with the cardboard tube at the bottom that you could use for slacks. We didn’t have too many of those and they were used only for the best pieces that you didn’t want creases in. Well in my latest sewing project I kept wishing that I had a slacks hanger. The kind I was thinking about was a wooden one that hubby had when we were first married. I think they were from his wedding suit and it not only was sturdy wood but had a moveable bar on the bottom that you could unhook to slide the slacks on and then hook it back together and put it in the closet. We have moved to mostly wash and wear and plastic hangers and I haven’t thought much about hangers until recently when I wanted to hang the latest sewing project. The project was circles of fabric that I wanted to slide over something and hang. I couldn’t justify taking the old wooden hanger that now holds other slacks of hubby but lo and behold when I opened the coat closet door, I found a secret stash in the far back. There it was, the perfect hanger! It is wire with a sturdy cardboard tube. Happy day! Now my circles are hung waiting for delivery and I am remembering more good times and special hangers.
 .
.
Today I’ve decided that it’s time to start cleaning up the mess. There are piles and boxes of fabric all over the place and it’s starting to bother me. I still have some other work should do but soon this will be done and I can start organizing and doing some spring cleaning. My biggest challenge is logistics. What is the best way to stack the fabric and store the supplies so that I can get to them easily. I would like to have the fabric visible. Right now it’s in several different boxes and stacks and I can’t always easily find the piece I’m looking for. The other problem is forgetting what I have and accumulating more. In this year of intention I’m trying to use what I have before I buy anything else. I’ve been thinking about this for several months and today I realized I have a possible solution. I can move an unused desk that is now covered with clutter. In the space where the desk is I can move in some shelves from the garage. This set of shelves is of the wire variety and is on wheels. It has four shelves that will be perfect for my needs. I can keep the large pieces of batting and fleece on either the bottom or the top, stack some clear boxes of works in progress on a shelf and still have room to create stacks of fabrics. These pieces are all less than one yard and when stacked don’t take up much room. I think I’ll sell the desk that’s in the corner although it may get moved to the garage for storage until I know that it really is an extra that I don’t need. Time to stop thinking and start cleaning up!
