Tag: sewing (Page 2 of 7)

Fall is in the air!

Fall is in the air here in Edmonds.  After an unusually warm summer it’s time to get into the fall routines. I’m working on that for sure.

I have done lots of odds and ends of sewing here but really haven’t had the inclination to post much. I’m looking forward however to some updates here and continue to make a record of my finishes.  I’ve got lots of plans for the fall so we’ll see how I do.

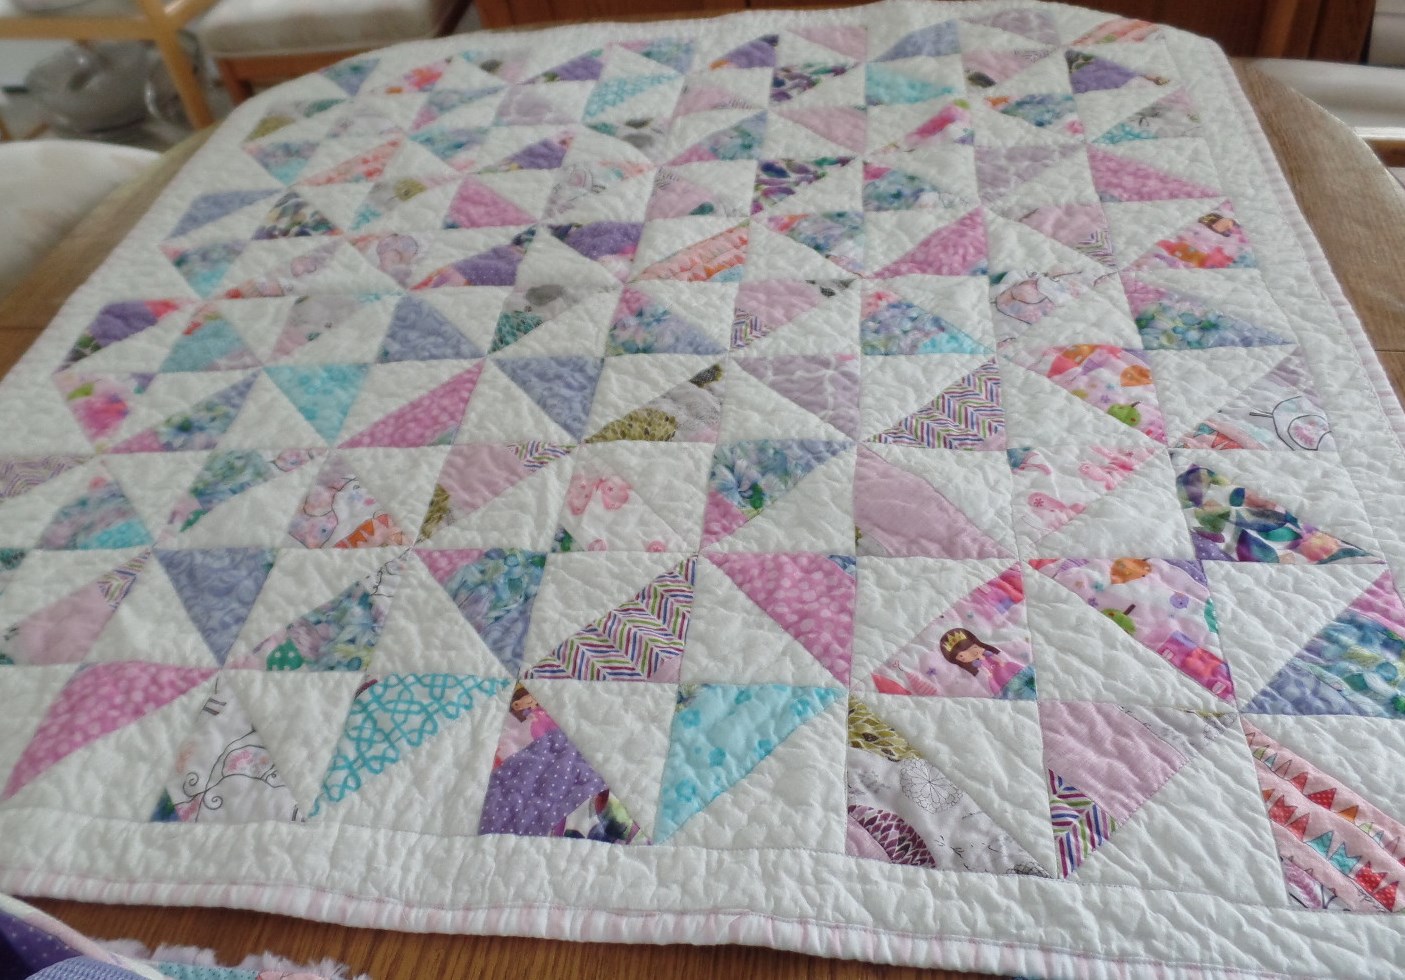
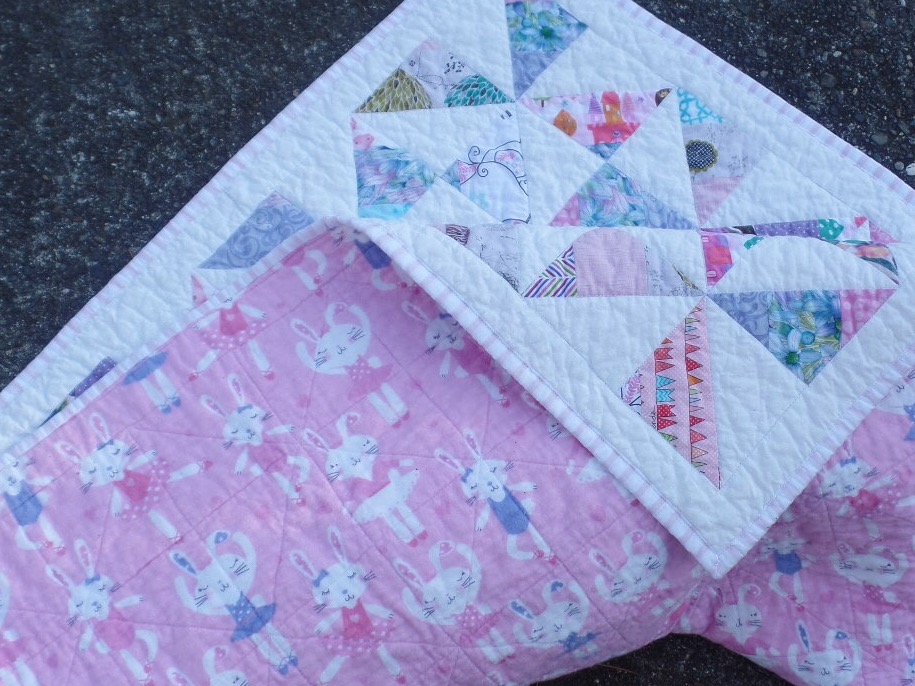
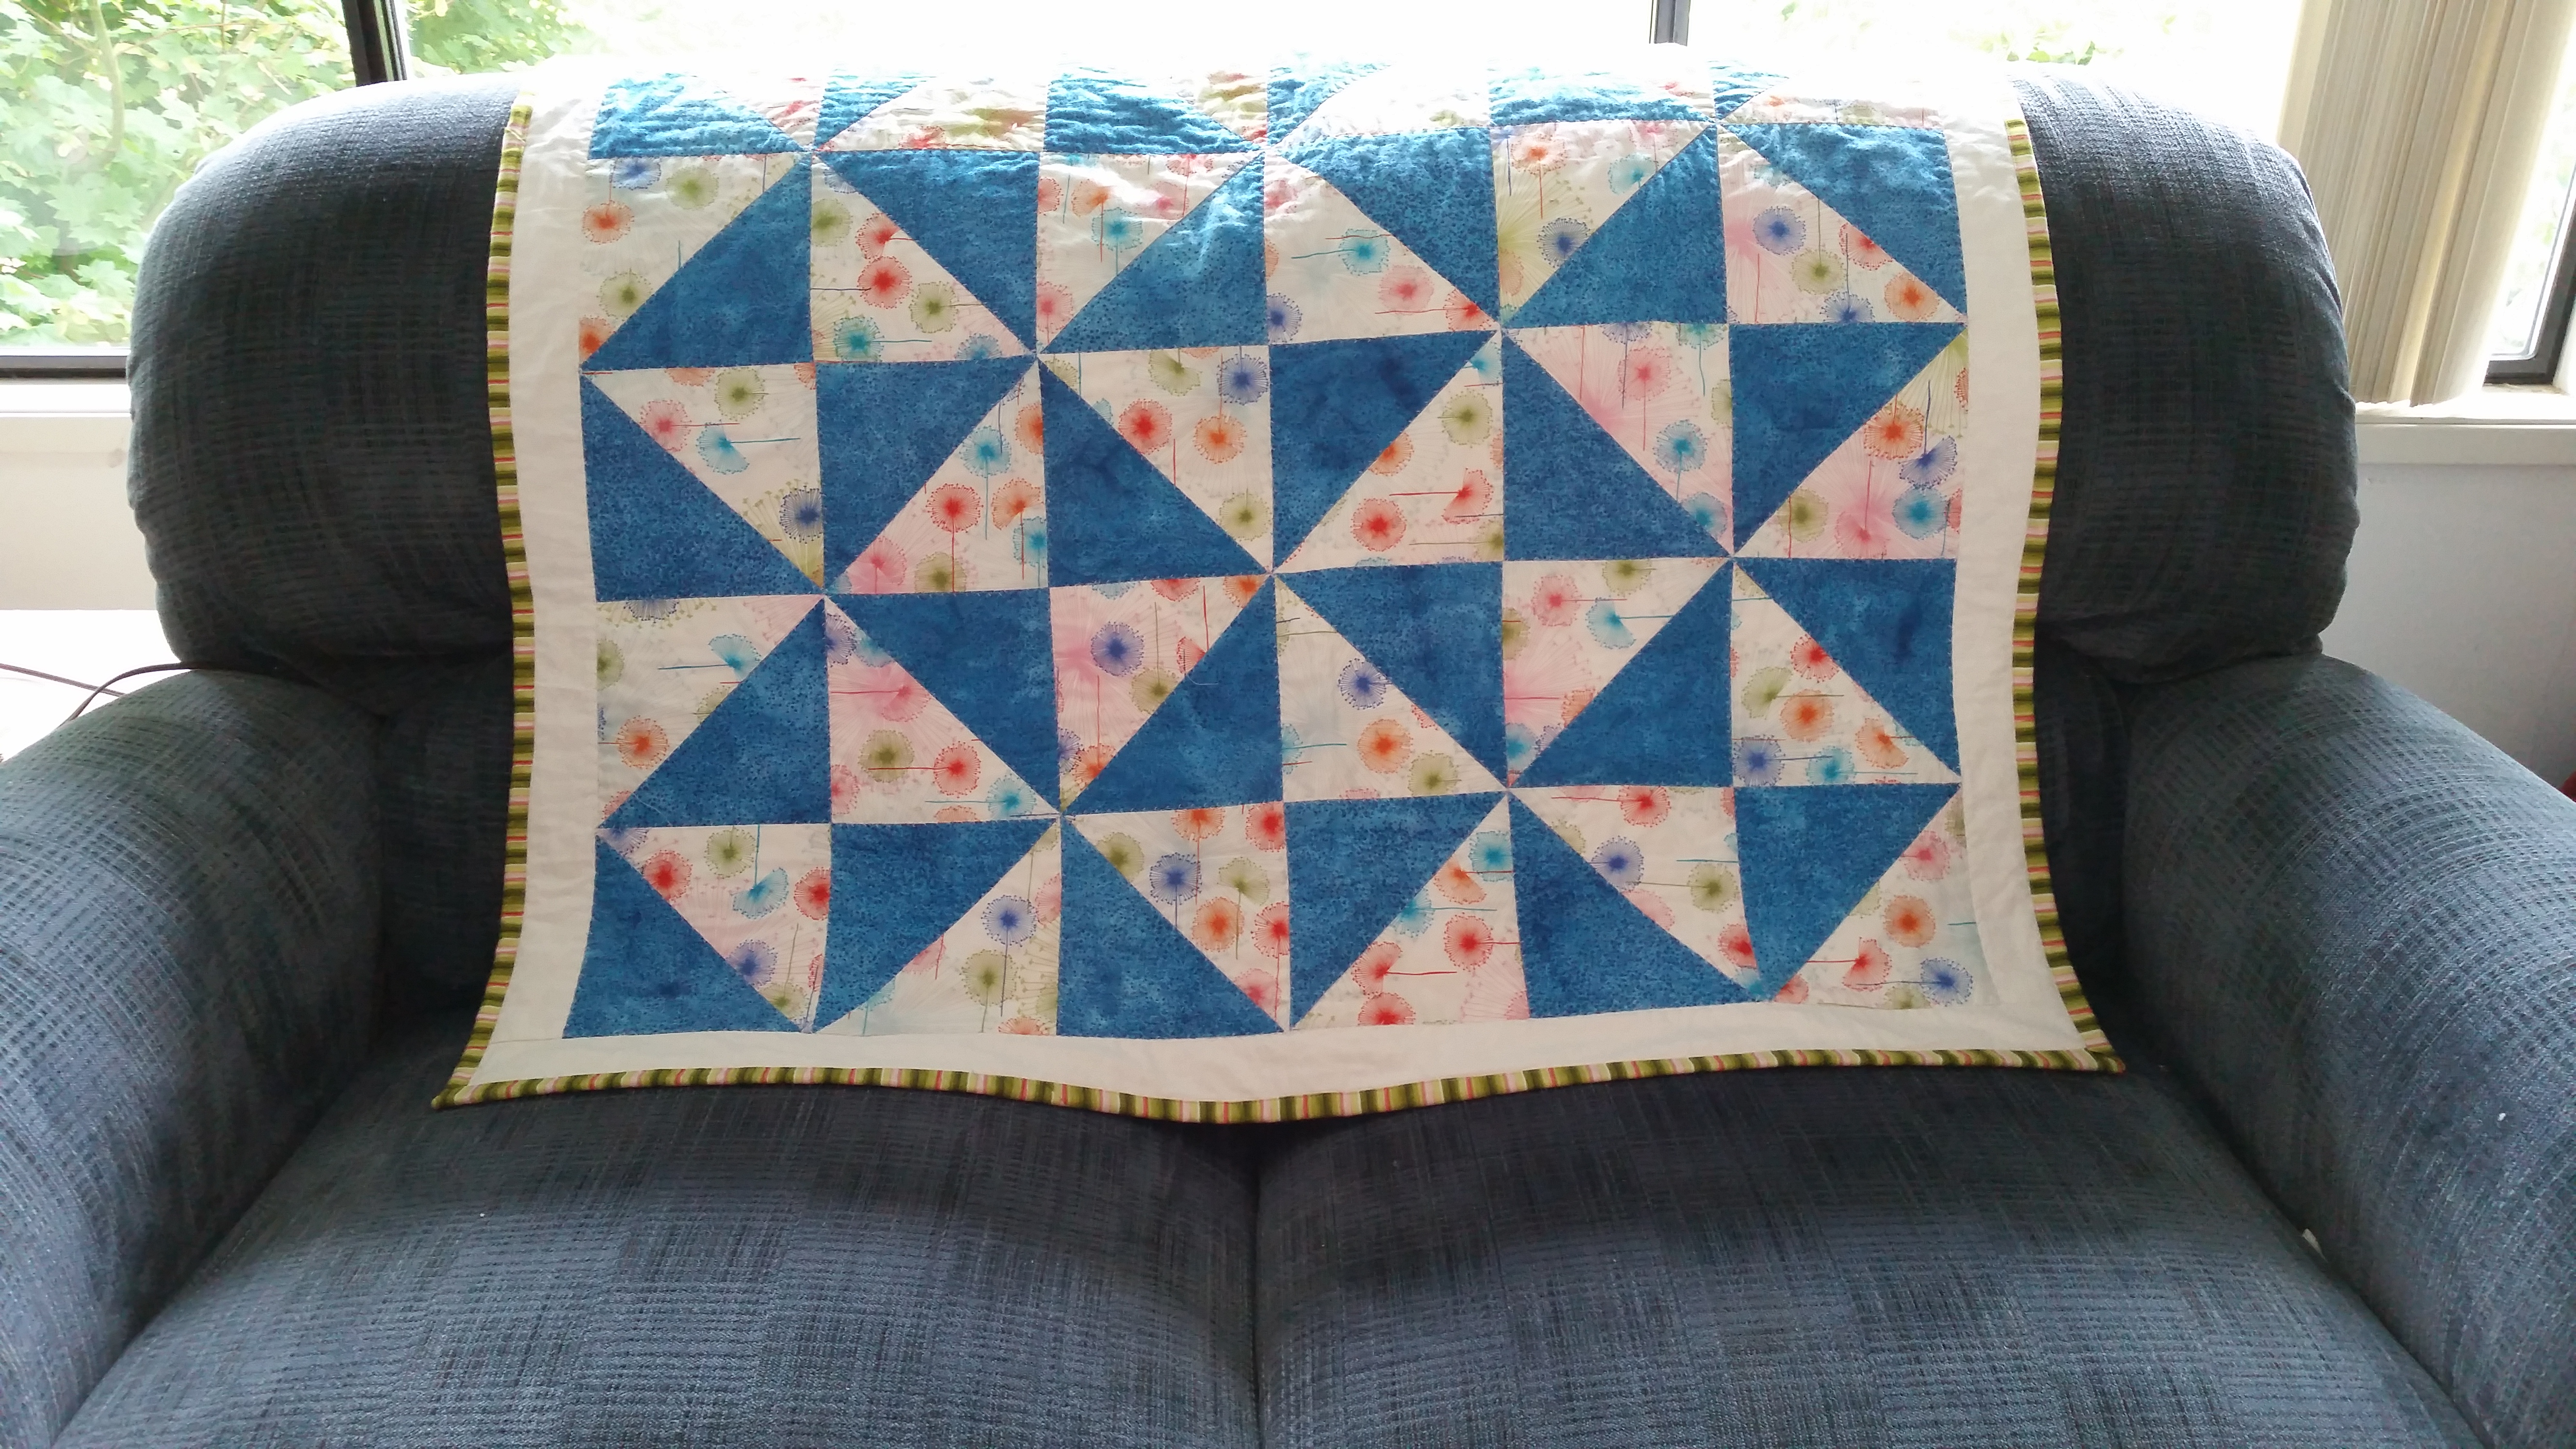
One of my finishes this summer has been a second baby quilt. This is for the friend of daughter #2 who is expecting her daughter #2. When I started this I really only expected to test the block idea and size but after I had finished several of the blocks I decided that I really like it and it would be perfect for this new baby. I did struggle with the binding for a bit but finally settled on this green stripe. At first after it was done I thought I had made a mistake because it’s so much bolder than I had anticipated but I do think I like it and it does go with the fabrics.

Starfish Alley


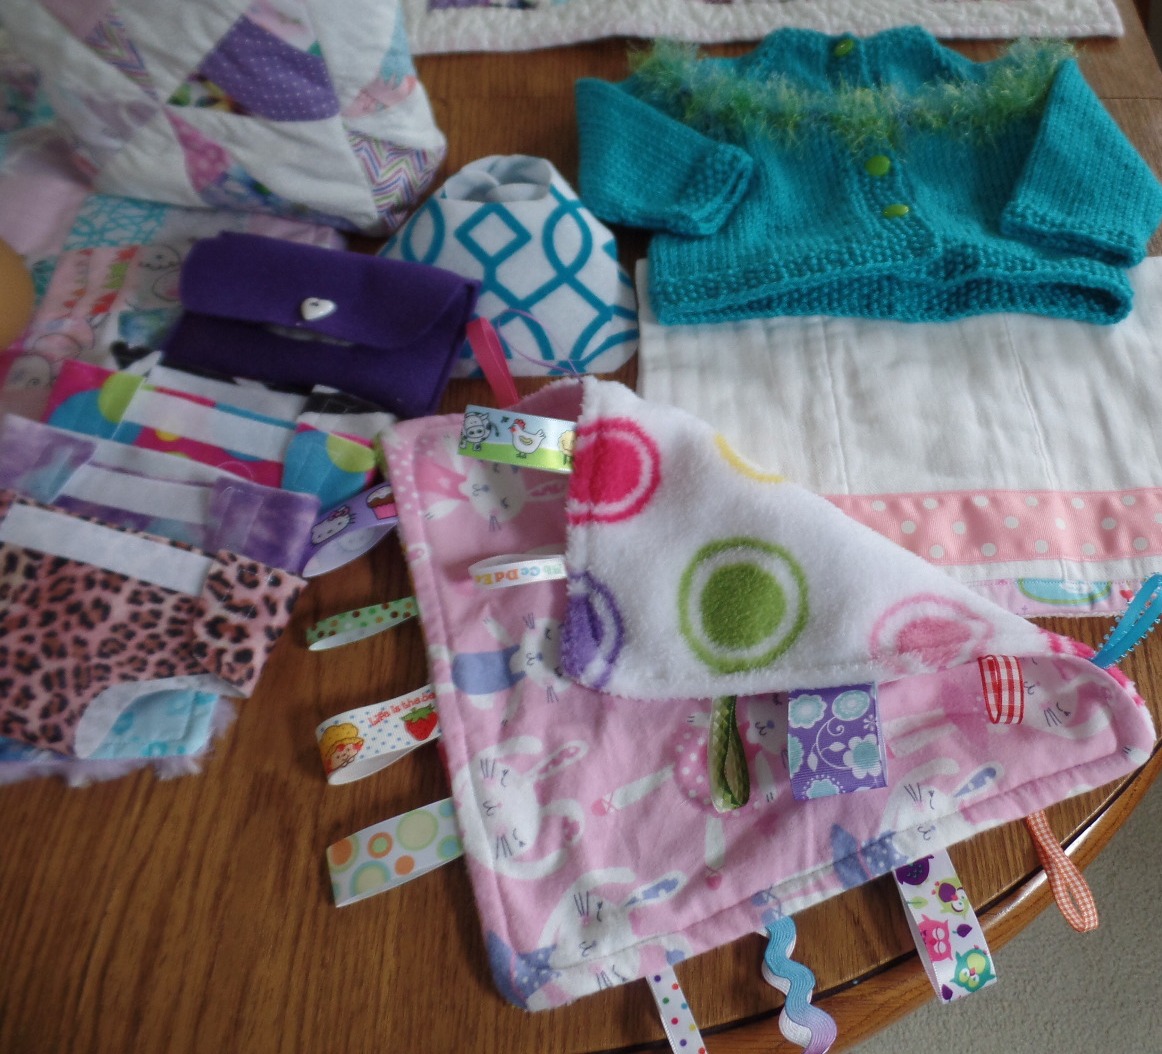
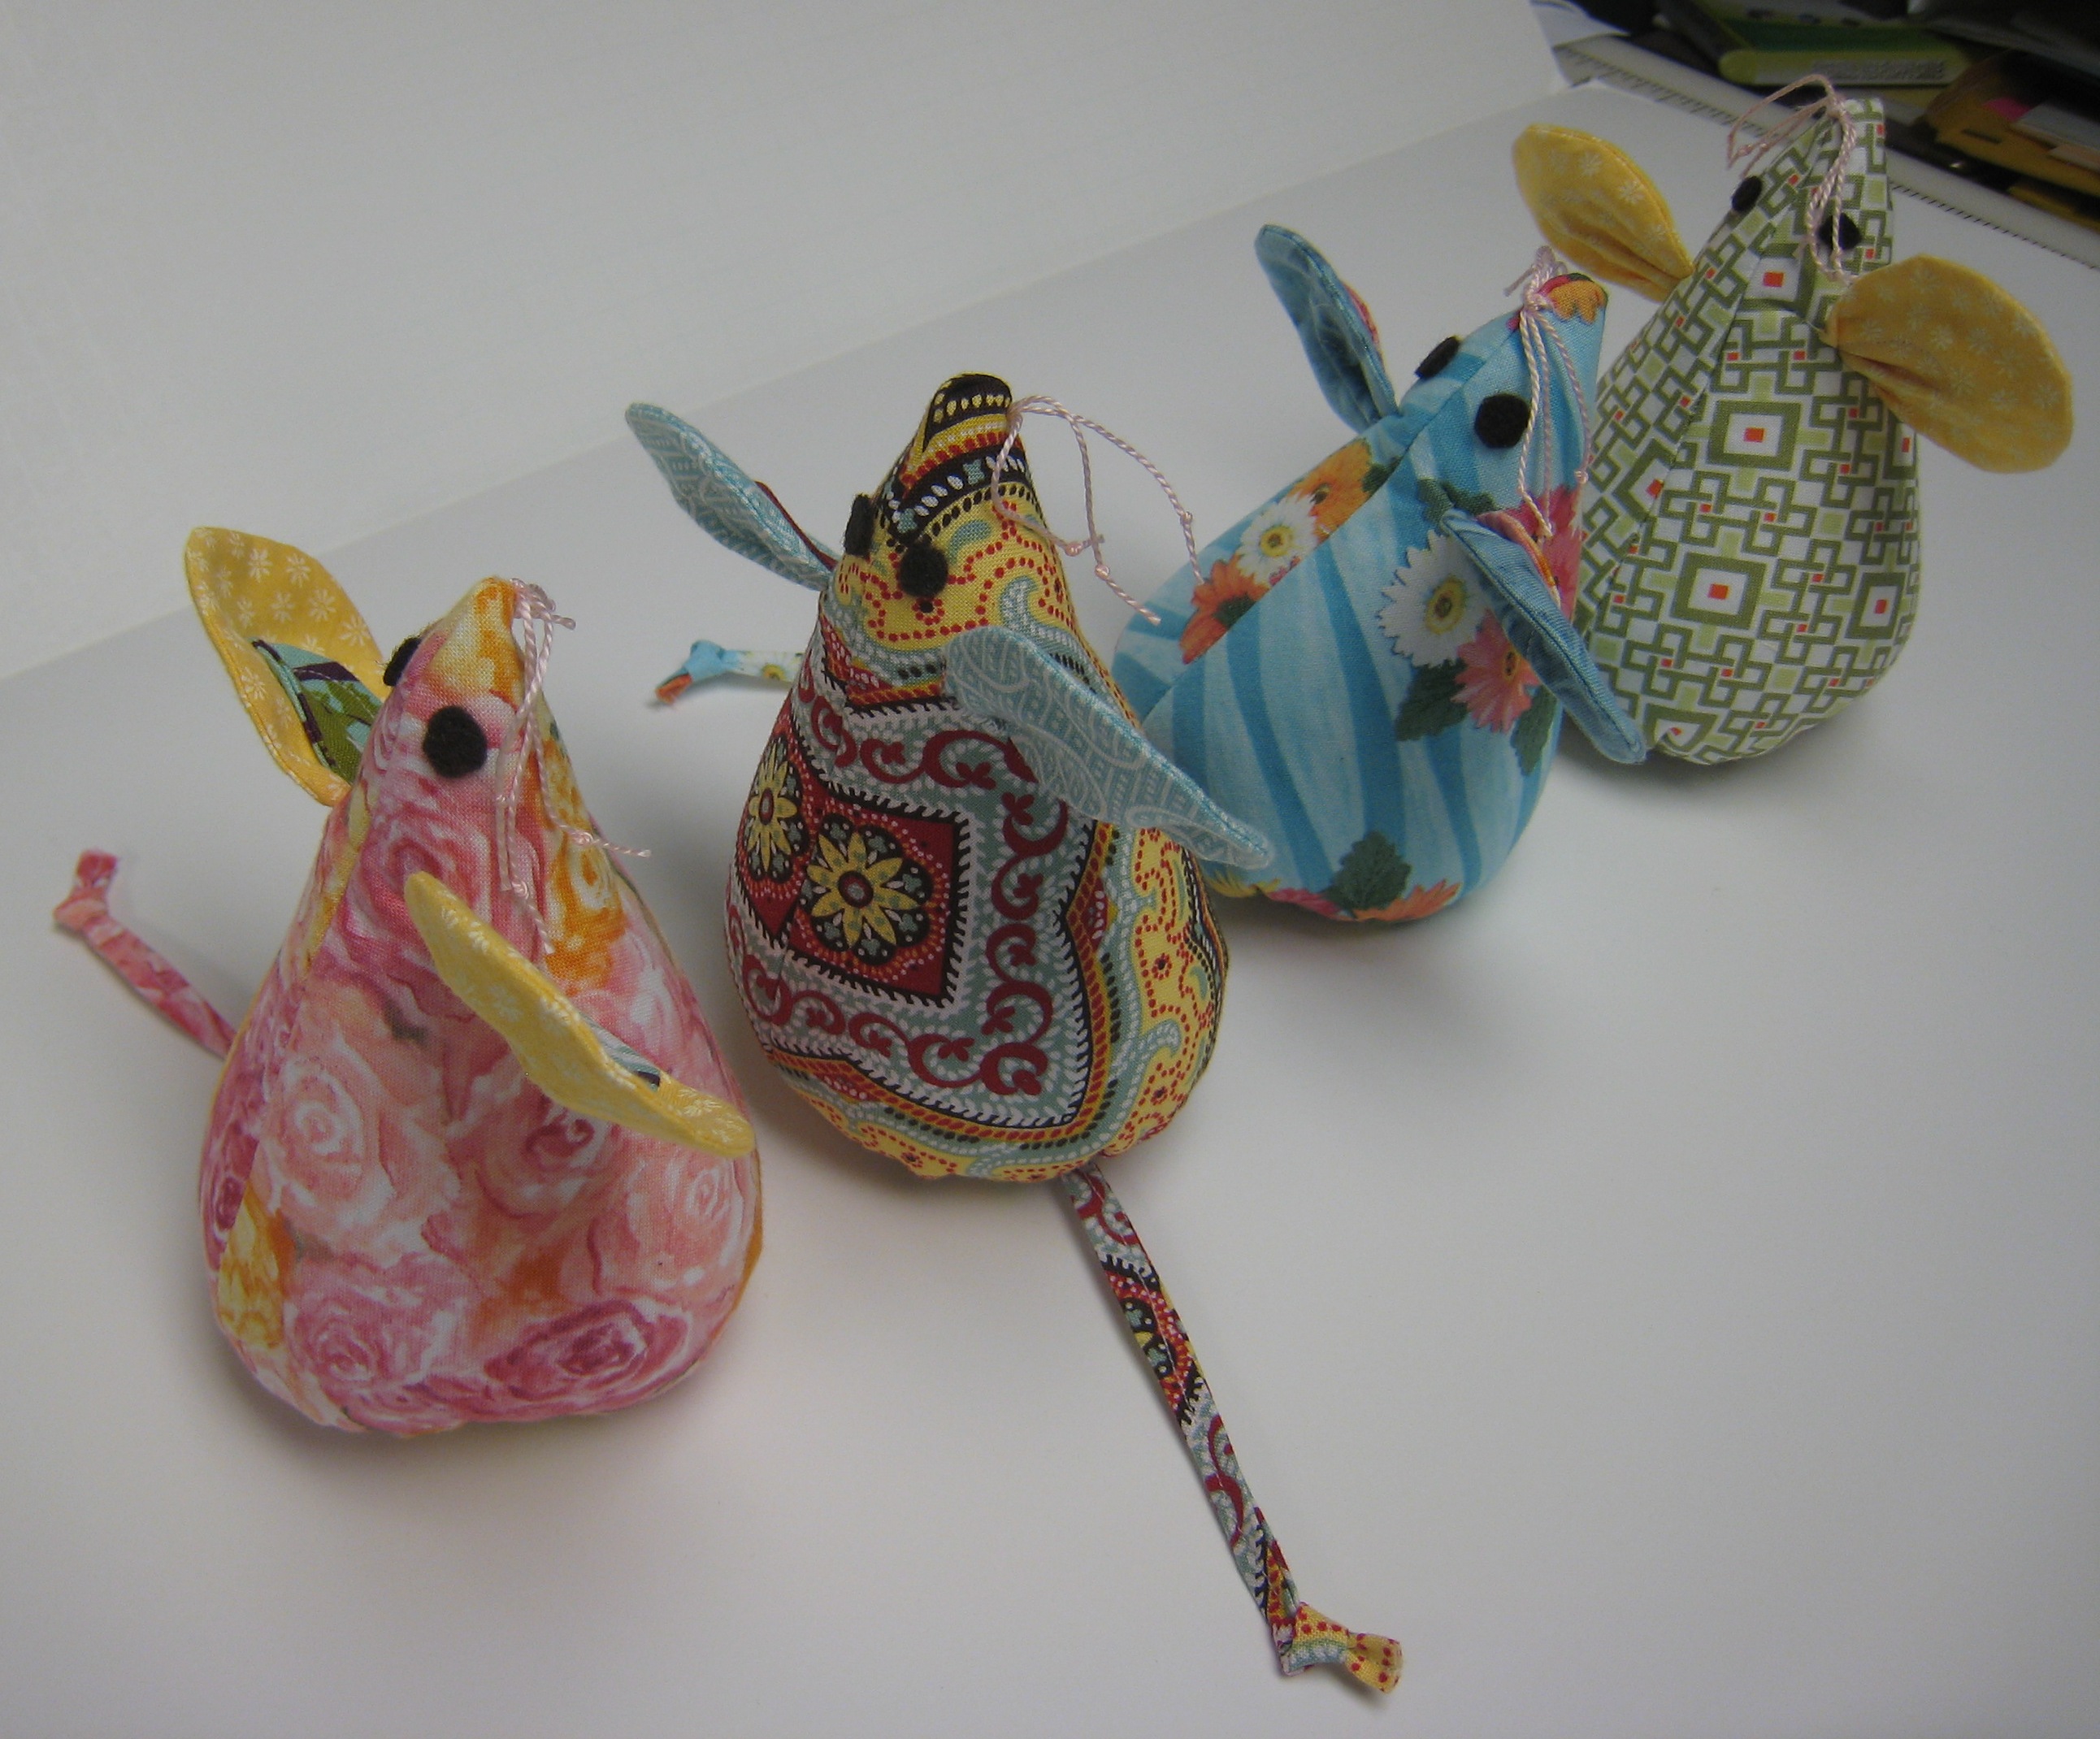
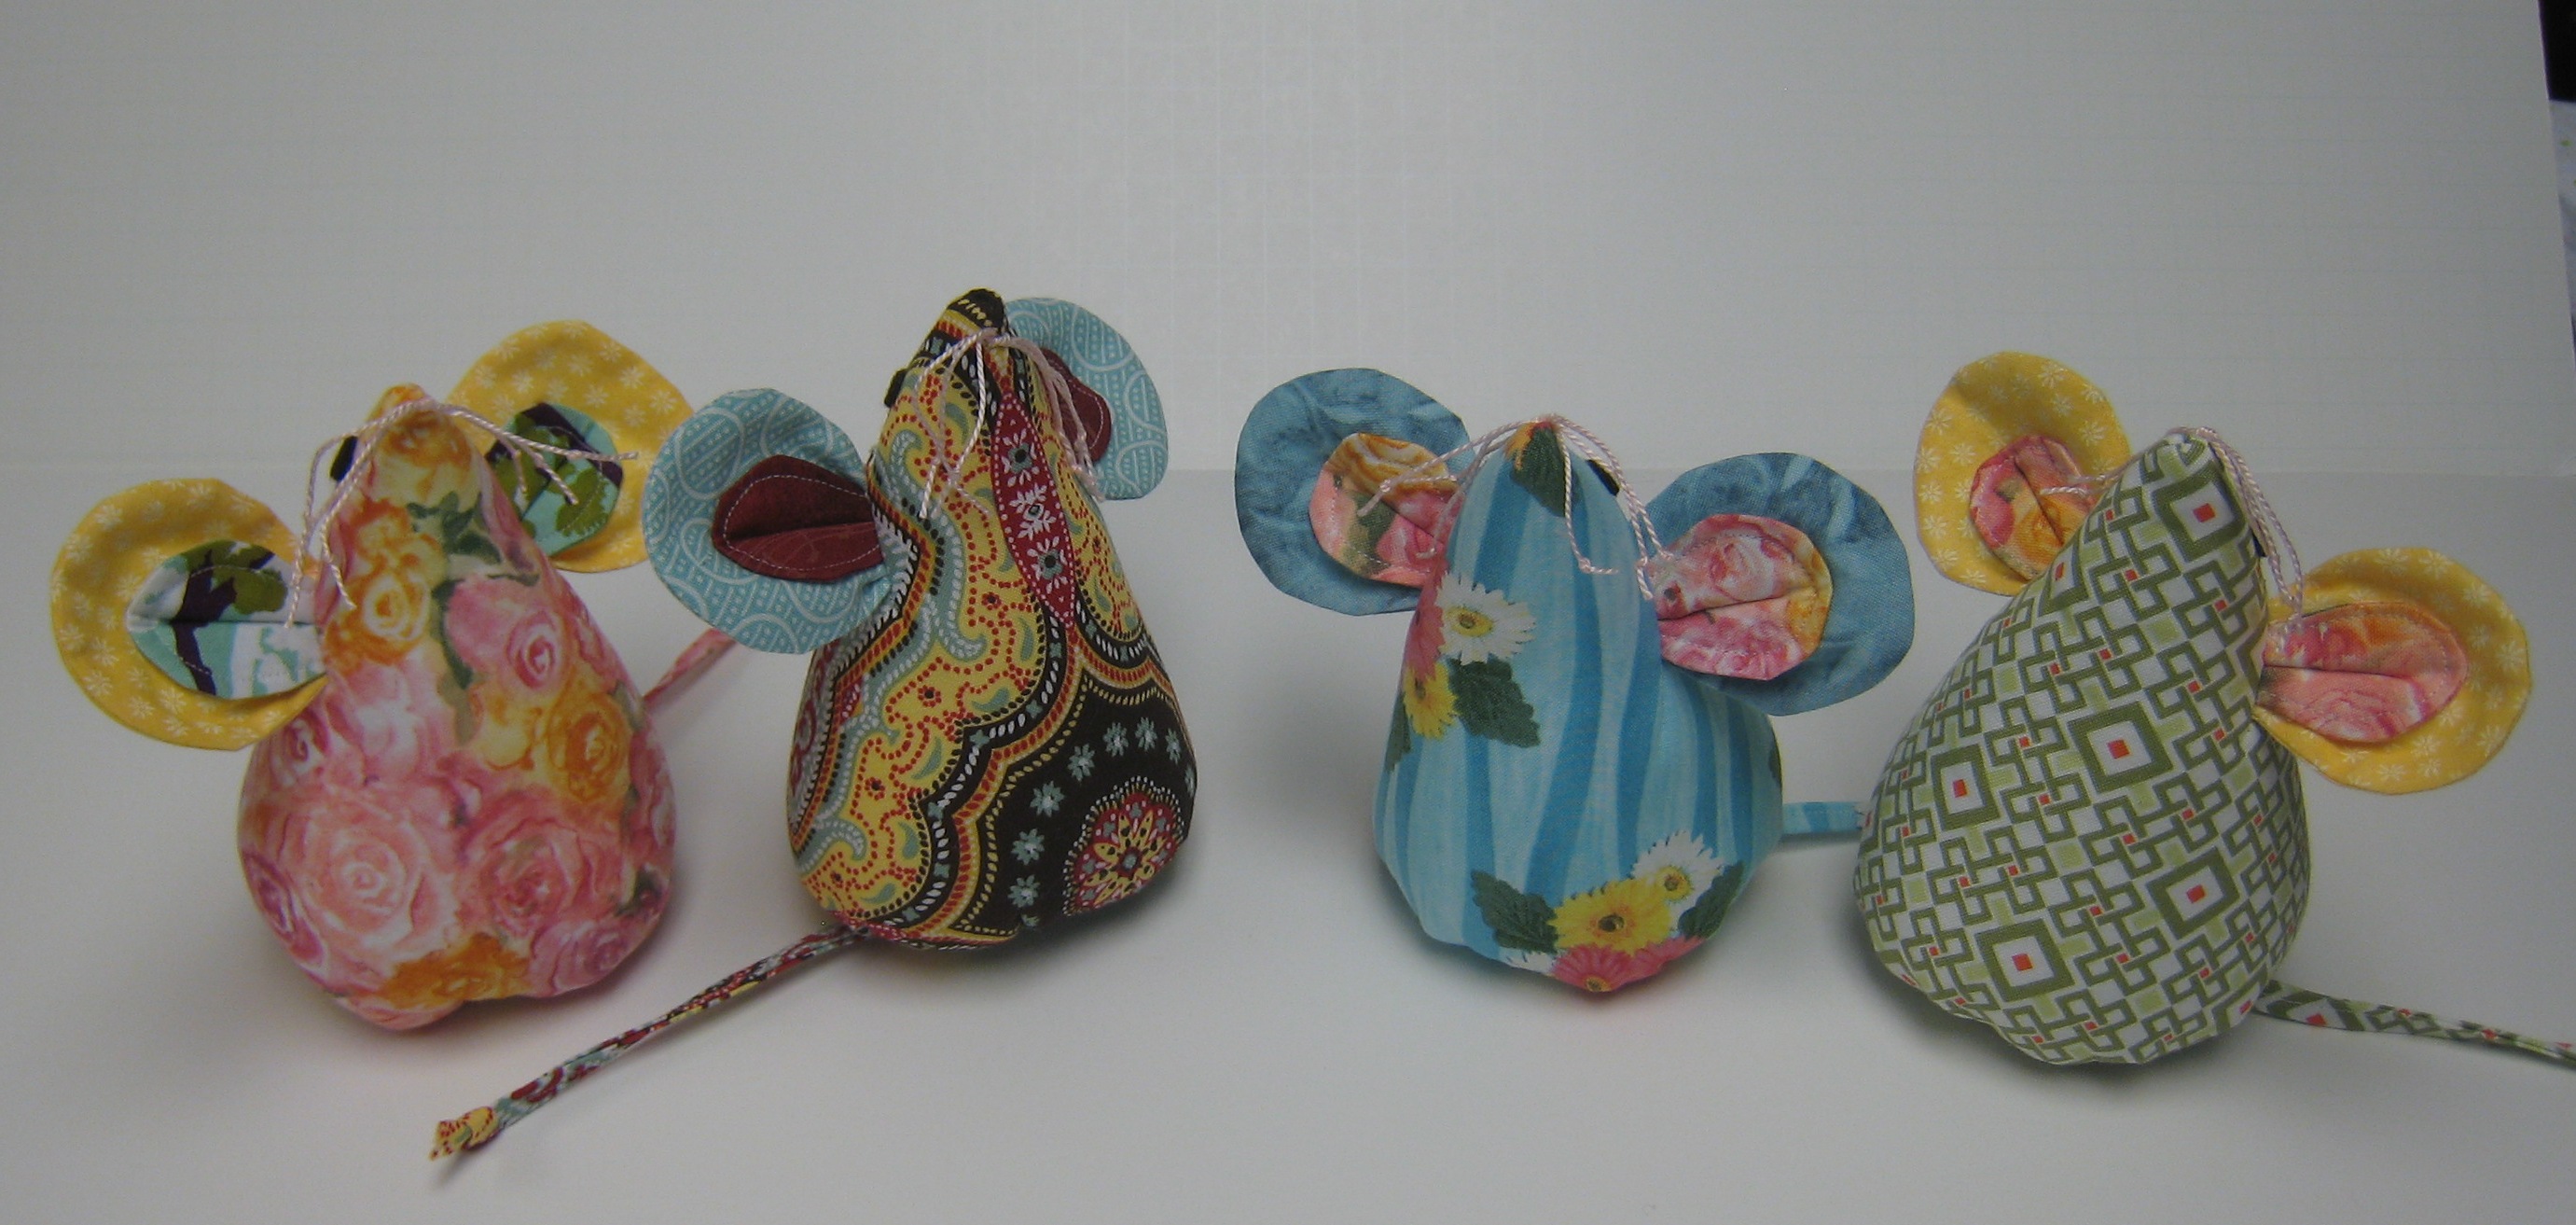
As I was searching for this picture I also found many others.

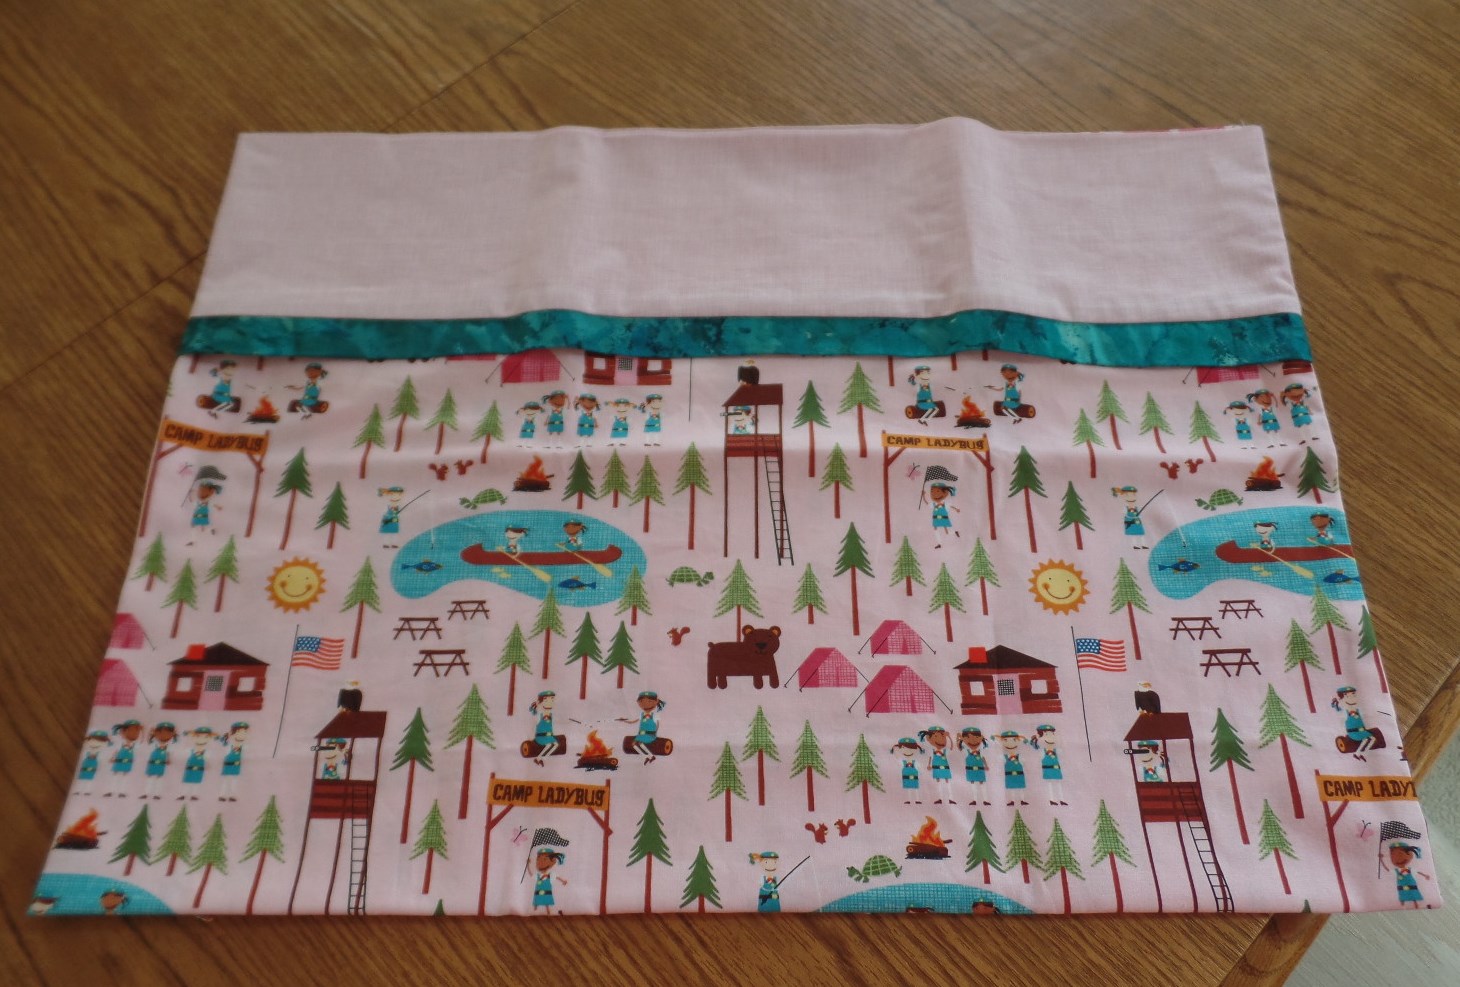
Another project from earlier in the summer was another pillowcase. This was also for a Girl Scout friend.

Starfish Alley

Baby Baby

Baby baby, can’t you hear my heart beat… well not mine I guess but I’ve had lots of fun in the last couple of weeks sewing for my niece’s new baby girl.  She actually will arrive in this world June 4th but I really didn’t want to wait.  There are still more babies on the horizon. Not my own grandchildren yet, although maybe someday, but children of folks that I do know.

I made this new little girl a lovely “girlie” quilt.  When I first started I knew the colors I wanted to use but when I cut the first pieces out it seemed too intense so I ended up cutting the strips of fabric and resewing and cutting again.  I’m quite pleased with the result.  It has produced a lovely quilt that is not too jarring but very sweet. It has this cute pink dancing bunny flannel on the back.

pinwheel baby quilt - Starfishalley

bunny quilt back


For the new baby there is also a tag blanket, a new burp rag and a darling sweater that my friend made for me to give her.

Tag blanket and burp rag


Baby sweater


I had some leftover blocks and decided that I needed to make some fun gifts for the big sister too.  Now the big sister is two and a half and loves to help her mommy.  She is also a great imitator and has a wonderful imagination.  I just knew the big sister needed to have a new baby doll of her own.  With that baby doll, she needed a few necessities to take good care of the baby so I also made her a doll blanket for that precious baby, as well as a few diapers with velcro, some diaper wipes, and a diaper bag.  She also has a soft colorful blanket to cover that baby doll so she won’t get cold.

Baby doll, doll diapers and doll quilt

Doll diapers and wipe case

Doll diaper bag

Three Blind Mice!

Three blind mice! In this case I have four blind mice but the result was the same.  I had this pattern from Fig Tree & Co.  The Three blind mice pattern. Oh, they were fun to make. Fast and easy.  They are filled with some batting and craft pellets.  These particular mice were thanks yous for some special ladies who cooked and planned meals for an adult Girl Scout volunteer event.  We all go out to one of the camps owned by our council and have a wonderful time visiting, crafting, singing and what ever else we want to do.  The three ladies who help organize menus and meals are all sewing, hand craft types of ladies and they all use pin cushions.  Mice are always a part of any camping experience and a perfect match was made.  The fourth mouse was a thank you to a woman who helps us with craft ideas and wasn’t able to make it this time due to illness.  I also have another mouse cut out and half sewn for myself.

Three Blind Mice


Three Blind Mice

Rag blanket finish

A rag blanket finish happened this week.  It actually was fun to do and I’m pleased with the finished product.  When I first bought this die I thought this would be a great way to use the flannel remnants.  As it turns out, because you use two pieces of fabric in each block the remnants don’t go very far. I knew that I was making this blanket for a little boy and have since learned that the mom is already in the hospital waiting for this little one to appear.  It’s a bit early for his arrival however so they hope he will take his time! In the end, I was able to mostly use fabrics from my stash.  I did end up buying a small piece of yellow.  Hubby was a bit reserved about the project but was also impressed after it had been washed and dried.  Like he said, it almost makes a chenille type fabric after it’s been in the wash and I’m sure it will get softer with each wash.  I think I’m off to make another.

rag blocks

rag quilt before

Making Lanyards

Making lanyards for the girls was lots of fun.  I started with one of the Robert Kaufman Girl Scout roll ups and separated the strips into the Girl Scout prints and the coordinating prints.  For this project I knew that I wanted to the use the fabric that was specifically Girl Scout themed.  Becuase the strips were two and a half inches wide, I cut my light weight interfacing two inches wide and ironed it to the inside.  Then I folded and pressed the fabric so I could add the lanyard clip and finish the seam and do the top stitching.  This was a fairly quick project for one but of course did take a bit longer to make 24. That way we did a few extra for special staff and other gifts.  The girls were able to use their lanyard for their whistle and their schedules which they put in plastic name tag holders.  All in all, making lanyards was a very successful project!

roll up

zippers and lanyard clips

lanyards

lanyards

The Next Step

The next step in my adventure was to match up the strips and the zippers.  I knew that I wanted each of the zip pouches to be unique.  I wanted the strips in pairs of patterns and also didn’t want to be too random and stuck at the end with odd color combinations of strips and zippers.  I took the roll ups apart, matched two of the plain prints with a patterned print and then added a coordinating zipper.  I laid them out on the cutting table about 20 at a time and them clipped them together with a binder clip and put them in a basket.  My friend and co-director volunteered to sew the strips together and press the seams open.  That was a life saver for sure!  With a few strips isn’t not so bad but when you are talking in the neighborhood of 70 or so.. this accounts for some extras and several “test” pouches.


pairs of fabric strips

strips on the table

strips with zippers

When I got the strips back from Linda, I cut the strips in half and restacked them with a layer of batting.  At this point I could baste them and head for the sewing machine. Now it’s on to the next step.


Mixed review

Oldest daughter is going on a trip at the end of the week.  Off to Minnesota where it might be warmer that the Pacific Northwest!  I thought I would make her a new sleeveless top to take with her.  Now this is not always a successful action when you don’t have approval of the pattern or fabric.  It’s also been many years since I have made her any clothing so it was an educated guess on many accounts.  So this is a good news, bad news story.  The good news is that I enjoyed the clothing sewing. The patterns have certainly improved in the 10 plus years that have passed since I intentionally purchased a pattern for a garment other than pj pants. The other good news was that I only spent $5 on fabric so it wasn’t a complete loss.  The bad news was that a) She didn’t like it and b) it was a little snug.  It’s too bad too because I serged the seams so they didn’t ravel, I made my own bias tape for the armholes and everything went together exactly as it should.  Oh well, I knew it was a long shot but thought I had made good guess on the size and style so there was some room for error but I guess not quite enough.  Maybe daughter #2 will like it and it will fit her of I can cut it apart and use it in a quilt or even find another person to give it to.

Sleeveless top

A tag blanket for baby

A tag blanket for baby is a popular gift. When I first saw them I thought it was kind of silly but as I thought about it I realized it was actually a smart gift and something a baby would enjoy.  It’s small enough to put in a diaper bag or use in a car seat or stroller and might even be good in a crib at nap time.  I know that when my kids were babies they liked to rub things between their fingers and it helped to sooth them.  This blanket has something for every mood.  It has lots of color and many textures.  When I was making it I did wonder if there were too many tags or too many colors.  I opted for many textures and many colors. I think this will make the blanket useful for a longer period and should appeal to every childs fascination with color and texture. The front of the tag blanket is a piece of fabric that has cute little bunnies.  The back of the blanket is a piece of fabric I purchased that has alternating squares of flannel and chenille.  Lots of interesting things for baby to look at.  I’m also going to enclose a couple of link toys so mama can attach toys to the ribbon tags or even attach it to the side of a stroller or car seat.  When baby gets tired of it and throws it, this tag blanket for baby will not go very far!

Oh baby baby gift..

Oh baby baby gift… I love to make baby gifts but it’s so hard to make a decision.  There are so many useful little things for babies like blankets, hooded towels, clothes, booties, bags, spit rags and more.  I had to narrow my list this time because there wasn’t too much time.  Just a few days in fact.  This time I decided to make some bibs and a tag blanket.  Of course this certainly involves come choices as well.  What size bibs, what kind of fabric, what type of bib and what should I put on the back.  These were all for a little girl with a modern mama.  I decided that really, these bibs would get spilled on and slobbered on and were really for protecting the clothes so although I wanted them to look cute function was the primary purpose and even a modern mama would know that.  This allowed me to do some experimenting.  This is the first bib.  A small bib for a little girl with a bunny on the front.  The small size could be used for a small child and would be cute and functional.

bunny bib

The next bib is a larger bib with a wider front.  This bib I backed with minky which is a polyester fabric and should allow some moisture protection for the clothing underneath.  I’ve never thought of using minky for the back of a bib.  It actually worked better than I expected and is quite soft.  I wonder how mama will like this one?

bird bib

This last bib is cute in an entirely different sort of way.  It’s more like a baby apron.  I know that mama likes gray and it also lets me use a bit of color so this one too is cute and should be quite functional because it covers the baby lower front and lap.  I lined this one with flannel so it is soft and shapes easily to the baby shape.  Oh this was a fun baby baby gift!

apron front

front and back


Remember the old hangers?

Remember the old hangers that used to be in everyone’s closet? You know the kind I mean.  The wire ones your mom got from the cleaners. Sometimes they were colored and I loved those.  I remember one turquoise one that I used to have.  Sometimes they were white but mostly they were gold or gray or just metal colored.  The other hangers that were special were the ones with the cardboard tube at the bottom that you could use for slacks.  We didn’t have too many of those and they were used only for the best pieces that you didn’t want creases in.  Well in my latest sewing project I kept wishing that I had a slacks hanger.  The kind I was thinking about was a wooden one that hubby had when we were first married.  I think they were from his wedding suit and it not only was sturdy wood but had a moveable bar on the bottom that you could unhook to slide the slacks on and then hook it back together and put it in the closet.  We have moved to mostly wash and wear and plastic hangers and I haven’t thought much about hangers until recently when I wanted to hang the latest sewing project.  The project was circles of fabric that I wanted to slide over something and hang.  I couldn’t justify taking the old wooden hanger that now holds other slacks of hubby but lo and behold when I opened the coat closet door, I found a secret stash in the far back.  There it was, the perfect hanger! It is wire with a sturdy cardboard tube.  Happy day!  Now my circles are hung waiting for delivery and I am remembering more good times and special hangers.

.

« Older posts Newer posts »

© 2024 Starfish Alley

Theme by Anders NorenUp ↑